6
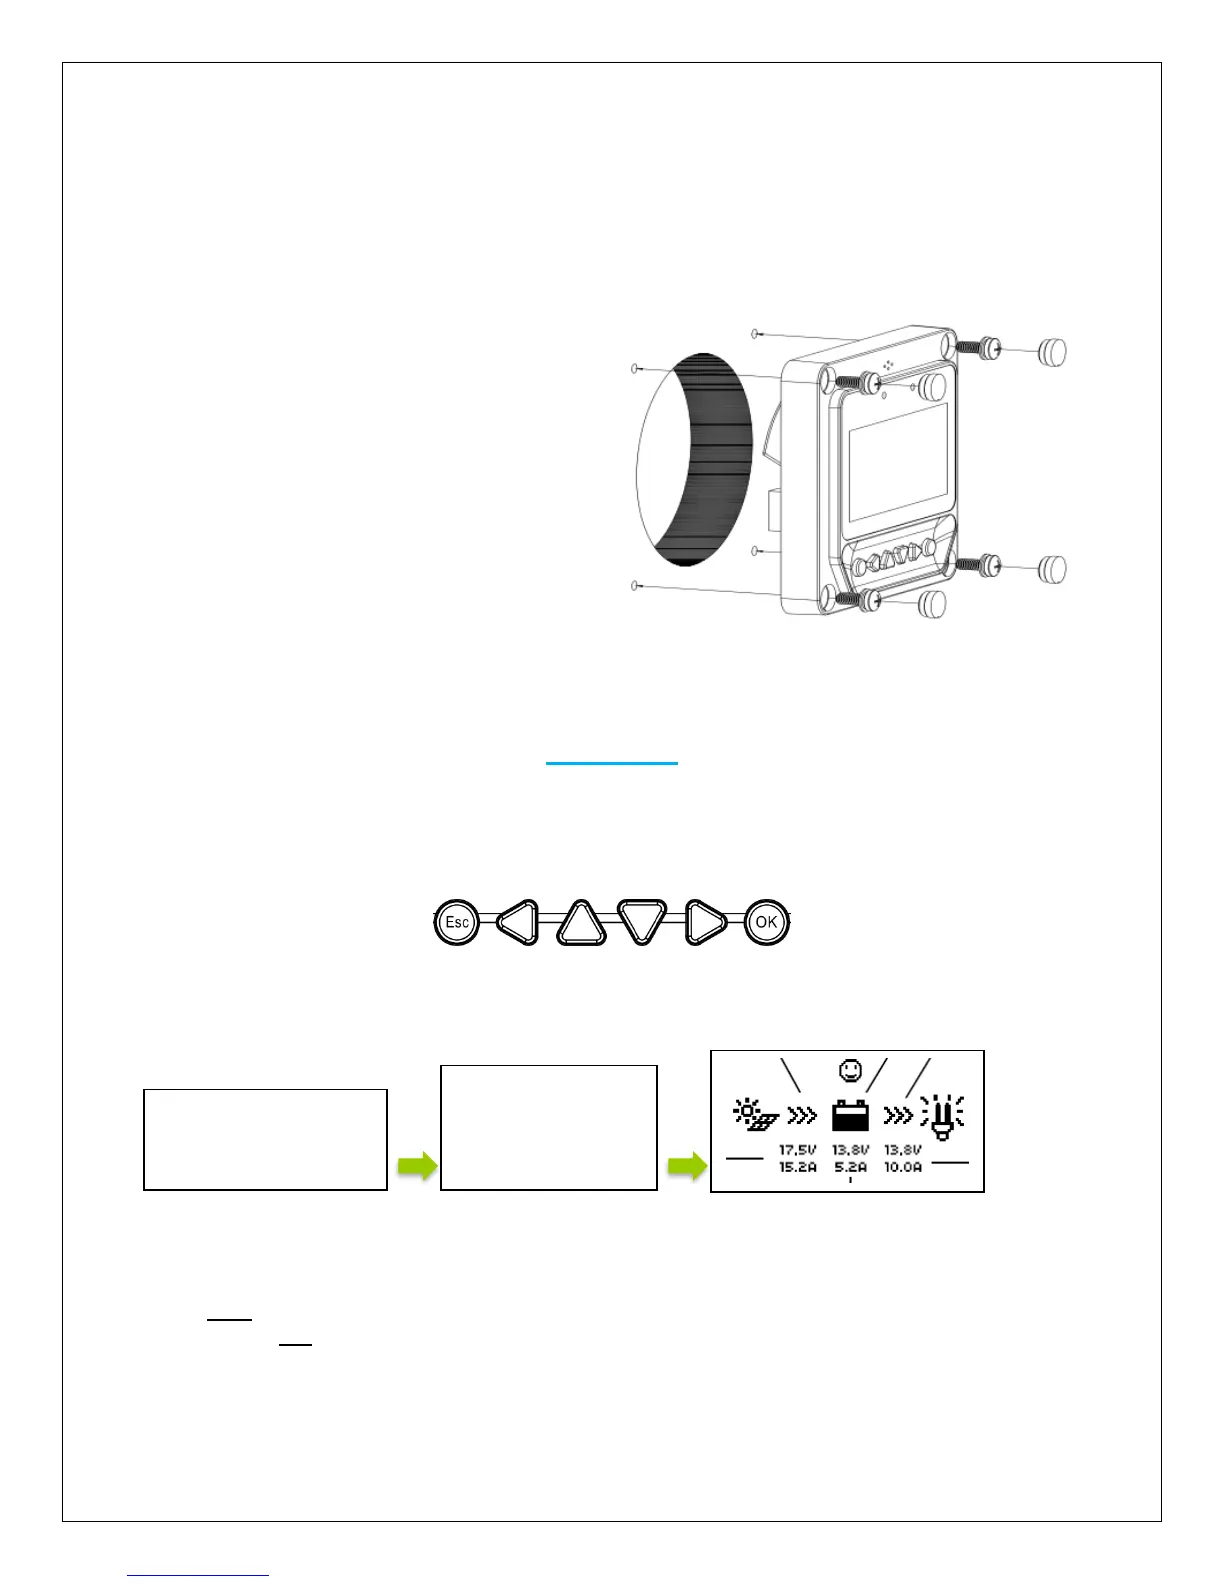
Flush Wall Mount Installation
This is a low-profile installation. The faceplate of the MT-50 sits flush with the mounting surface
or wall and the body of the meter rests in a hole cut-out on the mounting surface. The meter
wiring is concealed behind the mounting surface, or the interior of the wall.
1. Locate and drill screw holes based
on the installation size of the surface.
Level the faceplate and remove a
hole-cutout.
2. Use 4 x M4x8 cross recessed pan
head screws with the M4 nuts to
mount the MT-50 surface onto
surface.
3. Mount and use white plugs in the
screw holes.
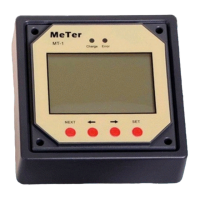
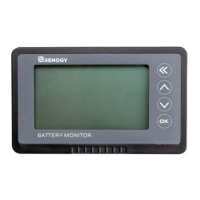
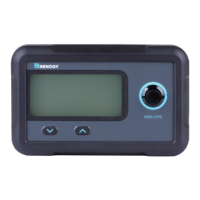
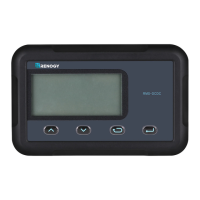
Operation
NOTE: The MT-50 is not compatible with the Commander 60A charge controller.
The following keys are used to cycle through the screens or adjust the parameters on the tracer:
Once the Tracer Meter is connected, the user will see welcome screen followed by a device info
screen, before settling on the Default Screen.
Menu Display
Press ESC to access the main menu, and utilize the up and down keys to maneuver through the
menu. Select OK to choose an option
NOTE: In some models, you might be prompted to enter a password. Simply put “0” all the way
through and press enter.