14
NOTE
The M6 screws have a recommended toque 4.1~5.0 N-m / 3~3.7 lb. ft.
NOTE
If the VOC is greater than 45V, charging disconnects; When the VOC is less than
40V, then it resumes charging.
Exceeding the Rated Max Power will put the controller in Power Limiting Protection
Mode up to 600W/36V or 800W/48V. Afterwards the unit will shut down.
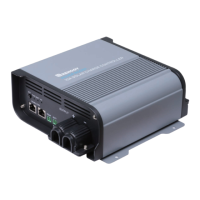
Locate the INPUT side. Expose the positive and negative PV input terminals by unscrewing
the M3 screws holding down the removable PV input cable housing.
1.
Unscrew the negative M6 terminal stud, then place the negative PV ring terminal onto the
negative port and screw the M6 terminal stud and washers together. Repeat the same for
the positive M6 terminal stud and positive PV ring terminal.
2.
System Voltage
15 ~ 40 VDC
15 ~ 25 VDC
650W
500W
48 V
36 V
Range Rated Max PV Power
CAUTION