Prusa i3 – Build Manual
11.8 First Print
Once your bed is levelled, apply a thin layer of PLA glue solution (50 PVA glue, 50% water mixed together
well) to the mirrored surface with a small paintbrush. Don't worry if it looks uneven or too thick (as in
Fig11.8a), once the bed heats up the solution will dry to a near invisible smooth surface (Fig 11.8b)
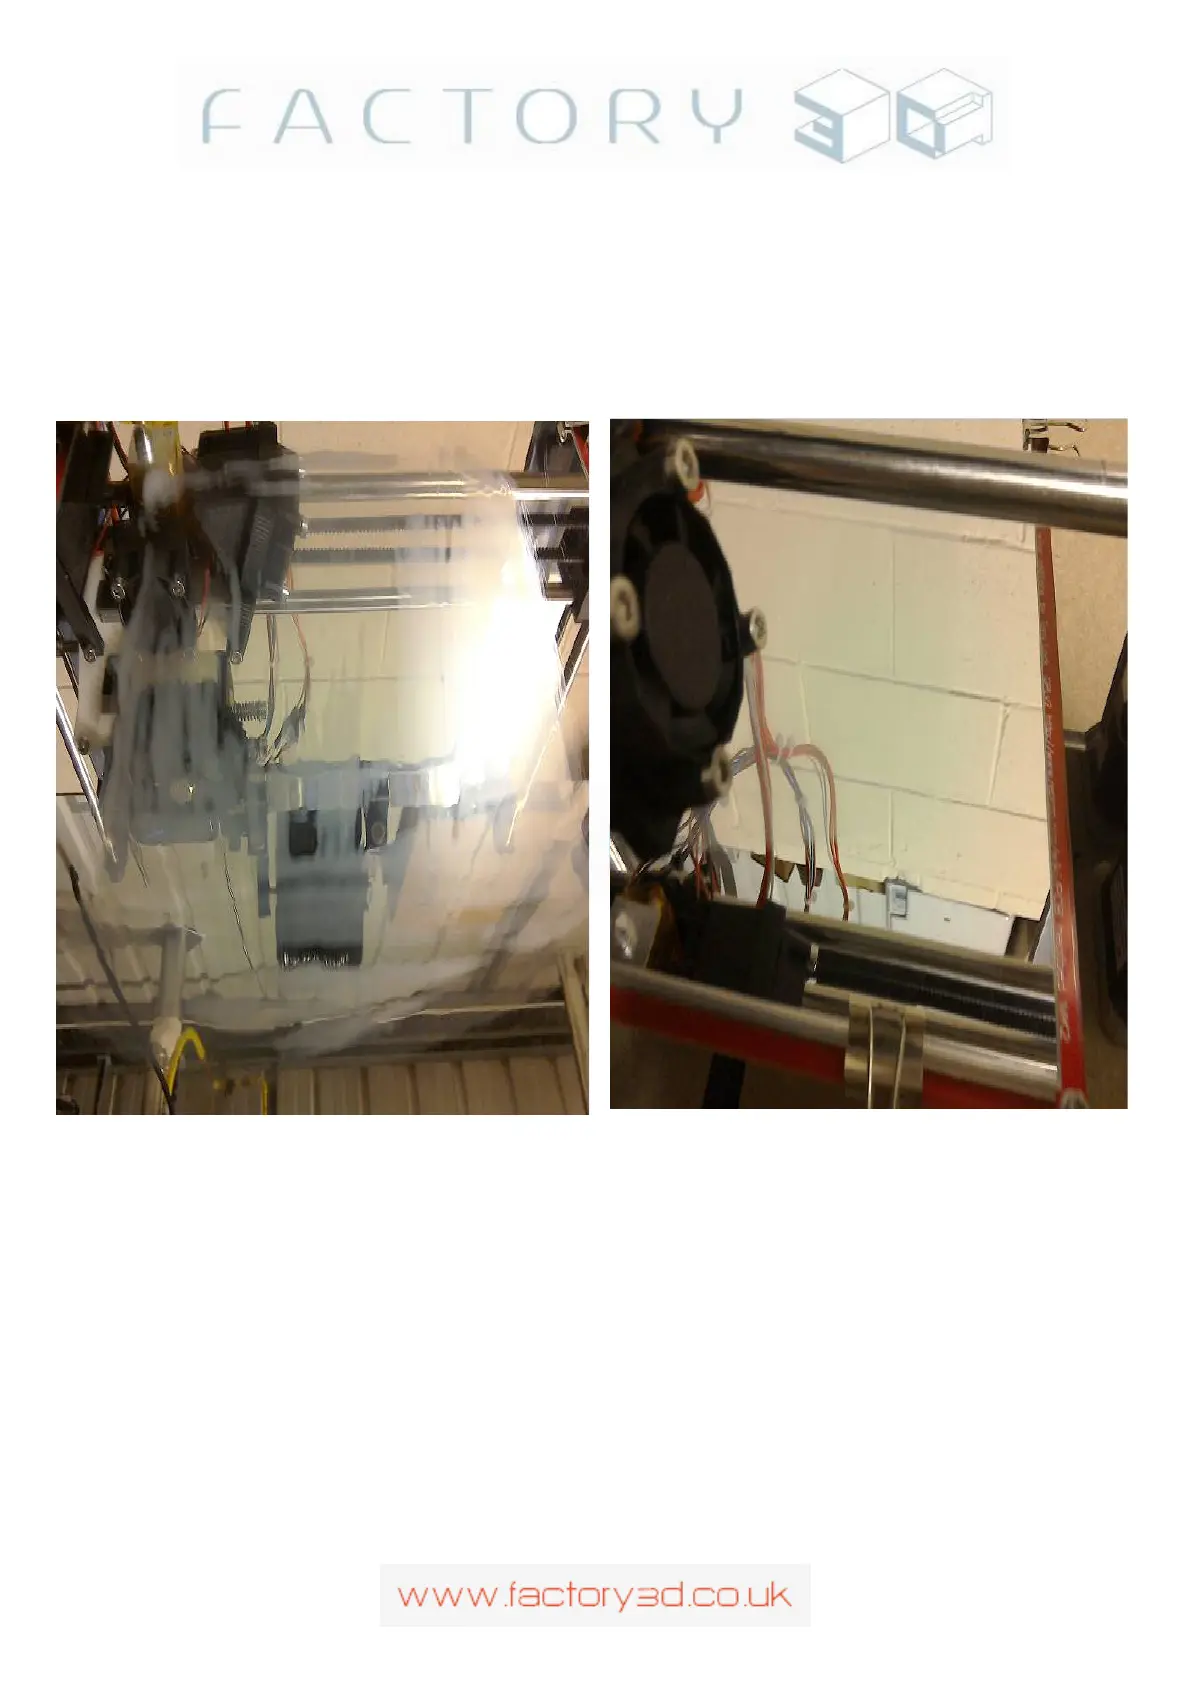
Fig 11.8a (PLA glue applied): Fig 11.8b (now dried):
#
Now save a 3D model gcode file to your SD card (e.g. for this example z_endstopmount.gcode) and insert the
card to the slot on the left hand side of the LCD (SD contacts facing towards you), the RAMPS should detect
the SD card. Now you can select the Print option from the LCD menu and it will list the 3D models you have
saved on the card, select the z_endstopmount (for example). The first thing the printer will do is execute the
start/gcode thats saved with your 3D print model (i.e. raise head,heatup bed, heatup hot-end etc), this gcode it
editable either in the gcode file itself or in the software that wrote the gcode (Cura). When the correct temps
are reached it will move the head into position and start printing .. its a good idea to be watching the printer at
this point to remove any surplus filament that has extruded before the first layer goes down (with a pair of
tweasers).
Version: 1.3 Page: 55