 Loading...
Do you have a question about the ResMed AIRCurve 10 S and is the answer not in the manual?
| Operating Mode | S (Spontaneous) |
|---|---|
| Ramp Time | 0 to 45 min (5-min increments) |
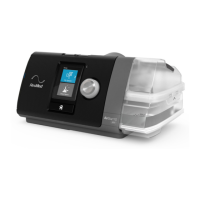
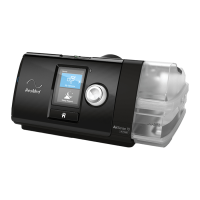
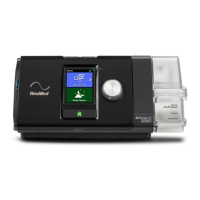
| Device Type | Bilevel Positive Airway Pressure (BiPAP) Device |
| Pressure Range | 4-25 cm H2O |
| Humidification | Integrated HumidAir Humidifier |
| Sound Level | 26 dBA |
| Power Supply | 100-240V AC, 50/60Hz, 1.5A |
| Data Storage | SD card |
| Connectivity | Wireless |
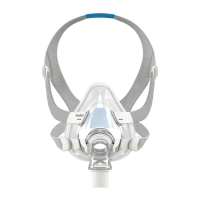
| Compatibility | Compatible with ResMed mask systems |