insert a memory card before you can begin recording. Before inserting or removing a memory card, first ensure
you’ve powered down the device. Gently push the memory card in until you hear a click, and allow the spring release
to push the card out.
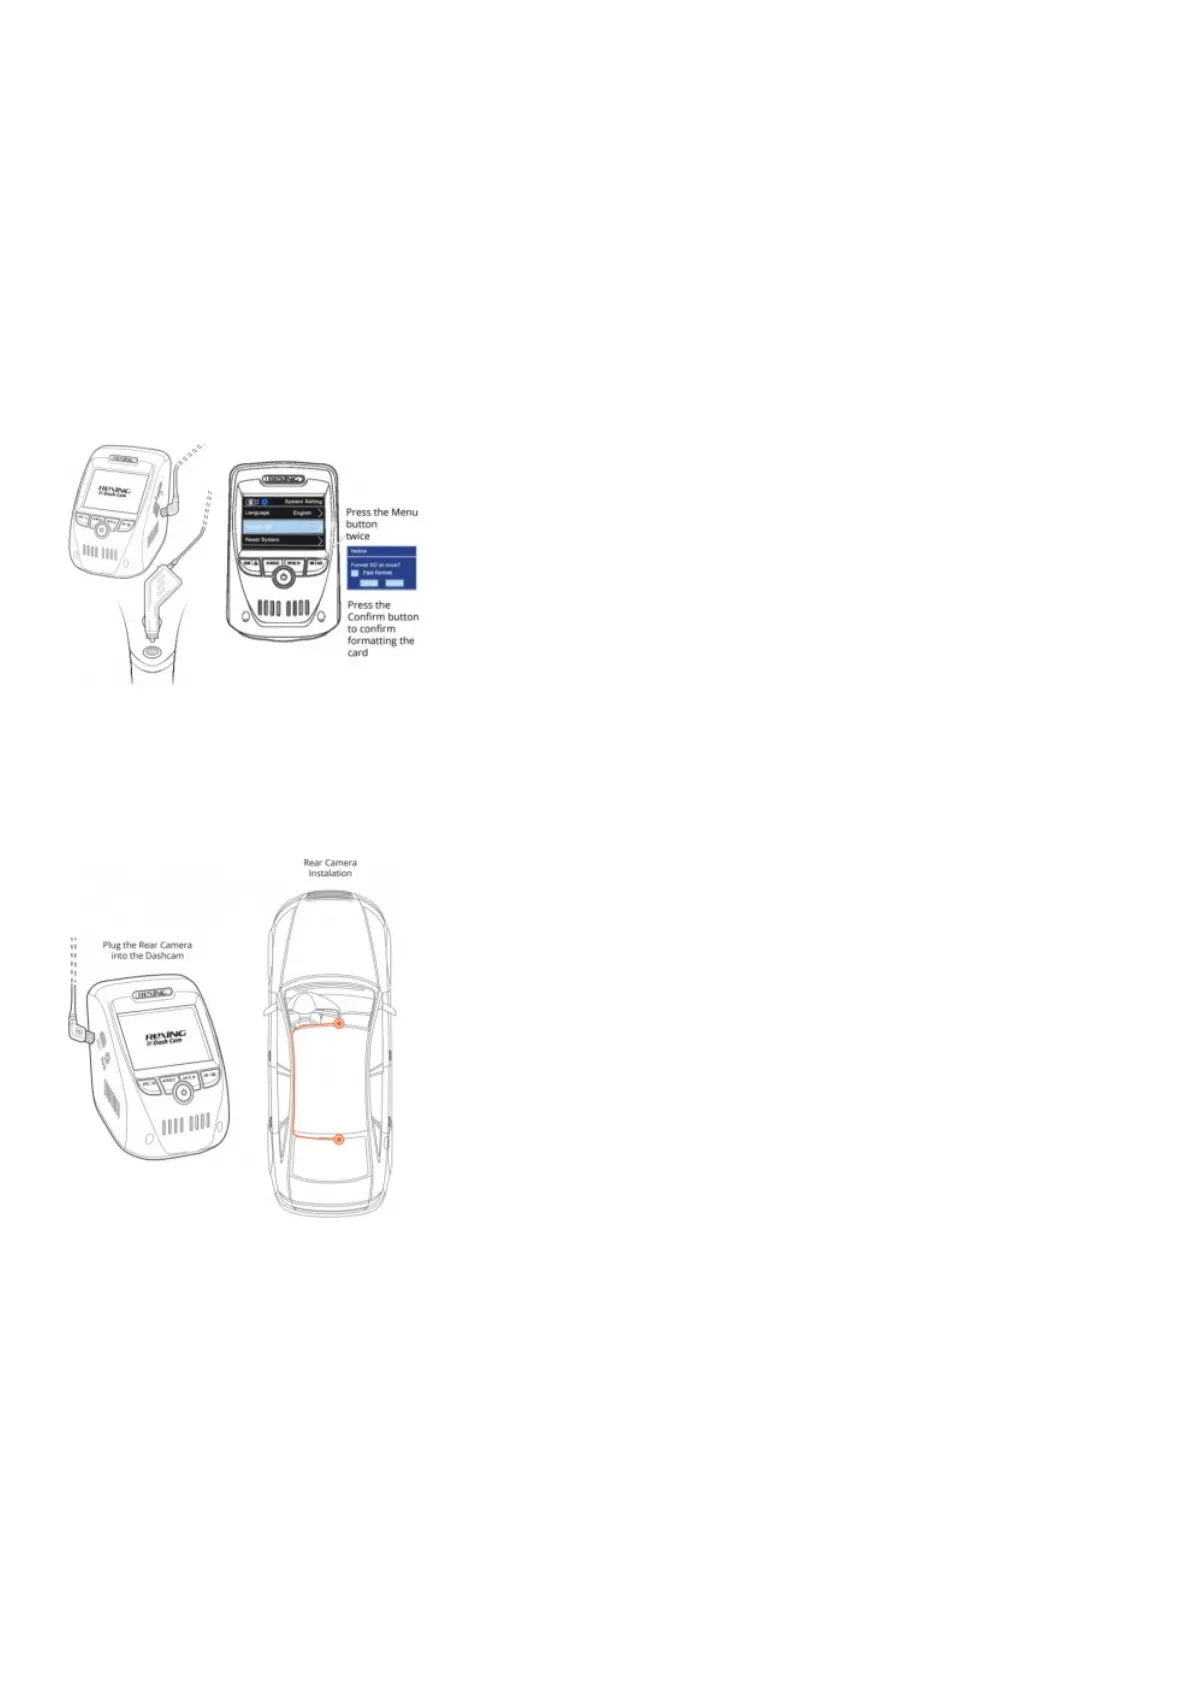
Step 3: Power the Camera and Format the Memory Card
Power the camera by connecting the charger to the car cigarette lighter and camera. To ensure the V1P Max records
to your memory card properly and without error. Before you start using a new memory card, you must format the card
within the camera using the format function. Always backup important data stored on the memory card before
formatting.To format the memory card, make sure you have inserted your memory card, then turn on the device by
connecting to a power source. Press REC to stop recording. Then press the MENU button twice to enter the System
Setup Menu.Use the REC and MIC buttons and go to the Format setting. Press the OK button to confirm the
selection.You may now disconnect from power. The camera will shut down after 3 seconds. The camera should
begin recording automatically the next time it is powered on.
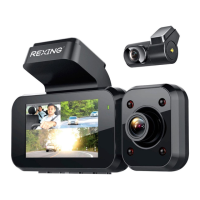
Step 4: Mount the Rear Camera
Mount the rear camera as shown below. Use the provided rear camera cable to connect the rear camera to the front
camera.
Step 5: Installing the Camera onto the Windshield
Place the camera on the mount and carefully route the power cable around the windscreen and tuck in under the
trim.
Plug the Car Charger Cable into a 12V DC power outlet or the car cigarette lighter.
Connect car charger to the camera. The camera will auto-start recording once powered on.