5
Assembly and adjustment instructions RF-KIT Power Amplifier RF2K-S
Step 4: Installing current operating system on Micro SD card
The device is supplied with a Micro SD card, which must be loaded with
the current operating system for the device.
To download the latest operating system you need a so-called “FTP pro
-
gram“ (e.g. “FileZilla“, “WinSCP“ or similar).
You can obtain the corresponding data as a Zip le from the following ad
-
dresses:
Version “International“:
Server: Port: User: Password:
access816807157.webspace-data.io 22 u100014070-rf2ksi RF2K-S-int
Version “US“:
Server: Port: User: Password:
access816807157.webspace-data.io 22 u100014070-rf2ks_w RF2K-S-usa
Version “Canada“:
Server: Port: User: Password:
access816807157.webspace-data.io 22 u100014070-rf2ks_ve RF2K-S-ve
Save the downloaded and unzipped le to the supplied Micro SD card
using the disk imager software “Win32 Disk Imager“.
“Win32 Disk Imager“ is available as freeware for Microsoft Windows as a
version for installation. The free software must therefore be installed after
downloading, which requires administrative rights on the computer.
Installing a version of the operating system other than that
intended for your country will void the warranty.
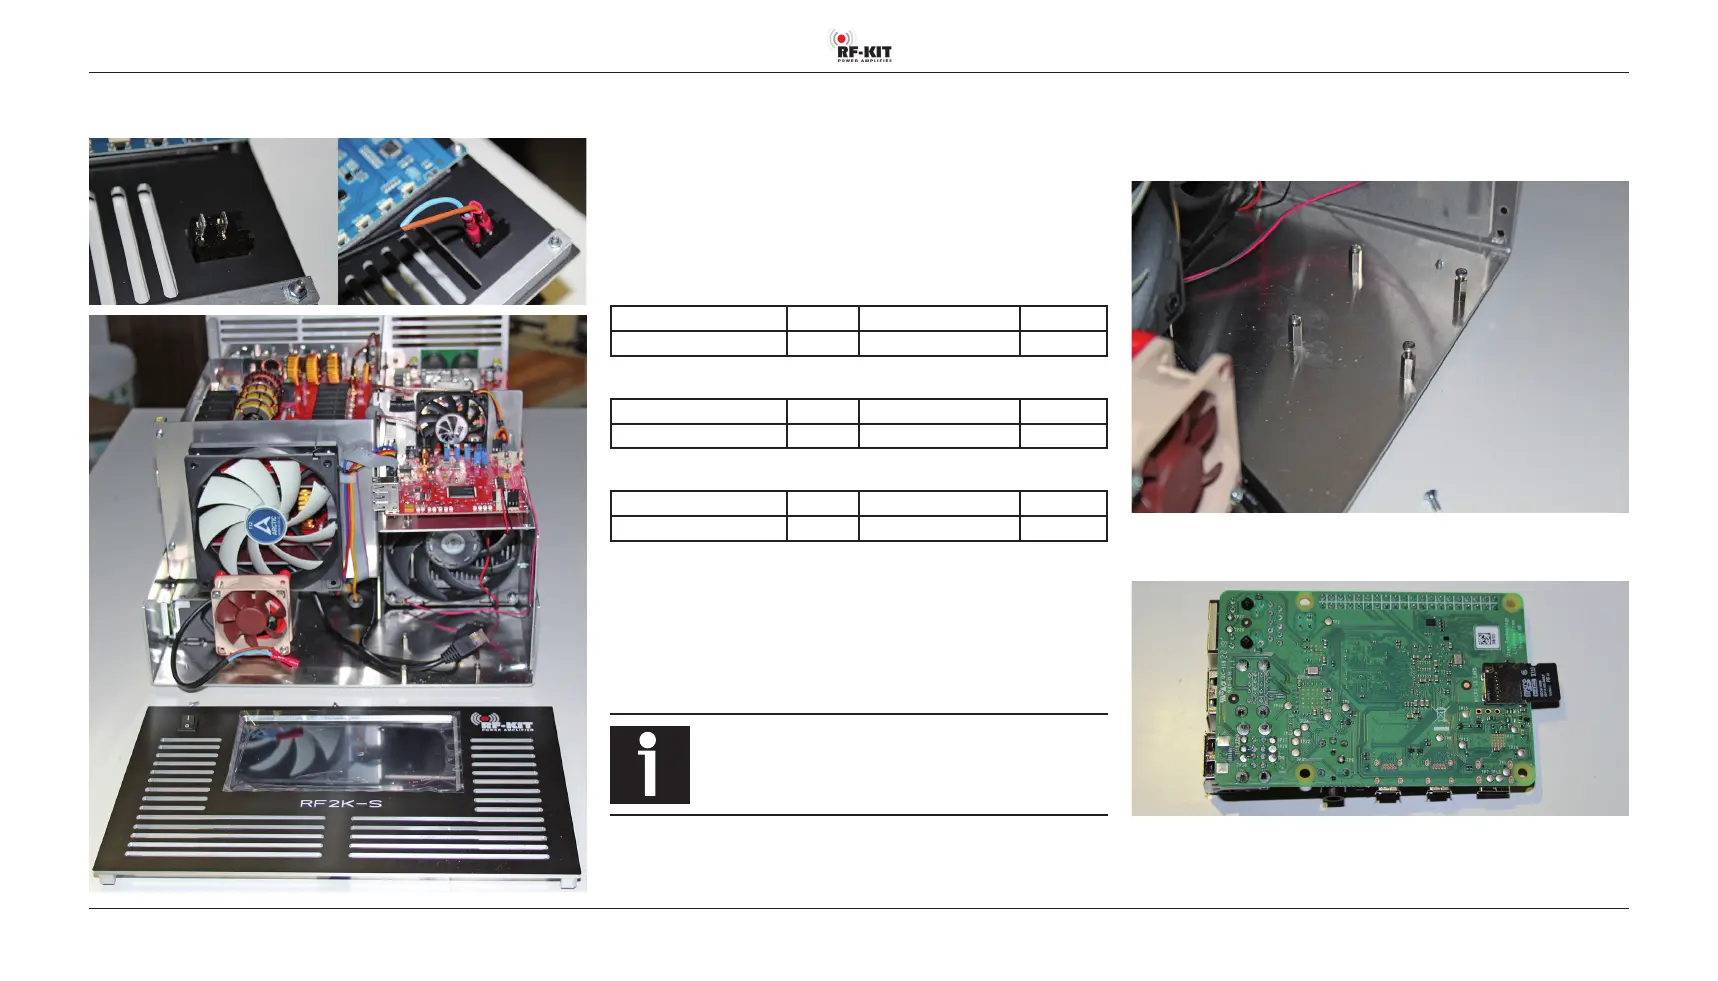
Step 5: Installing Raspberry Pi® 4 Model B
► Remove 4 pre-assembled screws from the spacer bolts provided for
fixing the Raspberry Pi® 4 Model B.
► Insert the Micro SD card preprogrammed in Step 4 into the slot provi-
ded in the Raspberry Pi® 4 Model B.
(continued on next page)
► Disconnect the cable between the power supply and the power
switch (1).