Initial Scanner Setup
19
2
❖
❖❖
❖ Scan Size
Select the size of the original to be
scanned.
• When “Auto Detect” is selected,
the auto detect function of the
machine is used to set the origi-
nal size.
• When the size is specified, scan-
ning is performed for that size,
regardless of the actual size of
the original. The following size
can be selected.
A3S, A4R, A4S, A5R , A5S,
11x17S, 8
1
/
2
x14S, 8
1
/
2
x13S,
8
1
/
2
x11R, 8
1
/
2
x11S ,
5
1
/
2
x8
1
/
2
R, 5
1
/
2
x8
1
/
2
S, B4
JISS, B5 JISS, B5 JISR, Cus-
tom Size
Note
❒ When [Custom size] is select-
ed, the dimensions of the
scan area (width and height)
can be specified.
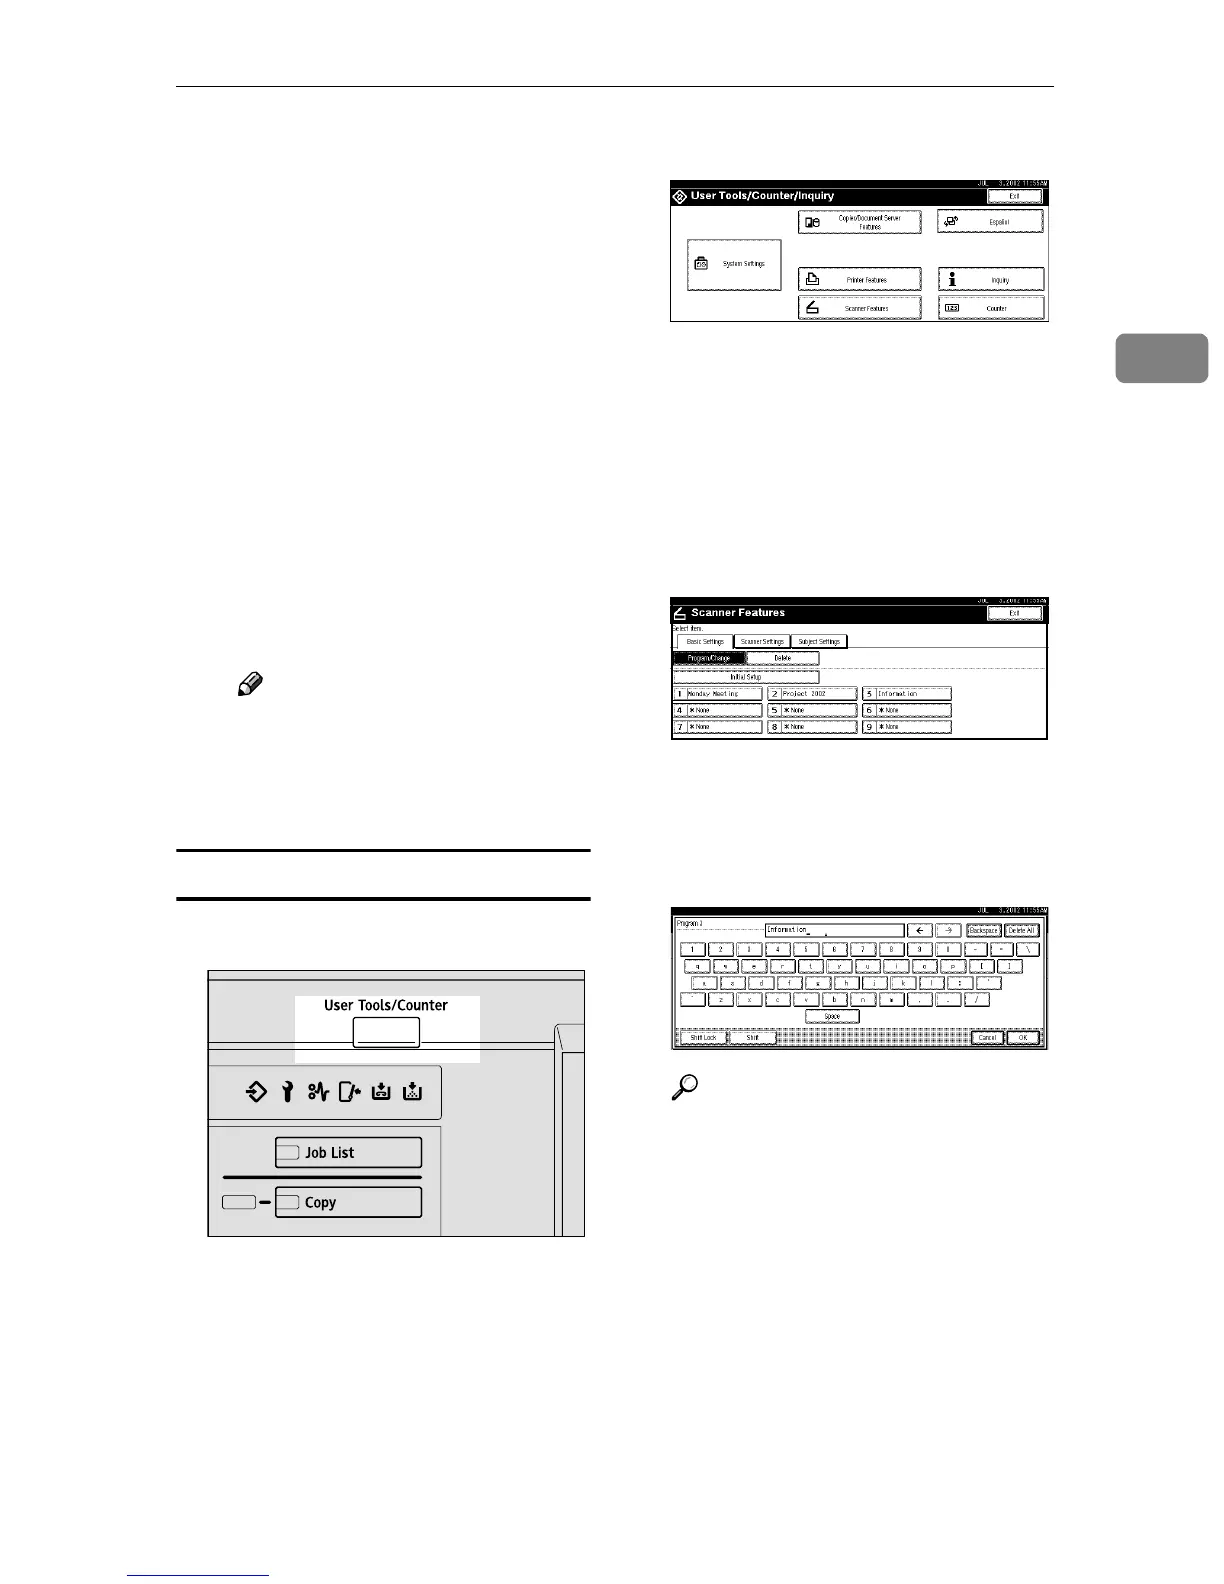
Setting Procedure
A
AA
A
Press the {
{{
{User Tools/Counter}
}}
} key.
The User Tools/Counter/Inquiry
screen is displayed.
B
BB
B
Press [Scanner Features].
The Scanner Features screen is dis-
played.
C
CC
C
Verify that the [Basic Settings] tab
is shown.
D
DD
D
Verify that [Program/Change] is se-
lected, and then select the scan
setting you want to program.
The screen for entering a scan set-
ting name is displayed.
E
EE
E
Enter the desired name and press
[OK].
Reference
For information about entering
characters, see the General Set-
tings Guide.
The screen for the basic settings is
displayed.
ZGZS320N
 Loading...