42
1
Matching Settings to the Scene
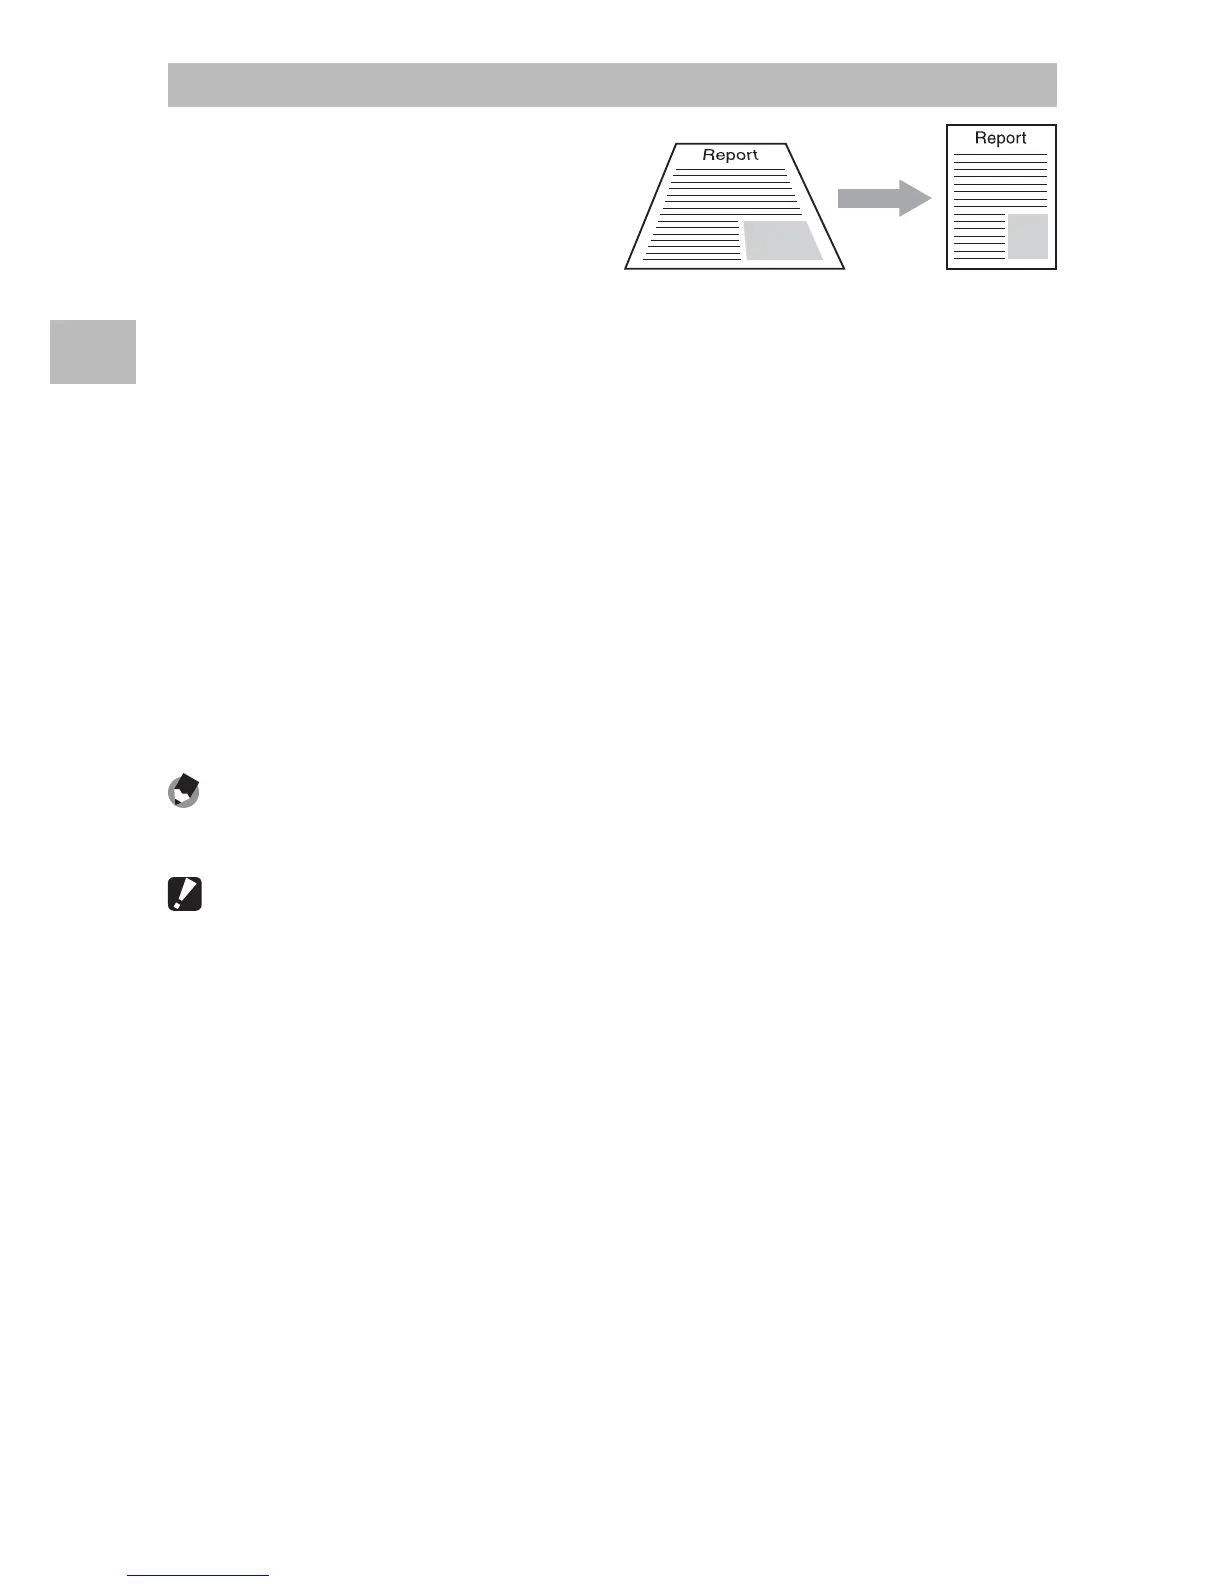
Skew Correct Mode
Reduce the effects of perspective
on posters, business cards, and
other rectangular objects.
1
Take a photograph.
• If the camera is able to detect an object that can be used to correct
perspective, a message will be displayed with the object shown by
an orange frame.
• The camera can detect up to five objects; to select a different object,
press $, or press t to record the photograph without correcting
perspective.
• If the target area cannot be detected, an error message appears. The
original image remains unchanged.
2
Save the modified copy.
• Press the MENU/OK button to save both the original image and a
copy that has been processed to reduce the effects of perspective.
Note -------------------------------------------------------------------------------------
You can also correct the skew of a previously shot still image (GP.64).
Caution ---------------------------------------------------------------------------------
When [Skew Correct Mode] is selected, note the following:
• To shoot the subject as large as possible, position it so that the entire portion
of the subject is visible on the picture display.
• The camera may fail to recognize the subject in the following cases:
- When the image is out of focus
- When four edges of the subject are not clearly visible
- When it is hard to distinguish between the subject and background
- When the background is complicated
• Two images, one before correction and the other after correction, are
recorded. If the number of remaining shots is less than two, you cannot shoot
the subject.
• The correction area may not be detected properly if the [Date Imprint]
function (GP.55) is activated.