Configuring Network Settings
This section describes configuring the settings required to use the machine on a network.
Configuring the IP Address Settings
The procedure for configuring network settings differs depending on whether the IP address is assigned
automatically by the network (DHCP), is specified manually.
• The password for accessing the [Admin. Tools] menu can be specified in [Admin. Tools Lock].
• If your network environment requires a specific transmission speed that is not automatically
detected, specify the transmission speed in [Set Ethernet Speed] under [Network Settings].
• First configure the IP address setting, then install the driver. For details about installing the driver,
see the Driver Installation Guide.
• For details about printing the configuration page, see page 218 "Printing Lists/Reports".
Specifying settings to receive an IPv4 address automatically
• A DHCP server is required on the network for the machine to receive an IPv4 address
automatically.
1. Turn on the machine.
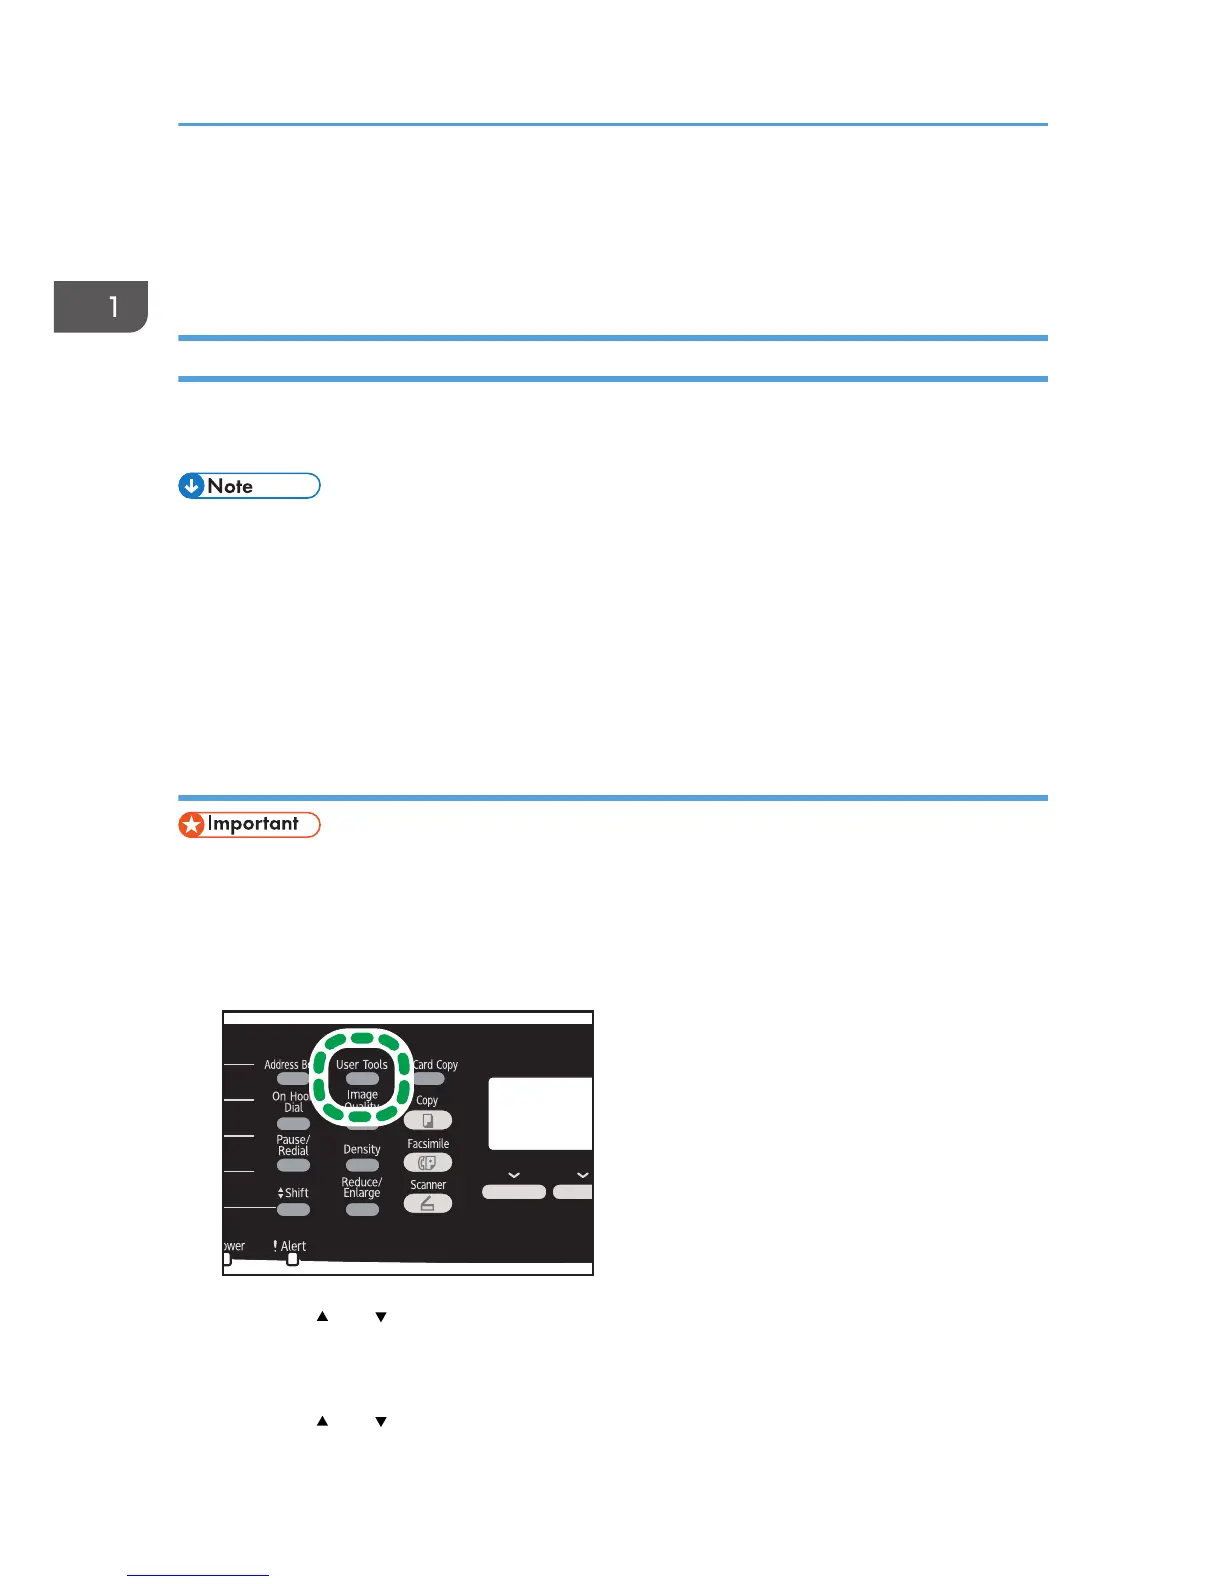
2. Press the [User Tools] key.
3. Press the [ ] or [ ] key to select [Network Settings], and then press the [OK] key.
4. If you are requested to enter a password, enter the password using the number keys,
and then press the [OK] key.
5. Press the [ ] or [ ] key to select [IPv4 Configuration], and then press the [OK] key.
1. Getting Started
42

 Loading...