Maintain the Prism Printer
Note: If you are replacing the ribbon, now is a good time to clean the print head. Refer to Cleaning the
print head on page 13.
1. Access the ribbon area.
a. Power on the Prism.
b. Remove the top cover of the printer.
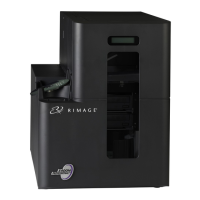
c. To remove the take-up roller, pull up on it
so the end with the gear comes up first, and
lift the take-up roller out of the printer.
d. To remove the supply roller, lift it up.
2. Load the print ribbon.
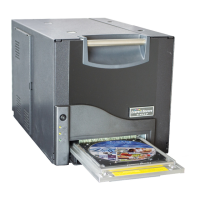
a. Slide the print ribbon onto the supply roller.
Pull back Lift up
Take-up Roller
Supply Roller
b. Align the two notches of the cardboard core
to the metal pins on the supply roller.
c. Peel the ribbon leader from the supply
ribbon.
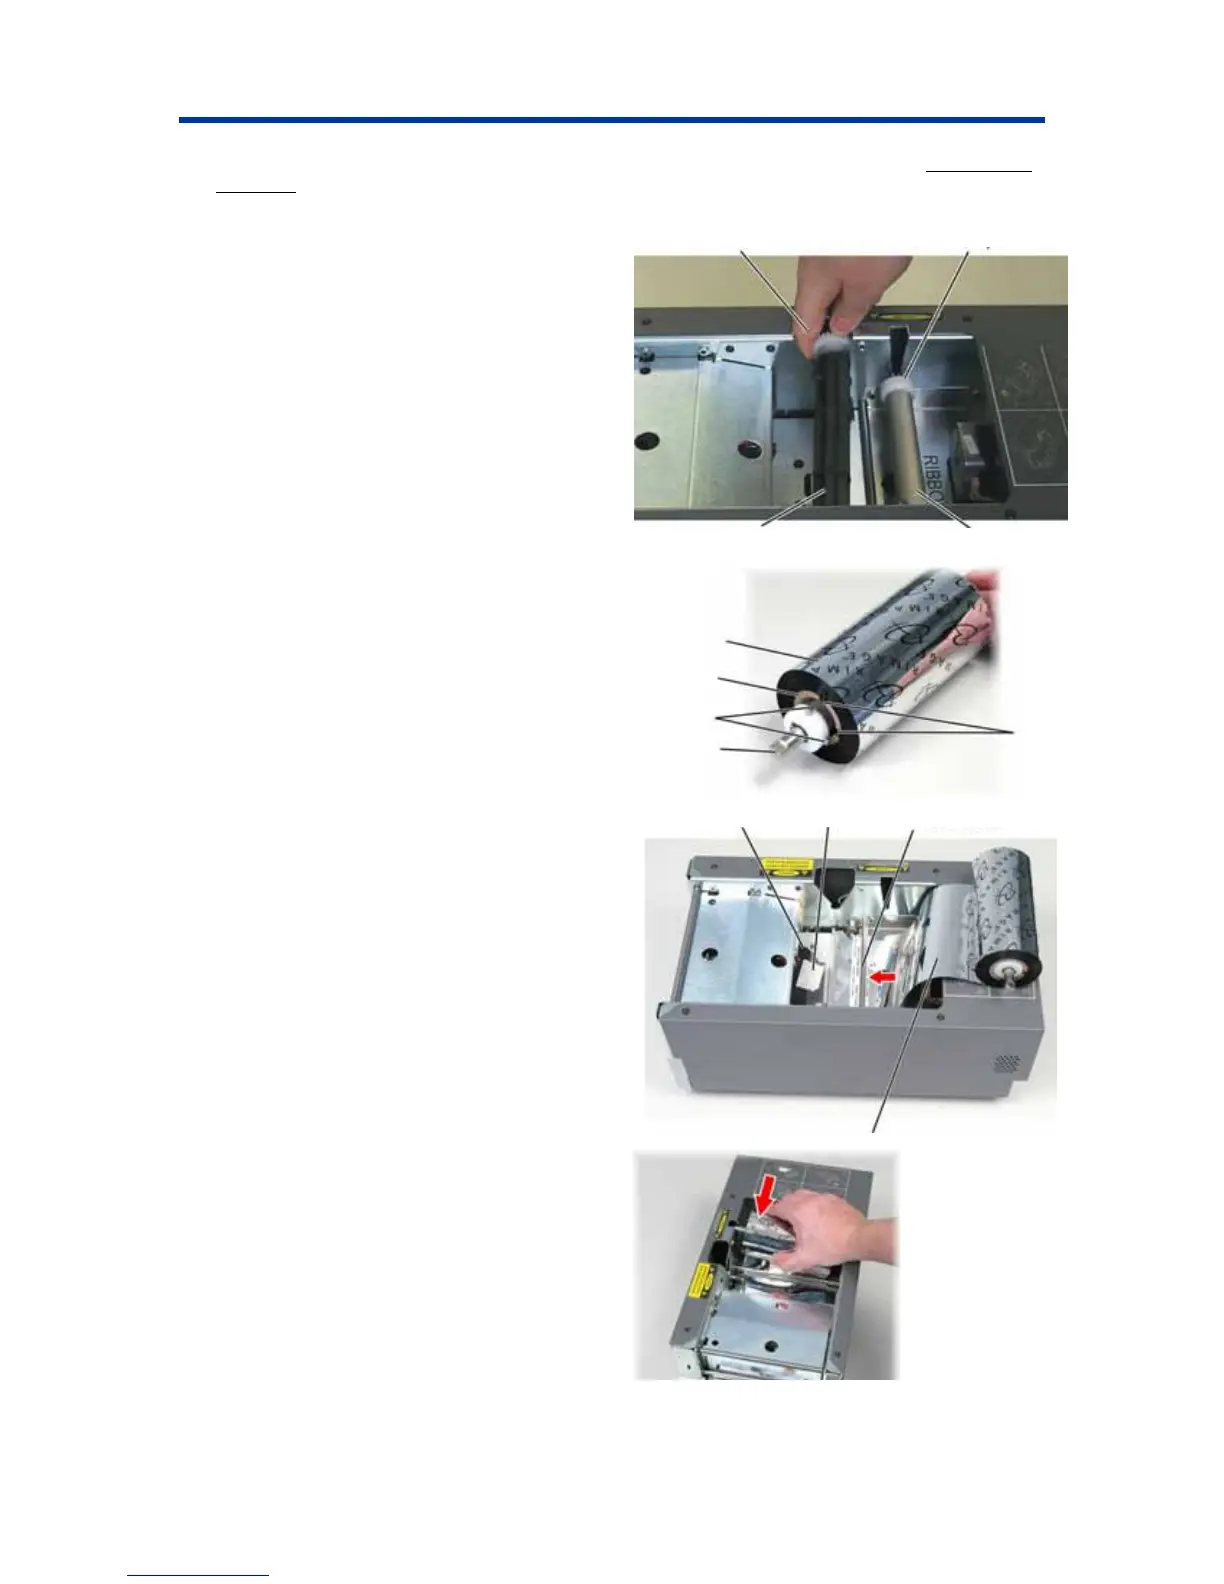
d. Slide the ribbon leader under the ribbon
guide.
e. Tape the ribbon leader to the back of the
printer tray as shown.
f. Install the supply roller as shown. Leave
some slack in the ribbon leader.
Print Ribbon
Cardboard
Core
Metal Pins
Notches
Supply
Roller
Tape
Printer Tray Ribbon Guide
g. Press the operator button until the printer
tray comes out. The ribbon is threaded to the
front of the Prism.
h. Remove the tape from the printer tray.
i. Remove the adhesive strip from the ribbon
leader.
Ribbon Leader
110635_I 15

 Loading...