Do you have a question about the RocketFish RF-HTMF19 and is the answer not in the manual?
Introduction to the product and important safety guidelines for installation and use.
Details on weight, screen size, dimensions, and VESA compatibility.
Tools needed for assembly and installation on different wall types.
Lists all parts included in the TV wall mount package.
Details of various screws, washers, and spacers for TV mounting.
Specific anchors for concrete wall installations.
Identify the TV's back type to select appropriate hardware and spacers.
Choose correct screws, washers, and spacers based on TV back type.
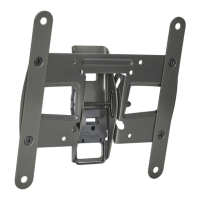
Secure horizontal brackets to the back of the TV using selected hardware.
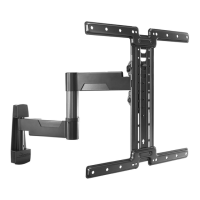
Connect the vertical bracket to the horizontal brackets on the TV.
Find the optimal wall location for mounting, considering TV height and VESA patterns.
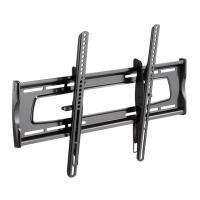
Detailed steps for mounting the TV bracket onto a wood stud wall.
Detailed steps for mounting the TV bracket onto a concrete wall.
Secure the TV onto the mounted arm assembly.
Route and secure cables along the TV mount arms for a clean look.
Adjust the TV's tilt angle and tighten the tension knob.
Level the TV and retighten the locking screw.
Disconnect all cables connected to the TV before removal.
Remove the locking screw and lift the TV off the arm assembly.
Details on what the lifetime limited warranty covers and its duration.
Instructions on how to get warranty service and where it is valid.
List of items and conditions not covered by the warranty.
| Brand | RocketFish |
|---|---|
| Model | RF-HTMF19 |
| Category | Racks & Stands |
| Language | English |