22
JAN.2006
TEST MODE
Backing Up the User Data
All user data is deleted when Test Mode is carried out.
Also be sure to reload the user data after competing Test Mode.
Required Equipment
• AC voltmeter (ex. NF M-177)
• Head Phone
• Speakers (ex. MA-10D) x2
• EXP Pedal
• Hold Pedal
• Audio Cable x2
• MIDI cable
Test items
The following tests are provided for the E-09. For detailed information about
the tests, refer to the corresponding sections.
0. Test Mode Top page
1. Shock TEST
2. Memory TEST
3. MIDI TEST
4. SOUND TEST1 (OUT1,2 HEADPHONE)
5. SOUND TEST2 (Low, Mid, High)
6. LCD TEST
7. A/D TEST
8. Pedal TEST
9. Switch & LED TEST
10. KEYBOARD TEST
11. Noise TEST
12. Factory Reset
Important Notes on Starting
Testing
• After entering the Test mode, no user data is lost until “12.Factory Reset”
is executed.
Save user data beforehand using an external sequencer and computer
only when executing “12.Factory Reset”. (Refer to the sections on USERS
DATA SAVE AND LOAD.)
• Some test items output confirmation-use audio.
Before you start, connect headphones and a monitor speaker.
How to Enter the Test Mode
Holding down the [8 (WORLD 1)] + [SPLIT] + [KEYBOARD TOUCH] buttons
and switching on the power to the unit displays the top page for the Test mode
(CPU and ROM versions). Continue to hold down the buttons until the Test
mode top page appears.
How to Move among the Test
Items
Use the [USER PROG] + [FAMILY < ] buttons to move to the previous test and
the [USER PROG] + [FAMILY > ] buttons to move to the next test.
Test item details
Detailed Description of the Test Mode.
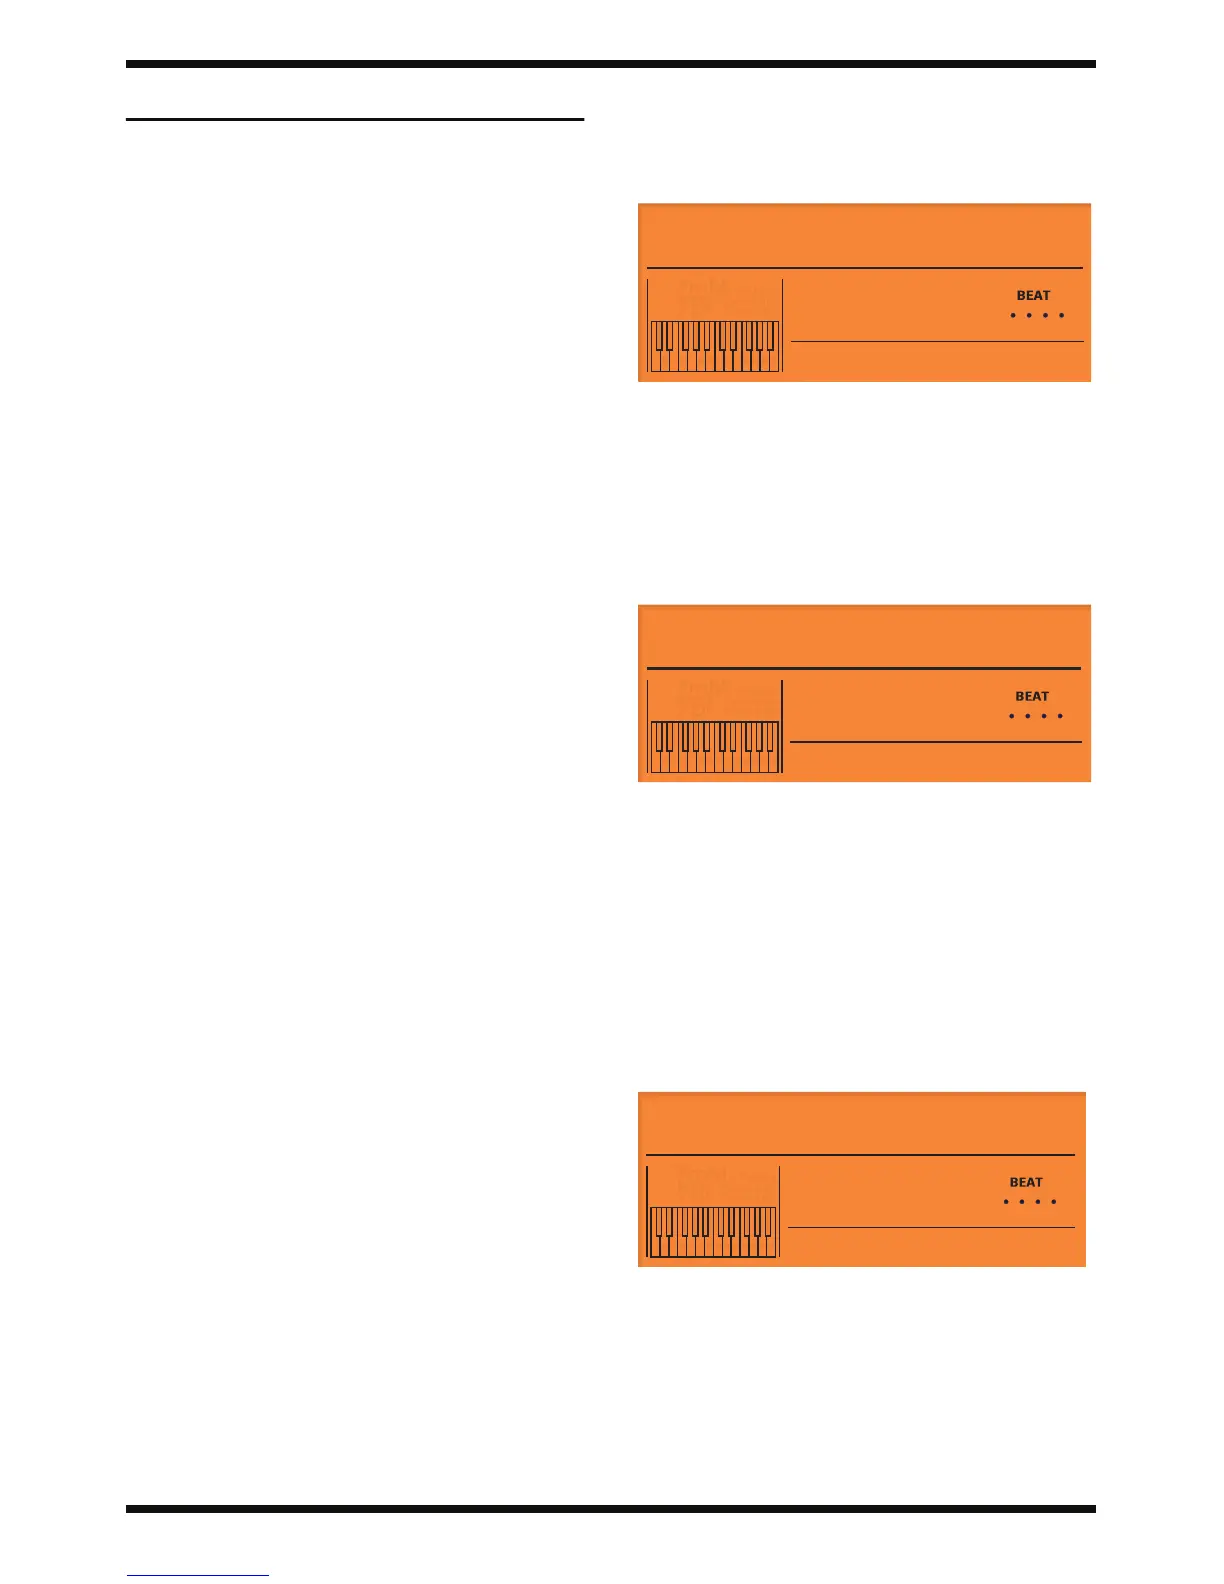
0.Test Mode Top page (E-09 PD Test)
fig.lcd-ver
1. Verify the versions of the CPU and program ROM.
If the versions are not appropriate, perform an upgrade. (Refer to “How
to Update the System.”)
For information on the latest versions, check the Service Information.
2. Pressing the [TEMPO + / YES] button starts the Test mode.
1.SHOCK Test
fig.lcd-t02-mute
1. The DEMO SONG is played.
Perform checking for momentary noise and the like when the VOLUME
control is operated.
2. Make sure that audio output is muted while the [SONG] button is
pressed.
3. Pressing the [TEMPO + / YES] button proceeds to the next test.
2.MEMORY Test
(MEMORY Test 1)
1. Perform a check of the CPU and flash ROM (program memory).
fig.lcd-t03-rom
2. If no problem is found, “OK” (pass) is displayed and operation
automatically advances to MEMORY Test 2.
If “NG” (fail) is displayed, check the following locations.
CPU NG (fail): MAIN BOARD IC3, IC11, IC12, and X1
ROM NG (fail): MAIN BOARD IC5 and IC36
Pressing the [USER PROG] + [TEMPO + / YES] buttons proceeds to the
next test.

 Loading...