18
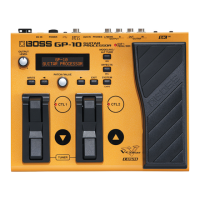
Jun. 2014 GP-10
Verifying the Version
1. Hold down WRITE and switch on the power.
Continue to hold down WRITE until GP-10 GUITAR PROCESSOR
appears.
After a short wait, the version information is displayed.
2. Switch off the power.
Virus Check
Before connecting your computer to the GP-10, carry out a virus check on
the GP-10. If it has been infected by a virus, format it after obtaining
permission from the end user. For the formatting procedure, refer to
Performing a Factory Reset (p. 18).
Data Backup and Restore
Operations
User data (user patches and system parameters) is saved by sending it
(bulk dump) as MIDI data to a computer on which a MIDI sequencer
program is installed.
The amount of data to be backed up is approximately 120 k-bytes.
Items Required
•Computer
•USB cable
• MIDI sequencer program (Cakewalk Sonar or the like)
• UpdSMF.exe (obtained via Service Information No. 102333.)
* Install these software on the computer.
• GP-10_USERDATA_RQ.mid (obtained via Service Net)
* Copy the SMF described above to a folder on the computer.
Data Backup
1. Use the USB cable to connect the connector on the GP-10 and the
computer.
2. Switch on the power to the GP-10 and the computer.
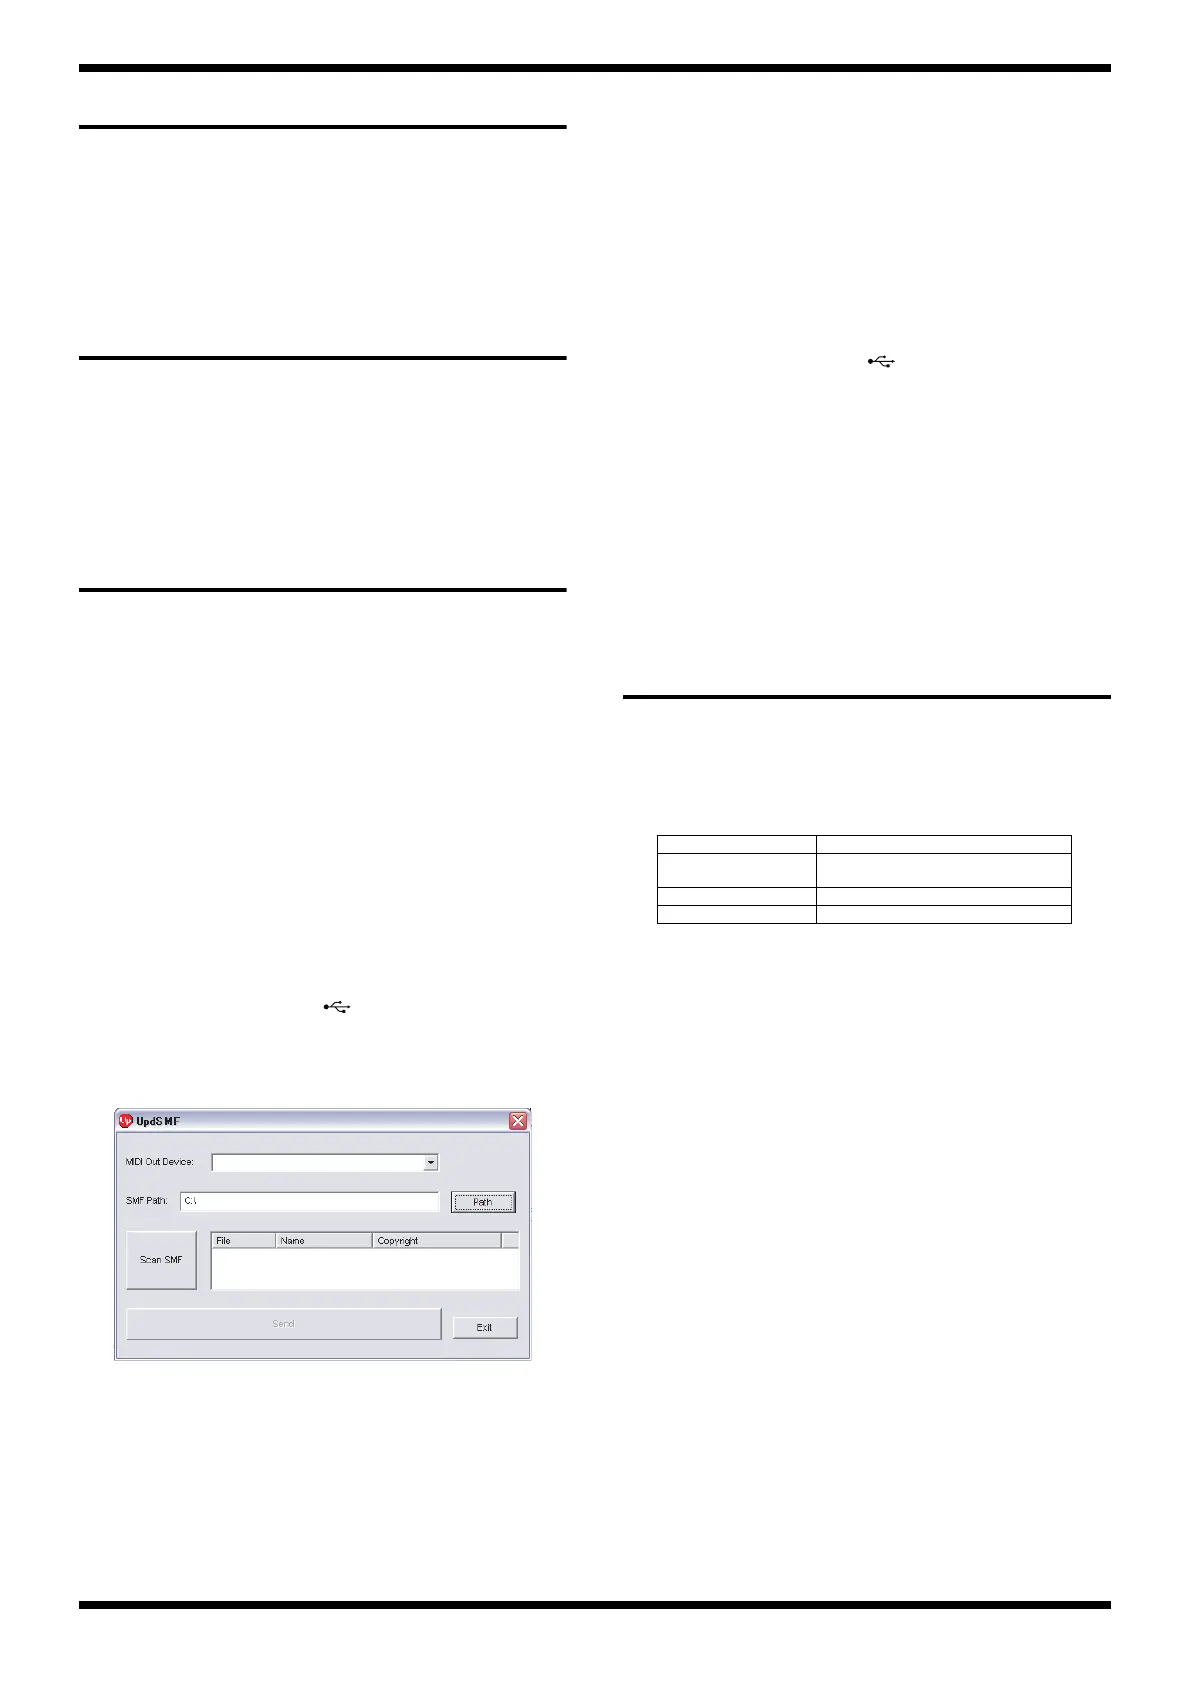
3. On the computer, run UpdSMF.exe.
fig.updsmf.eps
4. Click the drop-down menu (a) and select GP-10.
5. Click Path (b), then select the folder where you copied GP-
10_USERDATA_RQ.mid.
6. Click Scan SMF (c). The SMF in the folder you selected in step 5 is
displayed.
7. Start the MIDI sequencer program, then start recording.
8. Return to the UpdSMF.exe and select GP-10_USERDATA_RQ.mid, then
click Send (d).
GP-10_USERDATA_RQ.mid is sent to the GP-10, and the GP-10 which
received it returns the data to the computer.
The data is recorded on the MIDI sequencer program.
* Progress is not displayed on the GP-10. To monitor the progress, check the
display in the MIDI sequencer program you're using.
9. When the data sending from the GP-10 has finished, stop the recording
and save the recorded data as a SMF file.
Data Restore Operations
1. Use the USB cable to connect the connector on the GP-10 and the
computer.
2. Switch on the power to the GP-10 and the computer.
3. Start the MIDI sequencer program on the computer.
4. Play back the recorded data (SMF). The data is sent to the GP-10
When the MIDI sequencer program finishes sending data to the GP-10,
the data-restore operation is completed.
* Progress is not displayed on the GP-10. To monitor the progress, check the
display in the MIDI sequencer program you're using.
Performing a Factory Reset
1. Switch on the power.
2. Press SYSTEM several times to select Factory Reset.
3. Turn the PATCH/VALUE knob to specify the range to reset to the factory-
default setting.
4. Press WRITE.
ARE YOU SURE ? is displayed.
5. To execute the factory reset, press WRITE. To cancel it, press EXIT.
When the display returns to the initial screen, the factory reset has
finished.
b
c
d
a
Settings value Settings reset
SYSTEM + PATCH System parameters settings +
User patches settings
PATCH User patches settings
SYSTEM System parameters settings
 Loading...