36
tank, completely disassemble the tank and empty
out the remaining oil into the drain pan.
3. Replace the hydraulic oil tank in the correct
manner.
4. Fill approved hydraulic oil up to the "max“-mark.
Maximum capacity of empty tank.
5. Bleed the cylinders both platforms.
6. Close the cabinet and Remove oil residues on
the oor or on the lift with an approved detergent.
Dispose of used cleaning cloth in the correct
manner.
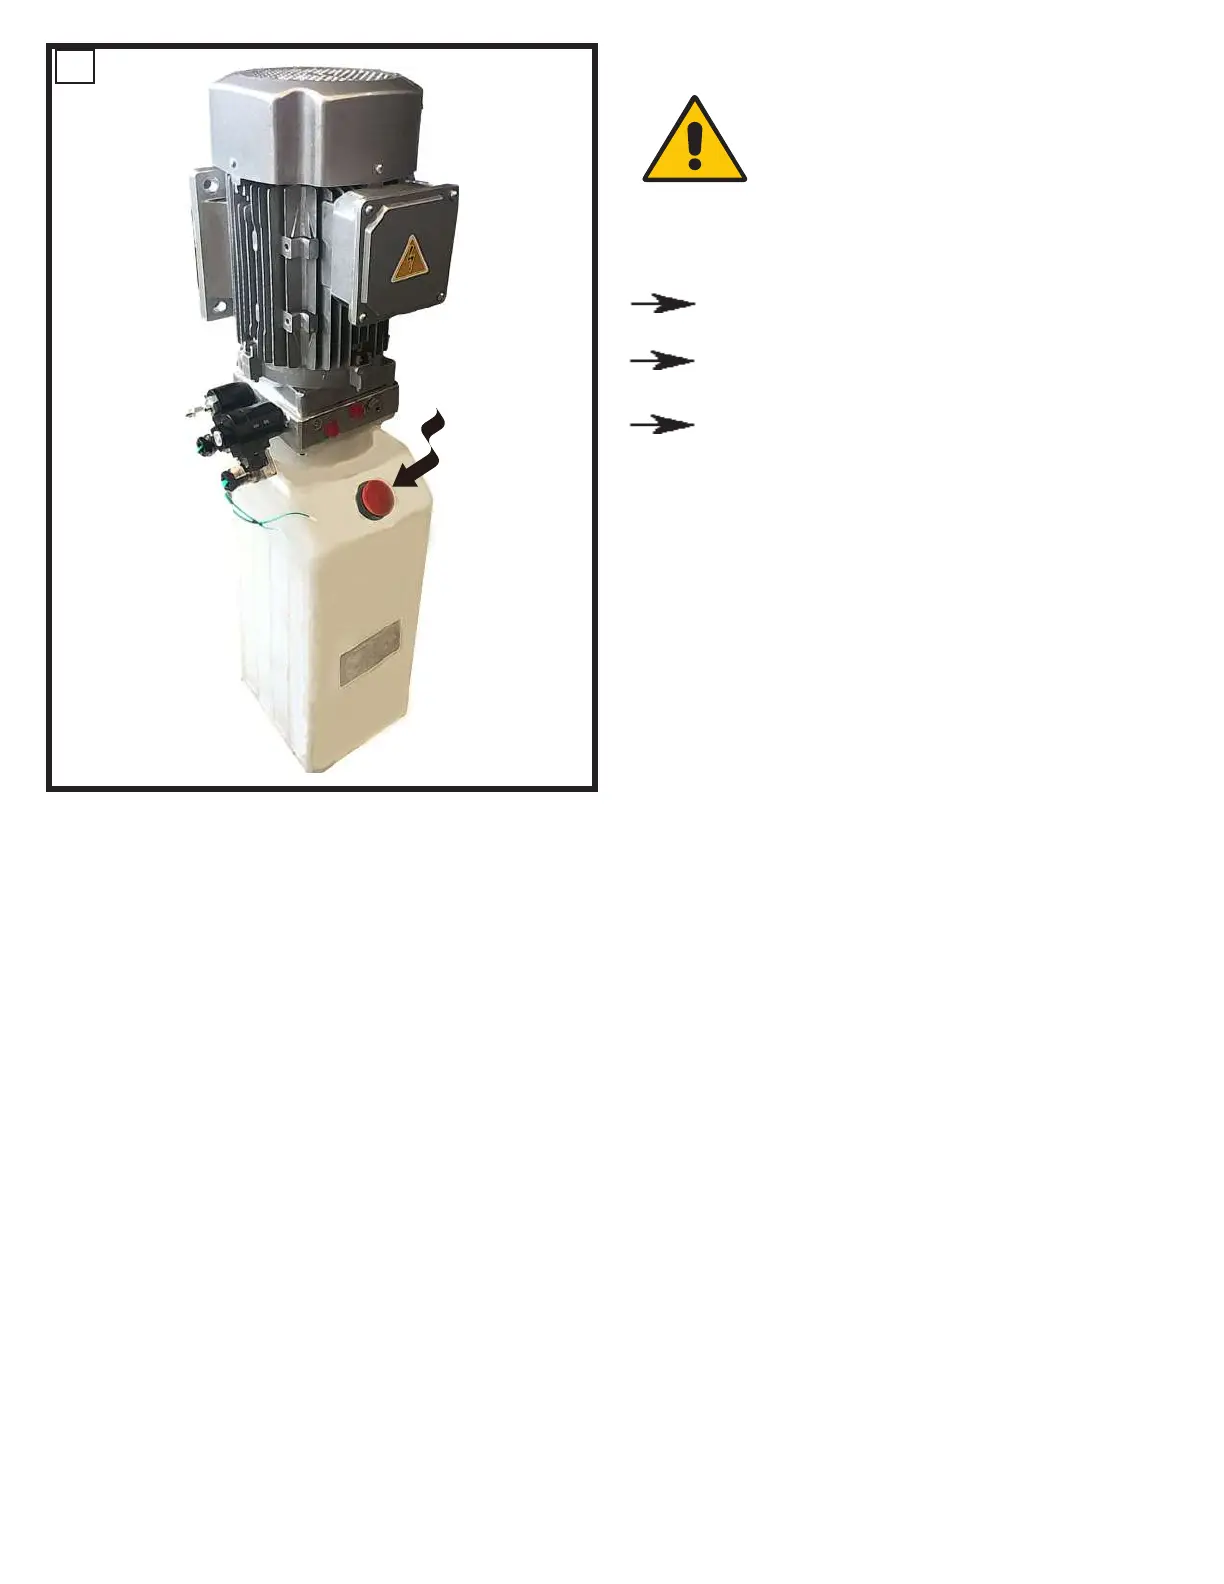
7. Turn main switch back on ("ON“ setting).
8. Check that control buttons and switches function
properly.
9. Carry out function tests with and without load.
10 Complete maintenance report ( → Annex).
15
9.6 Repair work (Repairs)
If repairs are carried out incorre-
ctly, they may cause serious injury
and also lead to damage to prope-
rty. A safety risk as well as a risk
of fatal injury exists during
operation.
Repairs may only be carried out by trained
customer service staff.
Follow all safety regulations and warnings
in this chapter.
Always follow the repair instructions below.
Repair work must be documented
(→ Annex, inspection logbook).
Always refer to the information received
during the manufacturer‘s training.
Changing the cylinder or seal kit.
Before removing cylinder make sure you have
the correct seal kit or cylinder(see-Annex).
Cylinder Removal Procedure
1) Raise the lift to the top and rest the platforms or
scissors on the obstacle.
3) Check to make sure the platforms or scissors is
secure on obstacle.
4) Make sure the pressure has been relieved from
the system.
5) Follow the proper LOCKOUT/TAGOUT
procedures for disconnecting power to lift.
6) Disconnect the swivel hose tting at base of
cylinder.
7) Disconnect the shaft at top and base of cylinder.
8) Cap hose ends and cylinder adapter to prevent
uid loss.
9) Carefully remove cylinder from scissors.