48
13. Disassembly
• Disassembly work may only be carried out by
authorized qualied staff.
• Only qualied electricians may work on the elec-
trics.
• Only trained persons with specialist knowledge of
hydraulics/pneumatics may work on the hydraulic
or pneumatic equipment.
1. To carry out disassembly work, switch off the
equipment at the main switch (position OFF).
2. Attach a warning sign to prevent reconnection.
4. Disconnect the electricity supply.
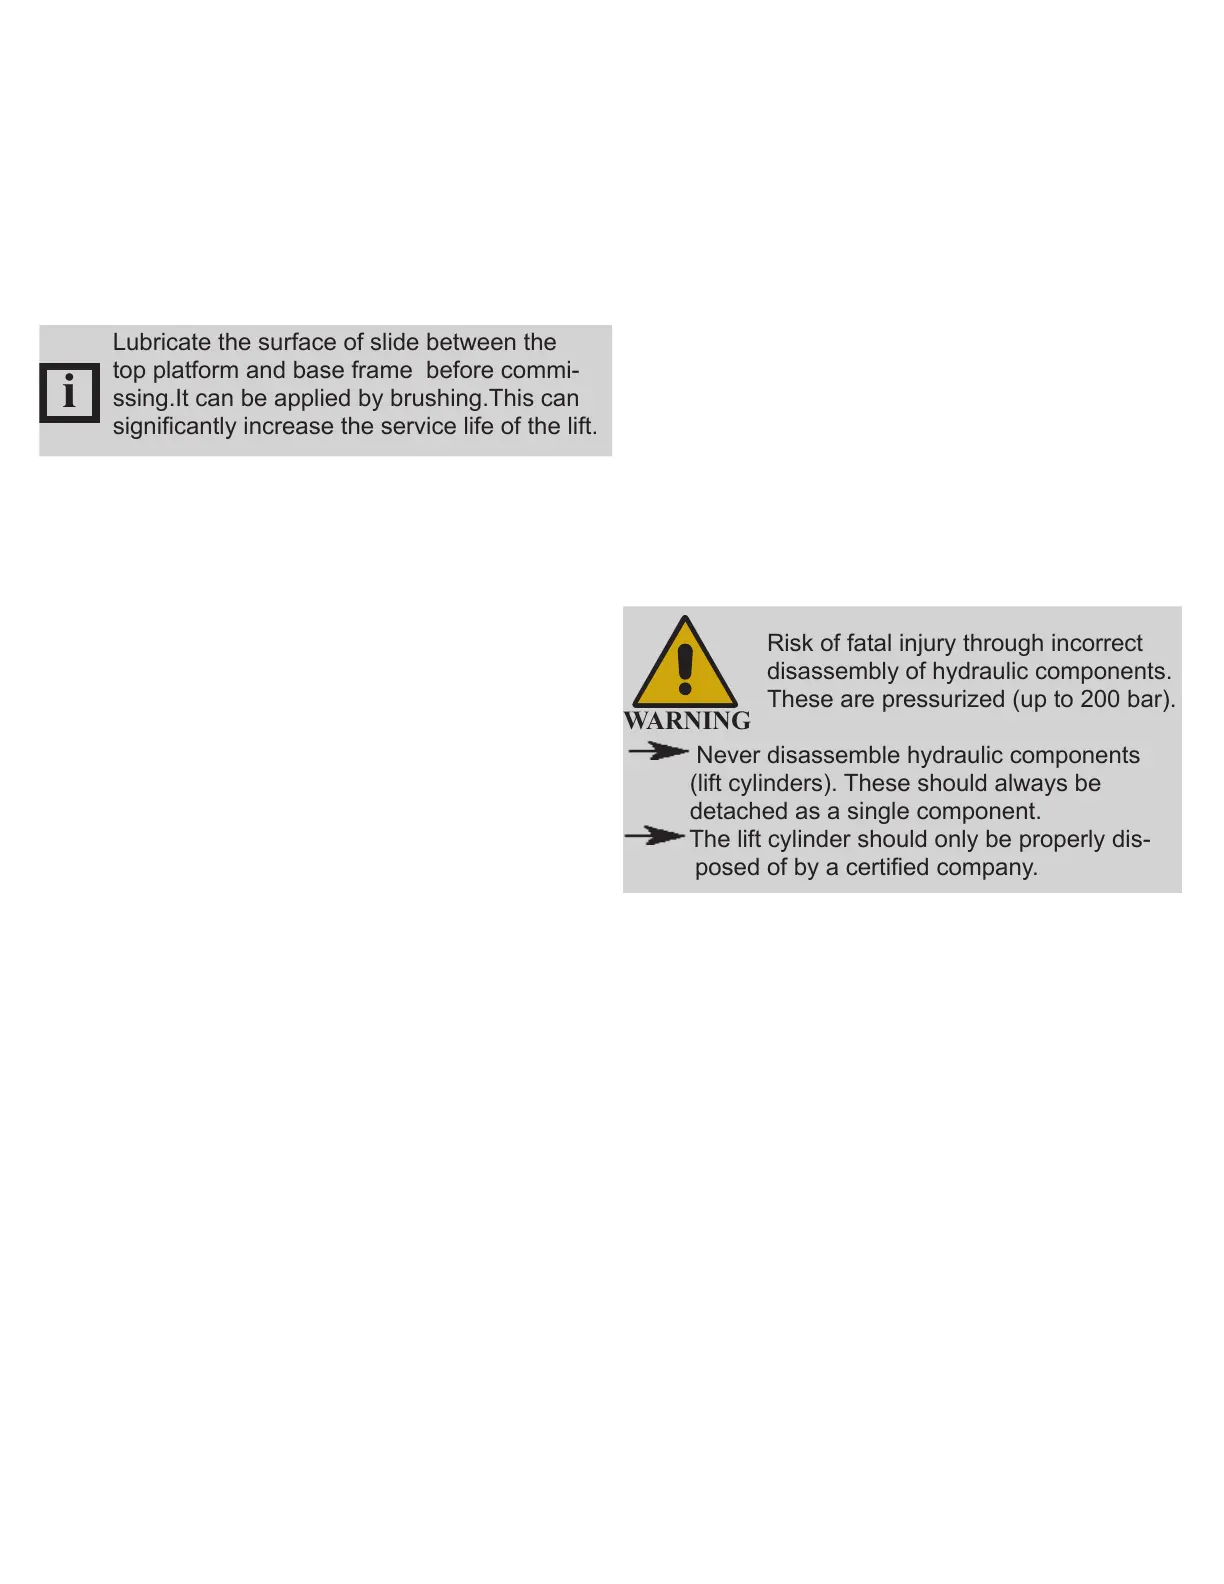
Risk of fatal injury through incorrect
disassembly of hydraulic components.
These are pressurized (up to 200 bar).
Never disassemble hydraulic components
(lift cylinders). These should always be
detached as a single component.
The lift cylinder should only be properly dis-
posed of by a certied company.
5. Empty the hydraulic oil tank, drain the hydraulic
oil from the hydraulic hoses. Dispose of the
hydraulic oil as described in Chapter 14.
6. Remove grease and other chemical substances.
Dispose of as described in Chapter 14.
7. Disassemble lift columns, cross beams and arms
.
14. Disposal
14.1 Environmental procedures for
disposal
• Prevent environmental hazards.
• Avoid contact with or inhalation of toxic sub-
stances such as hydraulic uid.
12.1 Safety instructions for connecting
power cables
12. Commissioning
12.1 Check Operation
Operate lift and assure that push button raises lift
when pushed and stops lift when released. Check
disconnect switches for cutting power to push-
buttons. Also check that Proximity switch stops lift
from raising and lowering when actuated and that
lift regains power when deactivated.
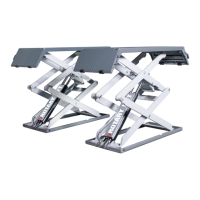
Lubricate the surface of slide between the
top platform and base frame before commi-
ssing.It can be applied by brushing.This can
signicantly increase the service life of the lift.
12.2 Test the hydraulic system
1. Set the main switch to ON.
2. Move the unloaded lift to full rise and the bottom
position several times using the Up and Down
buttons. This will completely remove any air
pockets in the hydraulic system.
3. Press up botton to raise lift to full rise and keep
motor running for 5 seconds. Stop and check all
hose connections. Tighten or reseal if required.
4. Carry out a visual inspection of the hydraulic and
pneumatic system. In doing so, check all lines,
especially the couplings. No leaks must be found.
5. Lower the lift completely and check the hydraulic
oil level. This must also correspond to the
maximum level.
6. Finally check that the hydraulic components are
tted securely.
12.1 Safety instructions for connecting
power cables