4
3. To Raise Lift:
• DoNotpermitanyoneonliftorinsidevehiclewhenitisin
motion.
• Maintainvisualcontactwitharms,pickuppoints,&vehicle
throughoutthemotionoftheliftwhileremainingclearoflift.
• Actuate switch,Fig.1.Stopbeforemakingcontact
withvehicle.Checkarmrestraintpinsforengagement.If
required,slightlymovearmtoallowrestraintgearandpawl
tomesh.DONOThammerpindownasthiswilldamagethe
restraint gear teeth.
Note: Allow(2)secondsbetweenmotorstarts.Failureto
complymaycausemotorburnout.
• Raisevehicleuntiltirescleartheoor.
• Shakevehicleatfrontorrearbumpertocheckstability.
• Stop:Checkadaptersforsecurecontactatvehicle
manufacturer’srecommendedpickuppoints.
• Continuetoraisetodesiredheightonly if vehicle is stable on
lift.
• Actuate switch, Fig. 1, to lower lift onto latches after
desired height is reached.
OPERATING INSTRUCTIONS
Surface Mounted Frame Engaging Lifts
To avoid personal injury and/or property damage, permit only trained personnel to operate lift. After reviewing
these instructions, get familiar with lift controls by running the lift through a few cycles before loading vehicle on lift.
Always lift the vehicle using all four adapters. NEVER raise just one end, one corner, or one side of vehicle.
For Truck Frame Vehicles: Assure vehicle frame can support it's weight & overhead bar will contact highest point on the vehicle.
1. Before Loading:
• InspectLifttoassureitisingoodoperatingcondition.
• Assureliftisfullyloweredandservicebayclearofall
objects,grease,oil&personnel.
• Swingarms,withgrease&oilfreeadapters,outtofulldrive-
thru position.
• TurnE-Stopswitchto"ON"position.
• DoNotallowunauthorizedpersonsinshopareawhileliftisin
use.
• DoNotuseanypartoftheliftasacraneorasasupportfor
anotherliftingmechanism(i.e.:block&tackle,etc.).
2. Loading:
• DoNotallowunauthorizedoruntrainedpersonstoposition
vehicle or operate lift.
• DoNotdriveoverarms.
• DoNotoverloadlift.Seecapacitylabelonlift.
• UseOnlyadapterextendersprovidedbythemanufacturer.
DoNotusewood,concreteblocks,orotherimprovised
extenders.
• Spotvehicleoverliftwithleftfrontwheelinproperspotting
dish position as shown in Fig. 3. (Position vehicle according
to the center of gravity, not for door opening clearance.)
• Checktheconditionofthepickuppointsofthevehicle.
• Swingarmsundervehicleandpositionadaptersatvehicle
manufacturer'srecommendedpickuppoints,Fig.4.Adjust
adapters to the required height to keep the vehicle level and
in secure contact with adapters.
• Useoptionaladaptersforunderbodyclearancewhen
required.
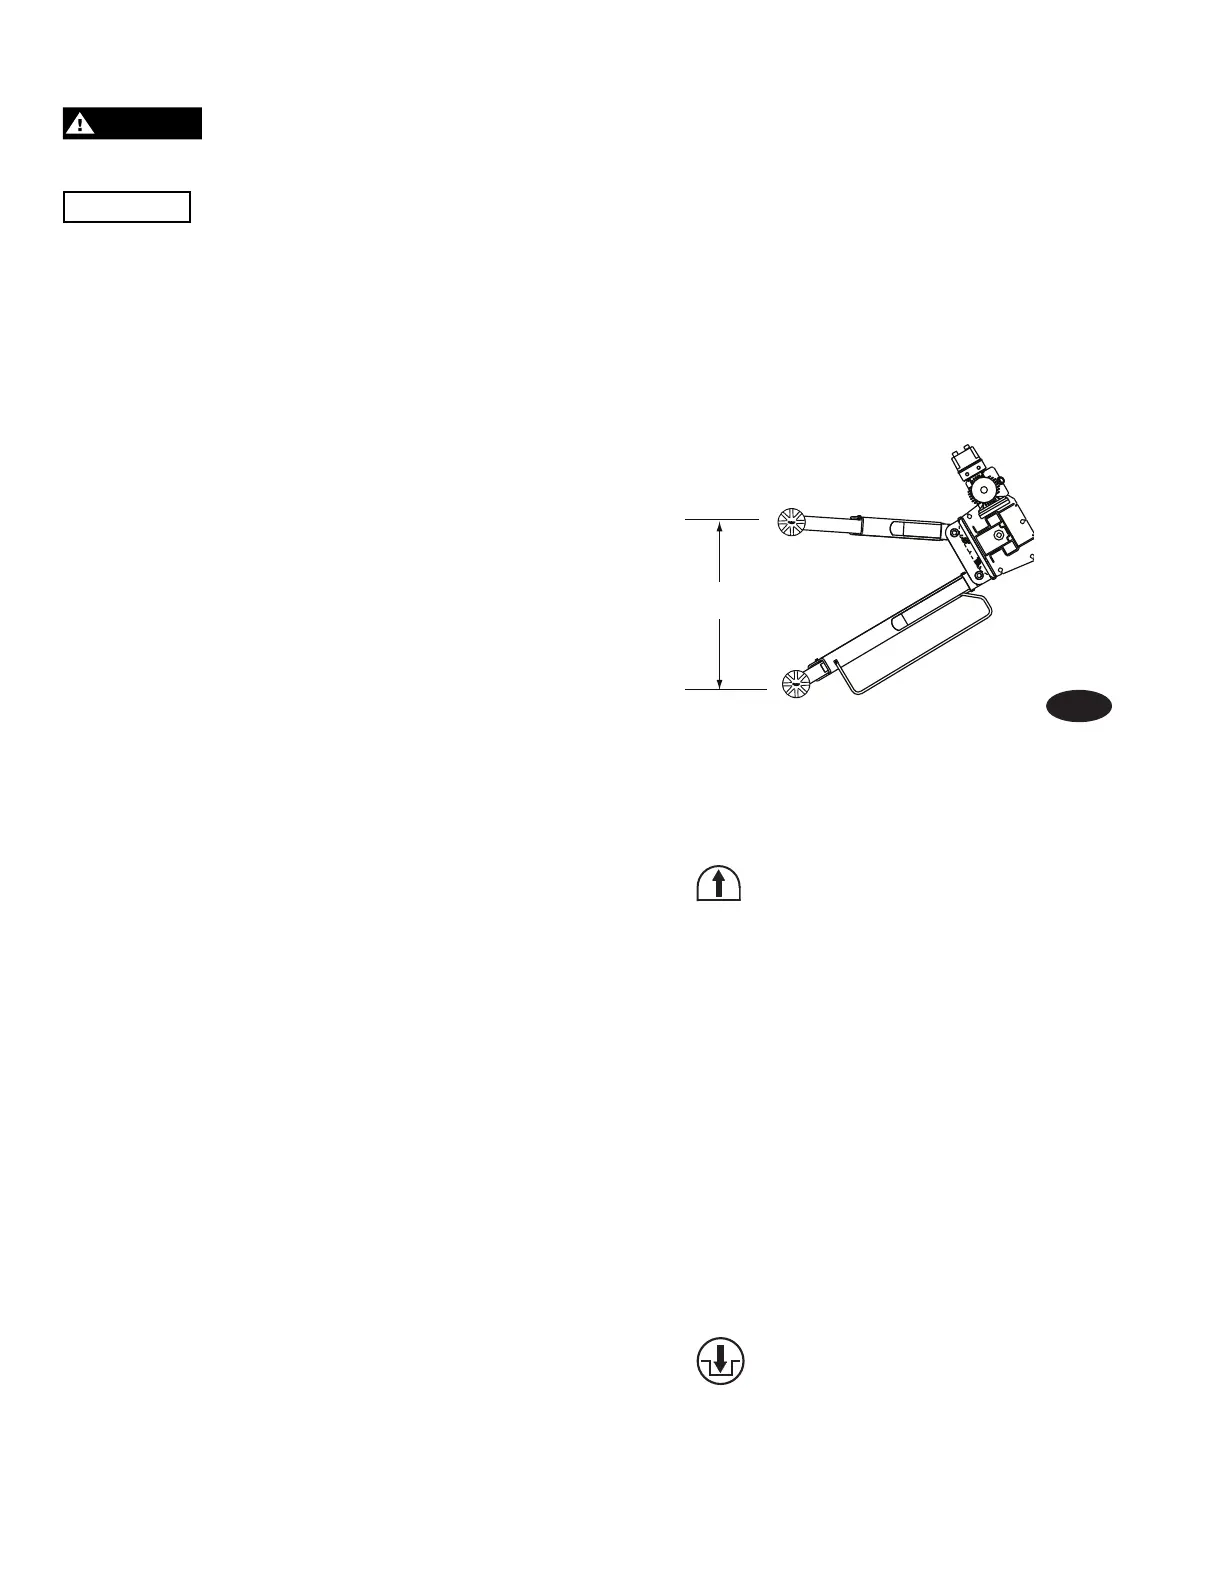
• Minimumdistancebetweenfore&aftpickuppointsis0.7m
(27-1/2"),SeeFig.2.
Fig. 2
 Loading...