REact60_100-8010v1.0.docx - 9 - 03/2023
Adjustment of the positioning speed (REact60DC/ 100DC)
The actuating speed can be set using a two-pole switch DIP1(Fig.13).
Replacement of components
Replacing the terminal board
Caution!: a Observe the safety regulations
The actuator must be disconnected from the power supply.!!
• To replace the terminal board, remove the switching carrier unit (Fig.16, pos.1000).
• Remove the switch unit from motor plate.
• Remove the lever from the-force switch (Fig.16, pos. 900).
• Remove the terminal board (Fig.16, pos. 600) from switch unit.
• Install the new terminal board.
• Install the lever(force-switch) (Fig.16, pos. 900) onto the pin of the switch unit.
• Secure the lever-with a quick look washer.
• Install the switch unit on the motor plate.
• Install the switching carrier unit
• Perform electrical connection according the wiring diagram.
Replace the REact60DC/ 100DC motor unit
Caution!:a Observe the safety regulations
The actuator must be disconnected from the power supply!!
• Disconnect the motor from terminal board (REdrive).
• Dismantle the REdrive board (BLDC-Motor-Unit Fig.12)
• Loosen motor screws or distant bolts (BLDC-Motor-Unit Fig.12)
• Replace motor unit
• Fix new motor unit in place and connect with REdrive.
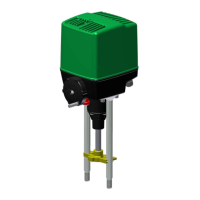
Maintenance, repair
• The actuator is maintenance-free.
• The actuator may only be cleaned with a mild soapy solution.
• Lubricant for gear and spindle nut: see technical data in the appendix
Notes
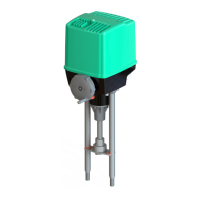
The use of this actuator is for a specific purpose
The drive may only be used for the intended purpose. Control and shut off drive for control and Shut/Off valves.
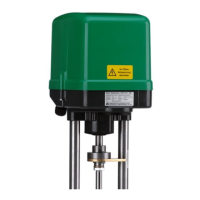
External metal surfaces can get hot during operation. Do not touch.
A safe distance to hot components must always be maintained to avoid overheating the actuator.