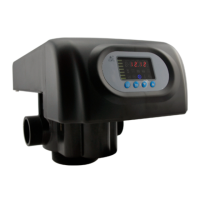
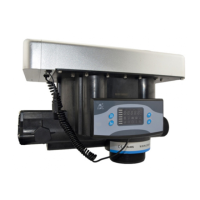
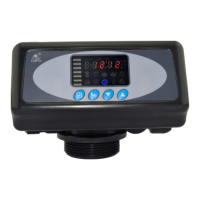
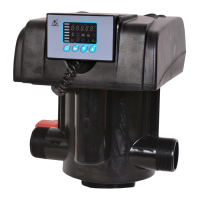
MODEL: N74A1-63510/N74A3-63610/N74B1-63510B/N74B3-63610B
8
temperature may drop below 5℃, or above 50℃.
⑦ One place is recommended to install the system which cause the
minimum loss in case of water leaking.
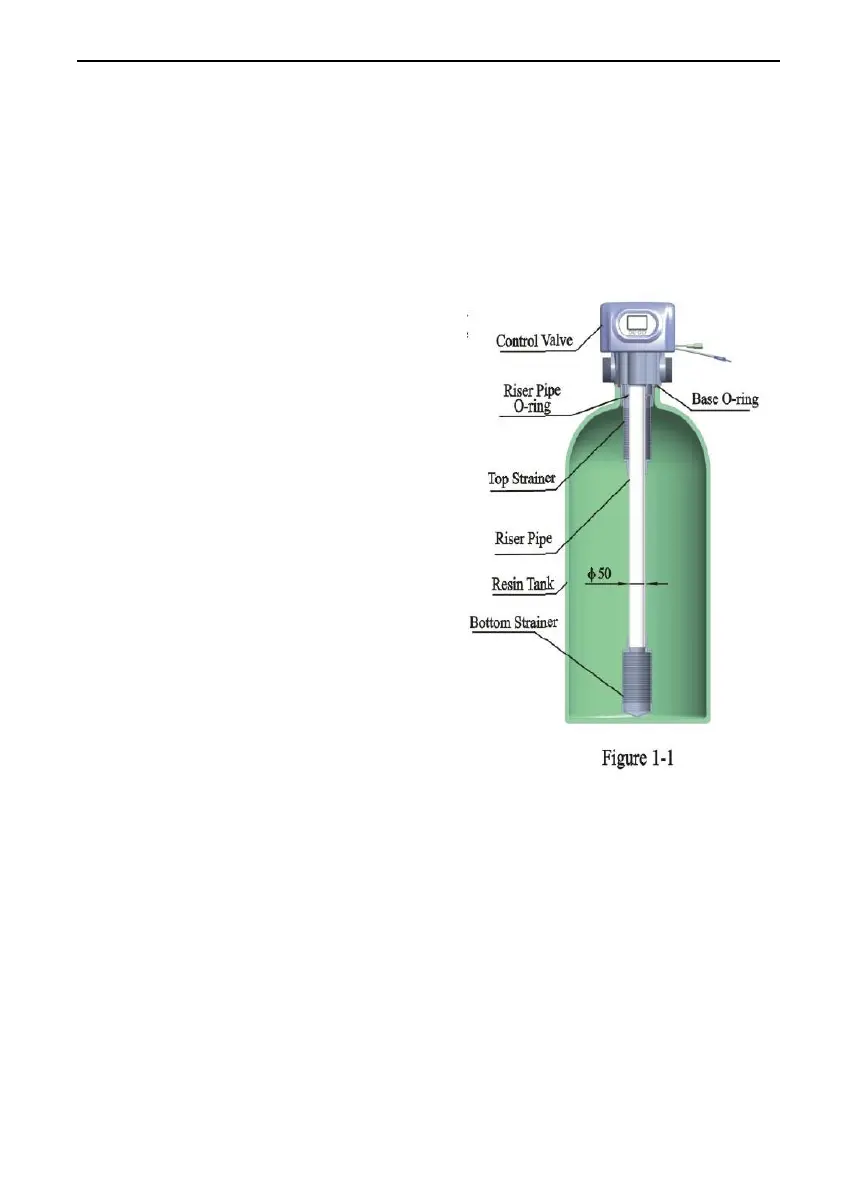
C. Pipeline installation (Take N74A3 as an example)
① Install control valve
a. As the Figure 1-1 shows, select the
riser pipe with 50 mm OD, glue the
riser pipe to the bottom strainer
and put it into the mineral tank, cut
off the exceeding tube out of tank
top opening. Plug the riser tube in
case of mineral entering.
b. Fill the resin to the tank, and the
height is accordance with the
design code.
c. Screw top strainer connector to
valve body with five pieces of
screws.
d. Screw the top distributor to the
valve.
e. Insert the riser tube into control
valve and screw tight control
valve.
Note:
●The length of riser tube should be neither higher 2mm nor lower
5mm tank top opening height, and its top end should be rounded to
avoid damage of O-ring inside the valve.
●Avoid floccules substance together with resin to fill in the mineral
tank.
●Avoid O-ring inside control valve falling out while rotating it on the
tank.