INSTALLATION & SETUP
6. Push the cartridge completely into the receptacle
applying moderate pressure (a small amount of force
must be used in order to pierce the seals. Withdraw
the cartridge about 1.5 inches (30mm) and push it
back in as far as it will go. Repeat this step three times.
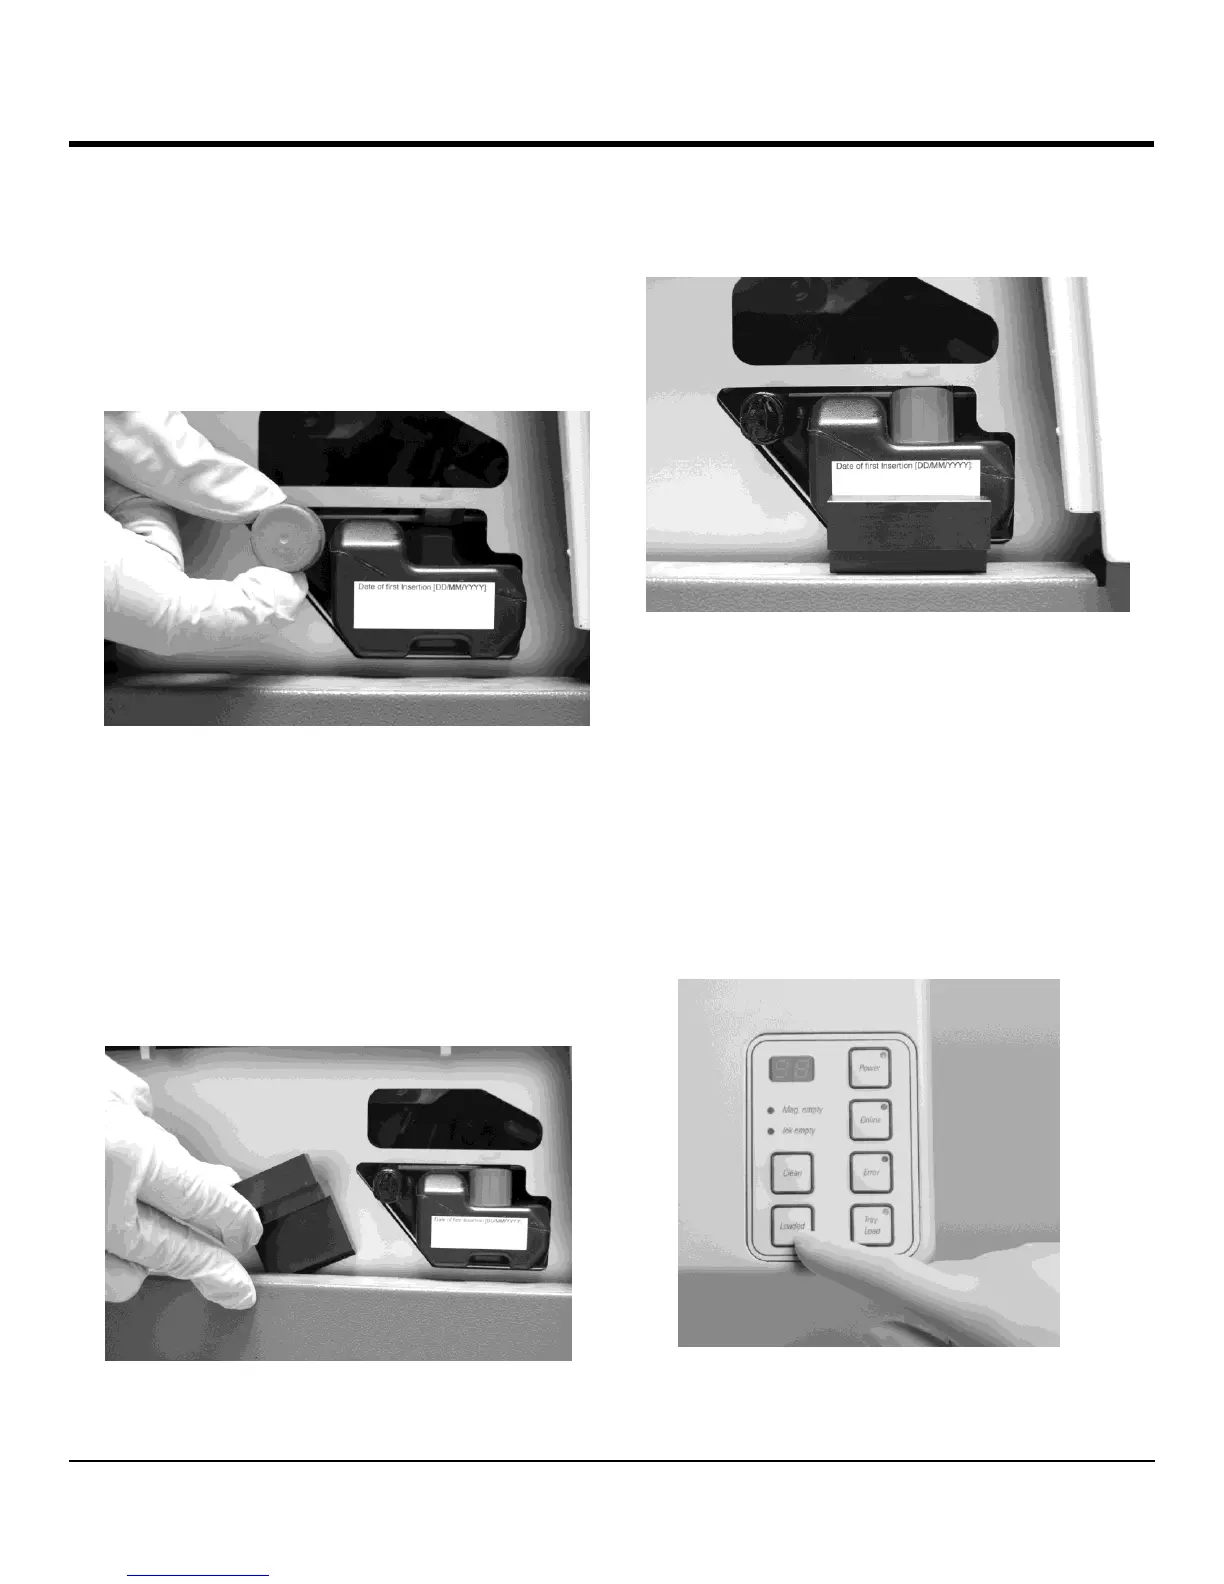
7. Unscrew the red cap completely from the nozzle of
the cartridge (Figure 2-HH).
Figure 2-HH
8. Store the red cap in the indented groove on the top of
the cartridge. (Screw-on cap must be saved for disposal).
NOTE:
The following step is very important and must not
be omitted.
9. Insert the safety catch between the metal plinth and
the printer. Position the catch in front of the cartridge
to prevent slippage and to ensure proper instrument
function (Figure 2-II).
Figure 2-II
CAUTION: The printer should not be operated
without
the safety catch in pla
ce
(Figure 2-JJ).
Figure 2-JJ
NOTE:
If the safety catch (part #AP060339616) is not
installed or provided in the accessory box, please contact
your local Sakura representative.
10. The sensor in the cartridge slot recognizes the
presence of a new cartridge. The illuminated ink
empty LED goes out and code 88 appears in the
display. Reposition the side cover.
11. Press the [LOADED] key (Figure 2-KK) to reset the
ink meter to full
Figure 2-KK
 Loading...