Section 4
OPERATING INSTRUCTIONS
Operating I
n
structions
The Tissue-Tek
®
AutoWrite
™
slide printer uses basic
operating procedures to perform continuous, high-speed
printing. This chapter describes basic, routine operations.
Before initial operation, it is important that all installation
procedures have been carried out.
1.
Installation of the infrared absorbing glass
2.
Installation of the curing lamp
3.
Installation of all accessories
4.
Connection of the instrument to a grounded power
source
5.
Installation of the ink cartridge
6.
Data connection to the PC
7.
Filling and loading the slide magazines
8.
Installation and configuration of the printer driver
9. Configuration of printer settings
10. Performance of a test print
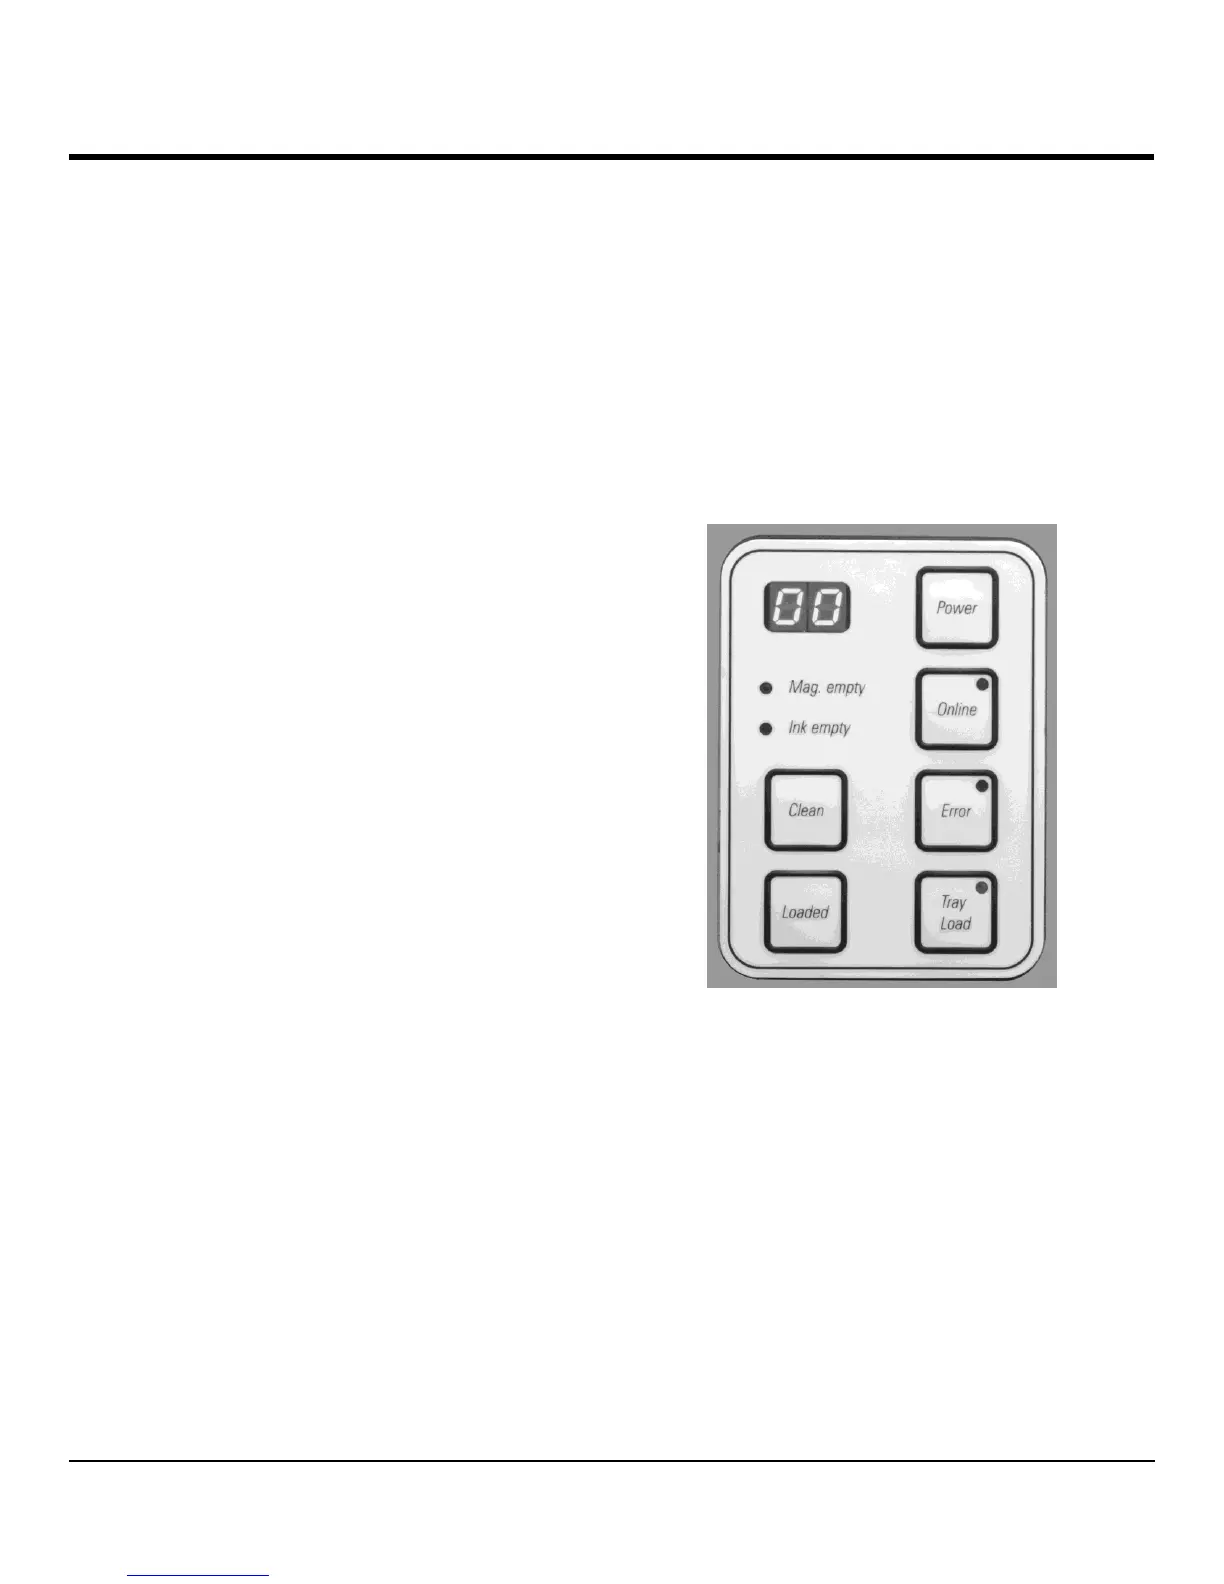
Understanding the Control
Panel
The control panel (Figure 4-A) controls the printer
functions and print jobs, as defined by the control software.
It consists of a membrane keyboard with six pressure-
sensitive function keys (four of the keys include an LED
indicator), two LED displays and a two-figure, seven-
segment display. The control panel also indicates current
printer status, processes in progress, errors and/or error
messages, and controls the optional unload station.
Figure 4-A
 Loading...