Section 2
Installing the Unload Station
1
If the slide unload station was purchased with the slide
printer follow the procedures outlined below.
CAUTION: Make sure that the instrument is switched
off and the power cord is unplugged before beginning.
Remove the slide bin and all screws (if already
installed) prior to placing the printer onto the unload
station.
1.
Place the unload station on a firm counter capable of
supporting at least 90 lbs (40 kg).
2.
With two people positioned on each side of the
instrument, hold it directly over the unload station.
2
The logo and instrument name should face the edge
of the counter.
3.
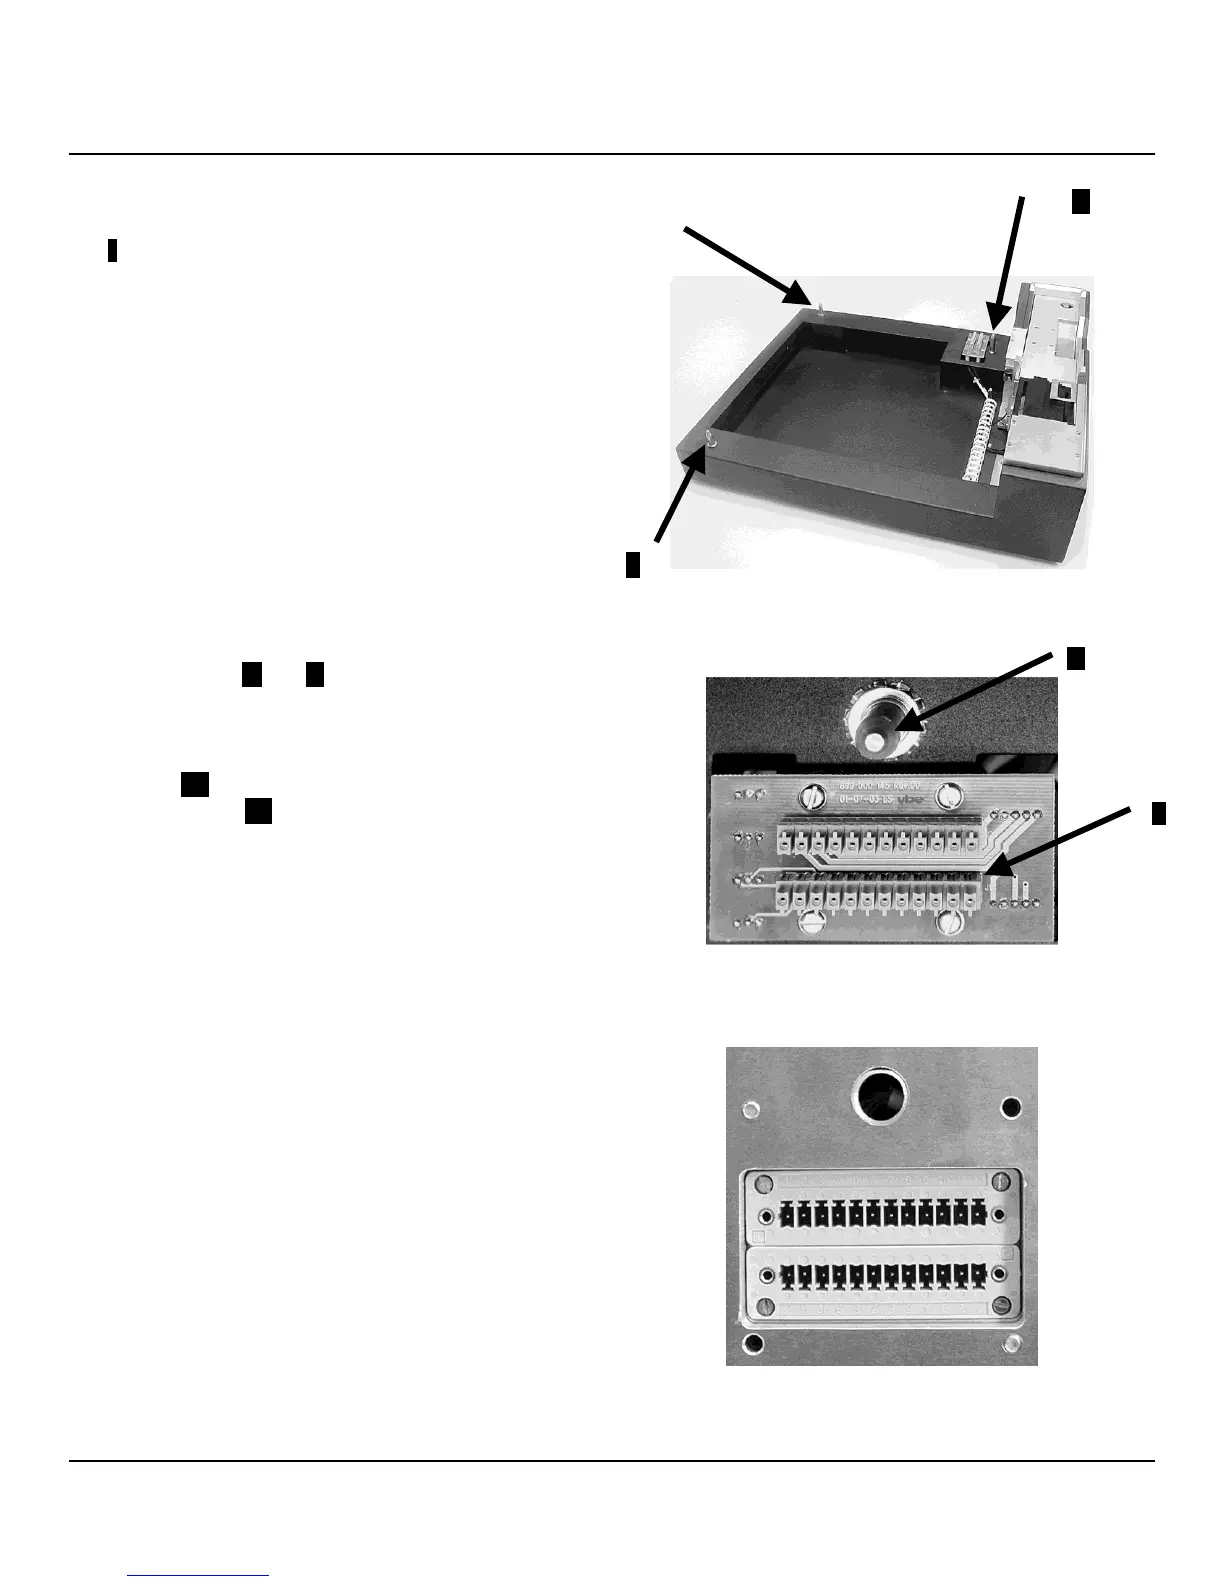
Tip the instrument backwards slightly and insert the
small pegs (
1
and
2
, Figure 2-Q) located at the rear
of the unload station in the small openings under the
rear of the slide printer.
4.
Carefully lower the front of the printer onto the third
peg
3
(Figure 2-Q and Figure 2-R) so that the plug
connection
4
locks into place in the printer base
plate (Figure 2-S) and the printer remains securely
fastened on the unload station.
NOTE:
Once connected correctly, the printer will
automatically recognize the unload station.
Figure 2-Q
3
see Figure
2-Q for detail
3
4
Figure 2-R
Figure 2-S
 Loading...