English _43
●● SETUP SCREEN
SYSTEM SETUP
Product information
1. From the Setup menu, select the <System ( )> tab.
2. Click <Product information>.
3. Check the camera information, or provide details according
to your network environment.
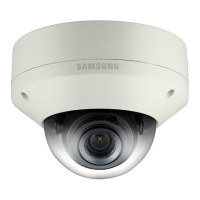
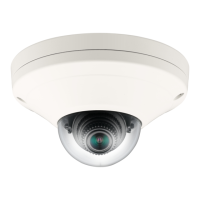
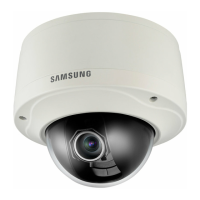
• Model : Model name of the product.
• Serial number : Product serial number.
• Device name : Provide a device name that will be displayed
on the Live screen.
• Location : Specify the location where the camera is
installed.
• Description : Provide detailed information about the camera location.
• Memo : Provide an explanation about the camera for better understanding.
• Language : Select a preferred language for the Web Viewer OSD.
M
`
The default language is set to <English>.
4. When done, click [Apply (
)].
Upgrade / Reboot
1. From the Setup menu, select the <System ( )> tab.
2. Click <Upgrade / Reboot>.
3. Select a desired item and set it appropriately.
• Upgrade : Performs upgrading the system.
• Factory default : Resets the system to the factory default.
- Except network parameter : To initialize all settings except
those related with the network and lens.
- All : Resets all settings including the camera settings.
(however, the log information will not be reset)
`
The IP addressing system will be defaulted to DHCP if you reset the camera. If no DHCP server is found, the previous
settings will be restored automatically.
• Configuration backup & Restore : Backs up the current system settings before performing the
restoration process. The system is automatically restarts after backup or restoration.
• Restart : Restarts the system.
To perform the upgrade
1. Click [Upgrade].
2. Click [Browse] and specify a file to upgrade.
3. Click [Send].
4. The “Upgrade” dialog appears where the progression will be
shown in the bottom.
5. Once completed upgrading, the browser exits and the
camera restarts.
M
`
It may take a max of 10 minutes for the upgrade process.
If you forcibly terminate the upgrade process, upgrade will not be
completed properly.
`
During restarting the system, accessing with web viewer will not be
made.
`
You can download the latest version from the Samsung web site.
To back up the current settings
1. Click [Backup].
The Save As dialog should appear.
2. Specify the backup path with a proper file name, and click
[Save].
The backup file will be saved to the specified path in the
format of “.bin”.
 Loading...