Follow these steps to put the installed control in service:
STEP 1. Test the faceplate functions.
Energize and Test
the Control
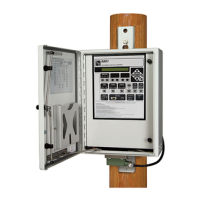
At this point, most of the faceplate LEDs and buttons can be tested. See
Figure 24.
(a) Observe that the LCD screen shows: **UnitOK**. If the LCD screen shows
**ACTIVE ALARMS**, check the capacitor bank for a problem. The alarm
condition must be corrected before the IntelliCap 2000 control will operate
correctly.
(b) If the display is blank or if there is an error message, see Instruction Sheet
1024-550, “IntelliCap 2000 Automatic Capacitor Control: Troubleshooting.”
(c) Press the LAMP TEST button and check that all the faceplate LEDs
illuminate.
STEP 2. Replace the load fuse.
STEP 3. Check the close/open relays by operating the capacitor bank.
(a) Make sure the LOCAL and MANUAL LEDs are lit.
(b) Follow your company procedures. Note: The IntelliCap 2000 control has a
manual operation delay that can be set from 1 to 300 seconds or disabled.
The default setting is 30 seconds. Press the CLOSE or OPEN button on the
faceplate to operate the capacitor bank. Check visually to verify the
faceplate LEDs correctly indicate each capacitor bank switch position.
Figure 24. The IntelliCap 2000 faceplate.
Installing the Capacitor Control
22 S&C Instruction Sheet 1024-510

 Loading...