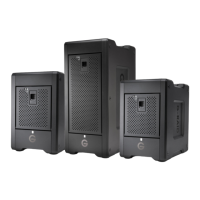
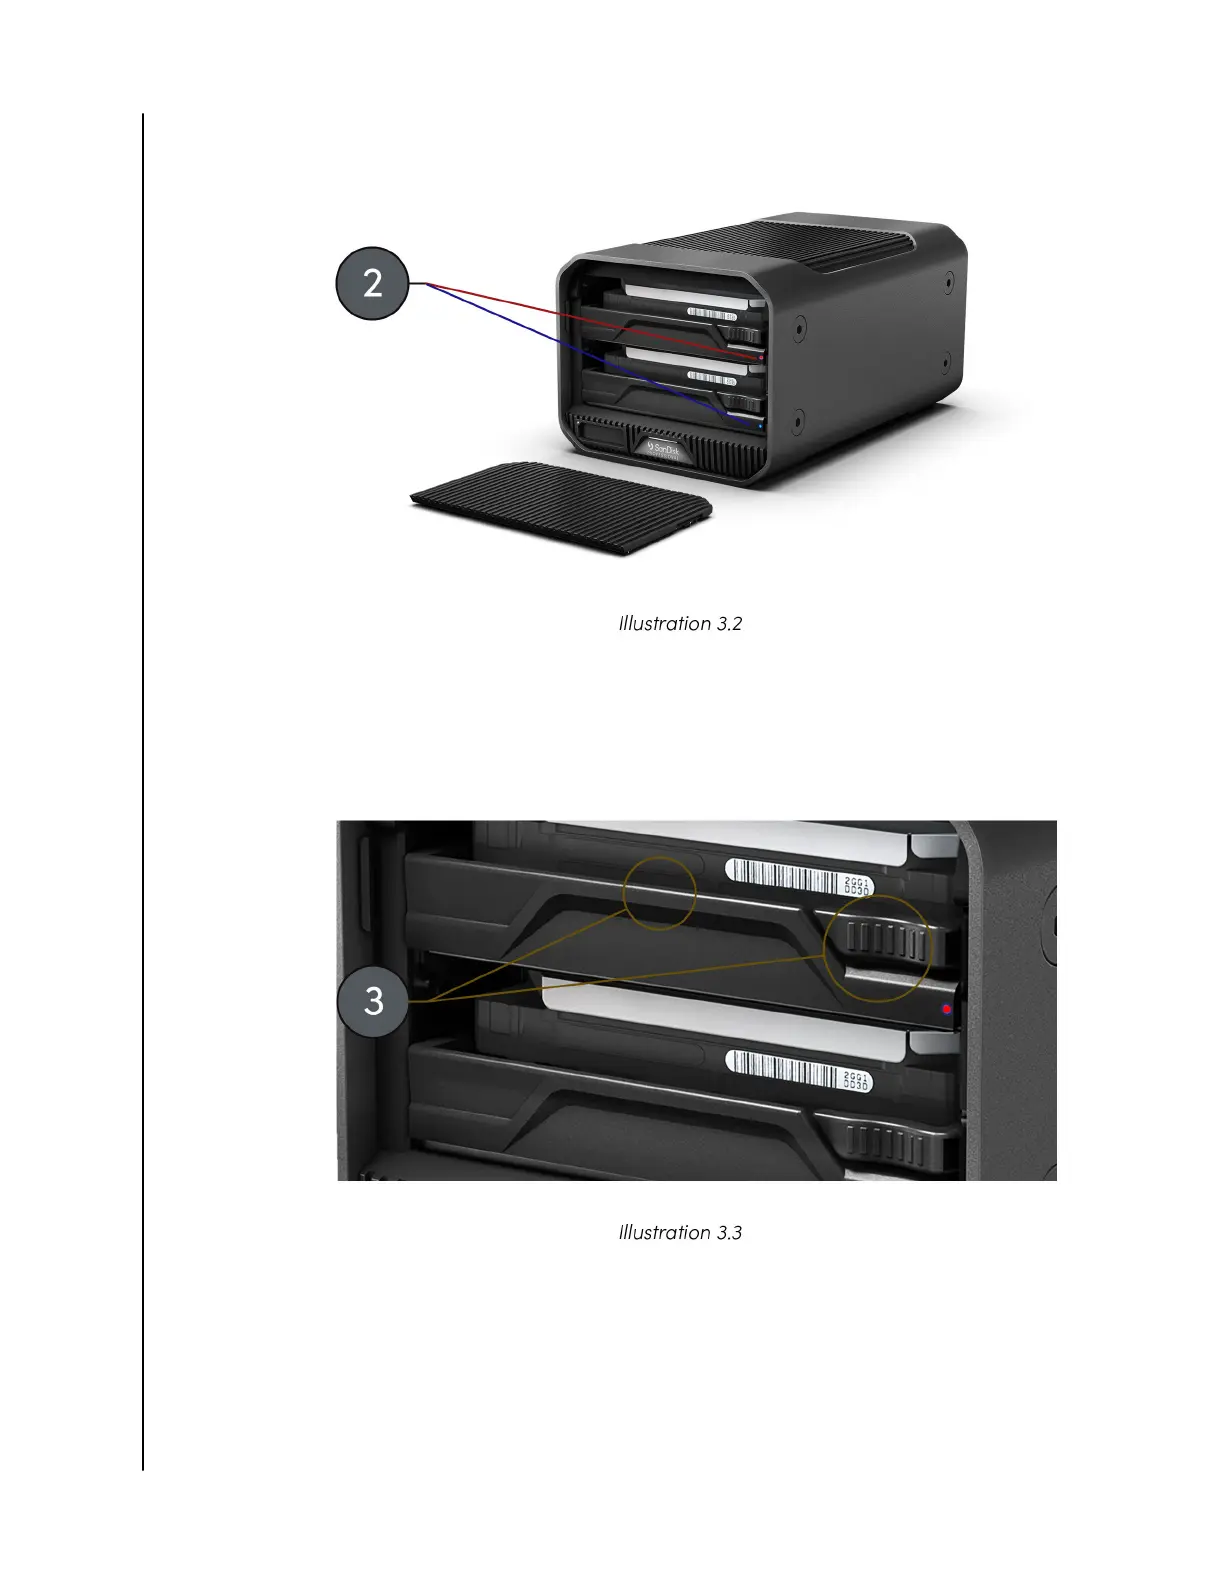
a. A failed drive is indicated by a solid red LED status. A good drive is indicated
by a solid blue LED status.
3. Remove the drive tray with the Red LED status by: (see Illustration 3.3)
a. Pushing in the lever on the right-hand side of the drive tray, just above the
RAID LED light.
b. Pulling on the center handle of the drive tray.
4. Attached the drive tray to the replacement drive, making sure to carefully align
the four mounting points on the drive with the four mounting receivers on the
drive tray.
5. Insert the newly assembled drive tray and drive into the G-RAID MIRROR.
6. The hardware replacement process is now complete.
Main Activities
SanDisk Professional
User Manual
13