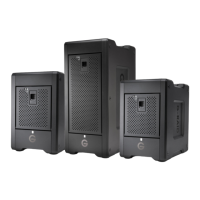
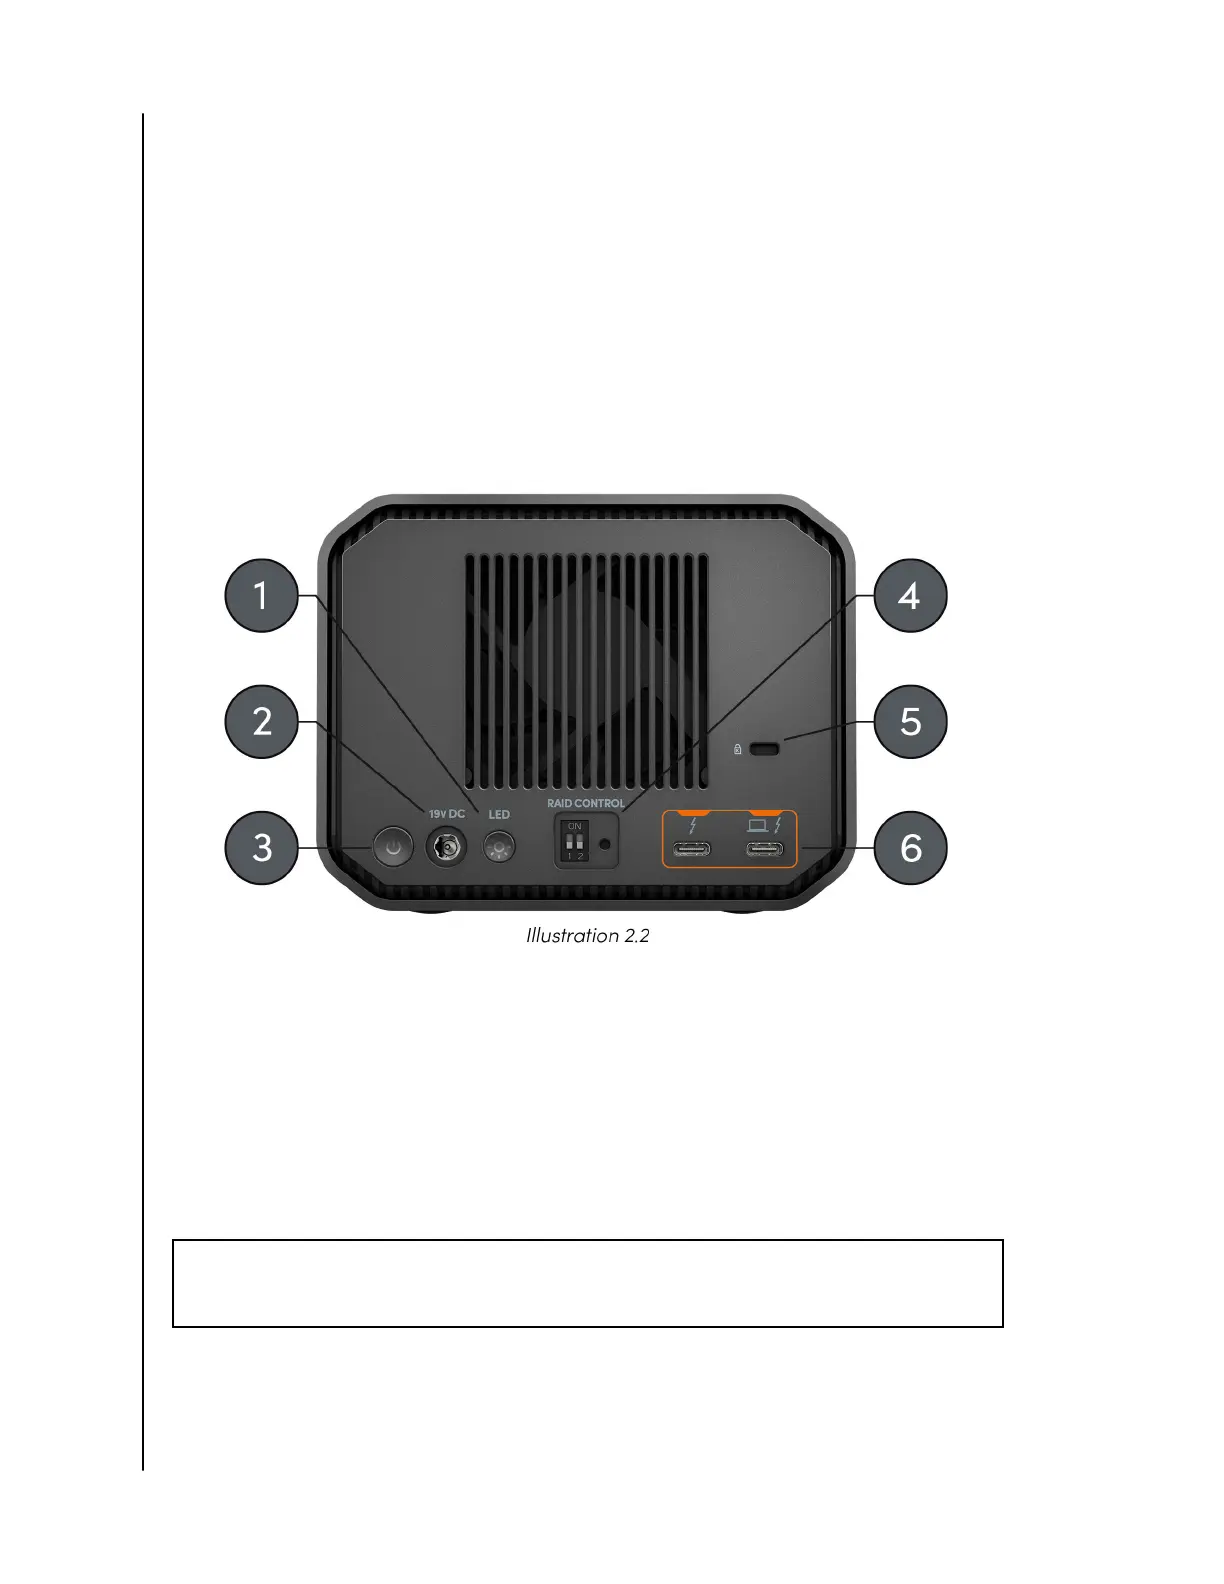
1. LED Dimmer Button—this feature provides the option to switch the LED light
between three modes: Default, Bright, or O.
2. Power Port—connect the included power supply to this 19VDC power connector.
3. Power Button—used to turn the device on or o.
4. RAID Mode Dip-Switches—Use these dip-switches to switch between RAID 1,
RAID 0, and JBOD.
5. Kensington
®
Security Slot —use this slot to secure your device with a Kensington
Security Lock (sold separately).
6. Thunderbolt 3 Ports —these two ports support Thunderbolt 3 and USB-C
™
3.2
Gen 2. Use the port on the right-hand side to connect the
G-RAID MIRROR to the
host computer system. Use the port on the left-hand side to daisy-chain another
Thunderbolt 3 device.
SIDE ANCHORS
Reference illustration 2.3 below.
1. Anchor Points for Custom Mounting & Accessories—These eight anchor points
(four on each side of the device) are designed to be used for customization, such
as attaching the SanDisk Professional G-RAID MIRROR to a DIT cart, a mounting
plate, adding a handle, or other gear for your production needs.
NOTE:
Included screws are not designed for attaching accessories or anchoring – anchor screws
not included. Anchor points will accept a ¼”-20 screw. The screw length will vary based on the type
of mount.
Technical Specifications
SanDisk Professional
User Manual
4