Fig.4
㽴
Screw
Screw
Fig.1
Cap
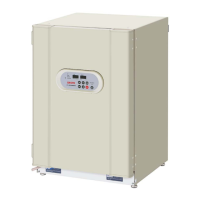
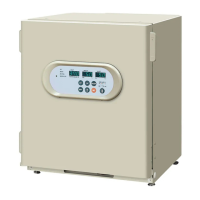
MCO-18UVS2 Installation Procedure
Procedure
1. Unplug the unit and make sure that power is
not supplied to the unit.
2. Remove the duct from inside the unit, then
take off 2 caps and 2 screws shown in Fig. 1.
3. Take off the rear cover shown in Fig. 2.
㽲
1 UV lamp
㽳
1 UV lamp cover
㽴
6 screws
䋨䌍
4
䋩
㽵
1 ballast & glow assy
㽺
1
Patent label
㽹
2
Name plate
㽸
1 UV door switch
caution label
㽷
1 UV caution label
㽶
1 UV label
Kit for MCO-18UVS2
Fig.2
4. Take out two insulations for the UV lam
future use again.
5. Set the UV lamp to the hole and make
sure to be fitted properly.
Fix the UV lamp cover with 2 screws
enclosed in this kit.
 Loading...