53
Procedure for automatic gas switching operation check.
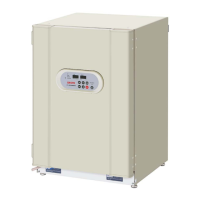
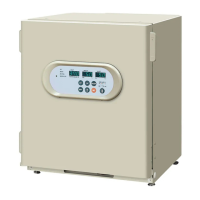
When the installation of MCO-5GC is completed, check the automatic gas switching operation
according to the following to the following procedures.
procedure
1 Stop the gas supply of cylinder A and use cylinder B only for CO
2
gas supply.
2 Turn on the power switch of MCO-5M and set 37decC and 0%.
Turn on CO
2
gas supply line indicator with CO
2
gas supply line switching key.
3 Wait for approx.1 minute until CO
2
control is available.
(It takes about 1 minute until CO
2
control is effective after power ON.)
4 Set the CO
2
density to 5% and check CO
2
inject lamp lights.
NOTE: CO
2
inject lamp may not light depending on the temperature, humidity or
CO
2
density in the chamber. In this case, set the CO
2
density 1% or more
higher than the displayed value.
5 Check the E01(CO
2
gas cylinder empty alarm) and buzzer turn on about
2-7minutes later from the CO
2
inject lamp's turning on.
6 Check the CO
2
gas density indicator reaches to the set value 5% and keep it
stably.
NOTE: CO
2
density control is interrupted when automatic calibration of CO
2
sensor
is activated and the decimal point of CO
2
density indicator blinks.
7 This is the end of check procedure.
Press the buzzer key to disappear “E01” and select the cylinder A with CO
2
gas
supply select key.
Set the CO
2
density to 0% and open the door to release the CO
2
gas completely.
After the chamber temperature and humidity are stable, set the CO
2
density to
desired value.
Refer to the MCO-5M instruction manual for usage of MCO-5GC
7FB6P104047000
 Loading...