-22-
Optical Adjustments
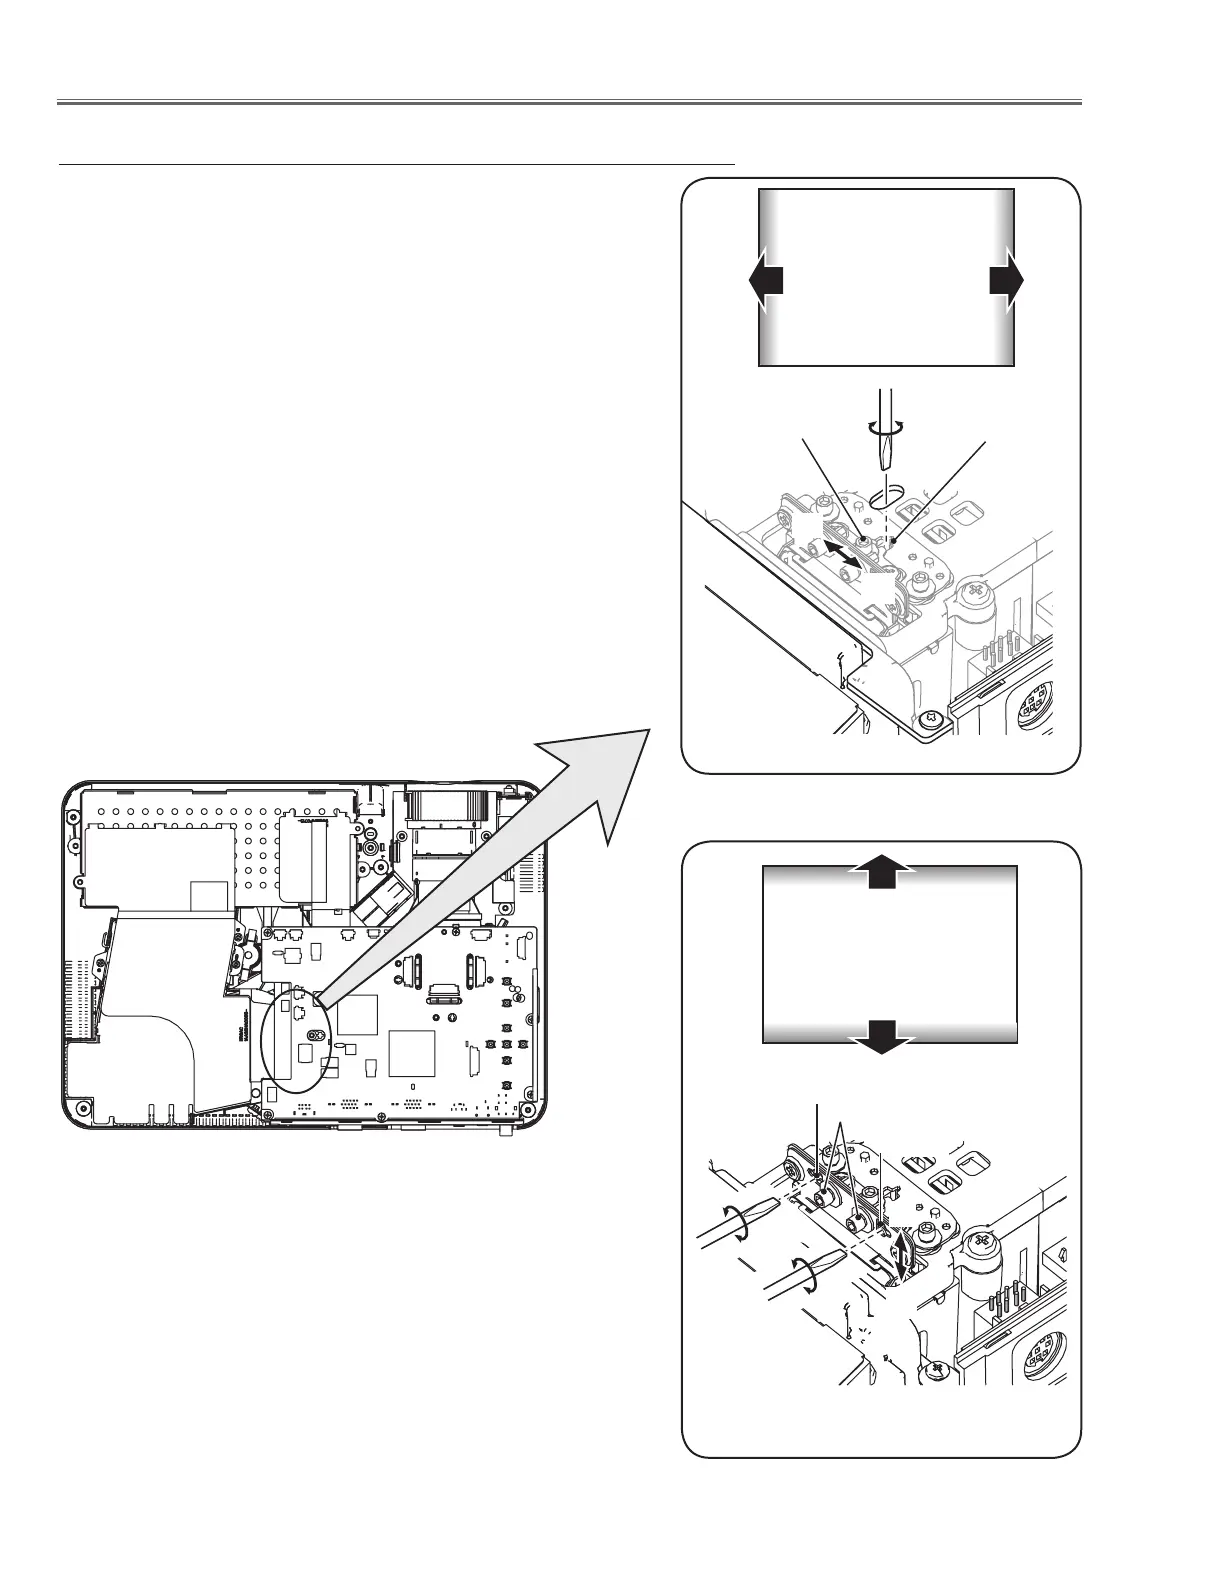
Fig.2-2
Moving of Slot D
Slot D
C
y
x
White
Slot D
White
1 Turn the projector on by a state of without FPC cables.
2 Project all of lights on the screen.
3 Adjust the adjustment base of integrator lens assy to make color
uniformity in white.
1) If the shading appears on the left or right of the screen as shown
in Fig.2-1, loosen 1 screw A , and adjust the slot B to make
color uniformity in white by using a slot screwdriver.
2) If the shading appears on the top or bottom of the screen as
shown in Fig.2-2, loosen 2 screws C, and adjust the slots D to
make color uniformity in white by using a slot screwdriver
4 Tighten screws A and C to fix the Integrator lens unit.
Note:
The relay lens adjustment must be carried out after completing this
adjustment.
Integrator lens adjustment
a
b
Moving of slot B
Fig.2-1
Slot B
A
a
b
y
x
 Loading...