30 |
3-Point Adjustment
- During calibration/adjustment of the off-center loading error, the system must
be covered over.
- To adjust the off-center loading error, change the settings of the off-center
load thumbscrews.
- Place the test weight in position A on the weighing pan and zero the balance/
scale by pressing t.
- In the order given, place the test weight in the position B and C and write down
the readout at stability
- Example: Position A tkey 0.0000 g
Position B + 0.0005 g
Position C - 0.0004 g
- Only adjust the side with the greatest error (in the amount), taking into account:
Negative errors
Turn the off-center load thumbscrews inwards (clockwise)
Positive errors
Turn off-center load thumbscrews outwards (counterclockwise)
- Adjust the thumbscrew by small turns and then recheck the off-center loading
error at positions A-C
- Repeat this procedure until the off-center loading error is within 3 points of
the tolerance range.
Note: After adjusting the off-center loading error, you must also check and, if necessary,
adjust the linearity and span on the balance/scale.
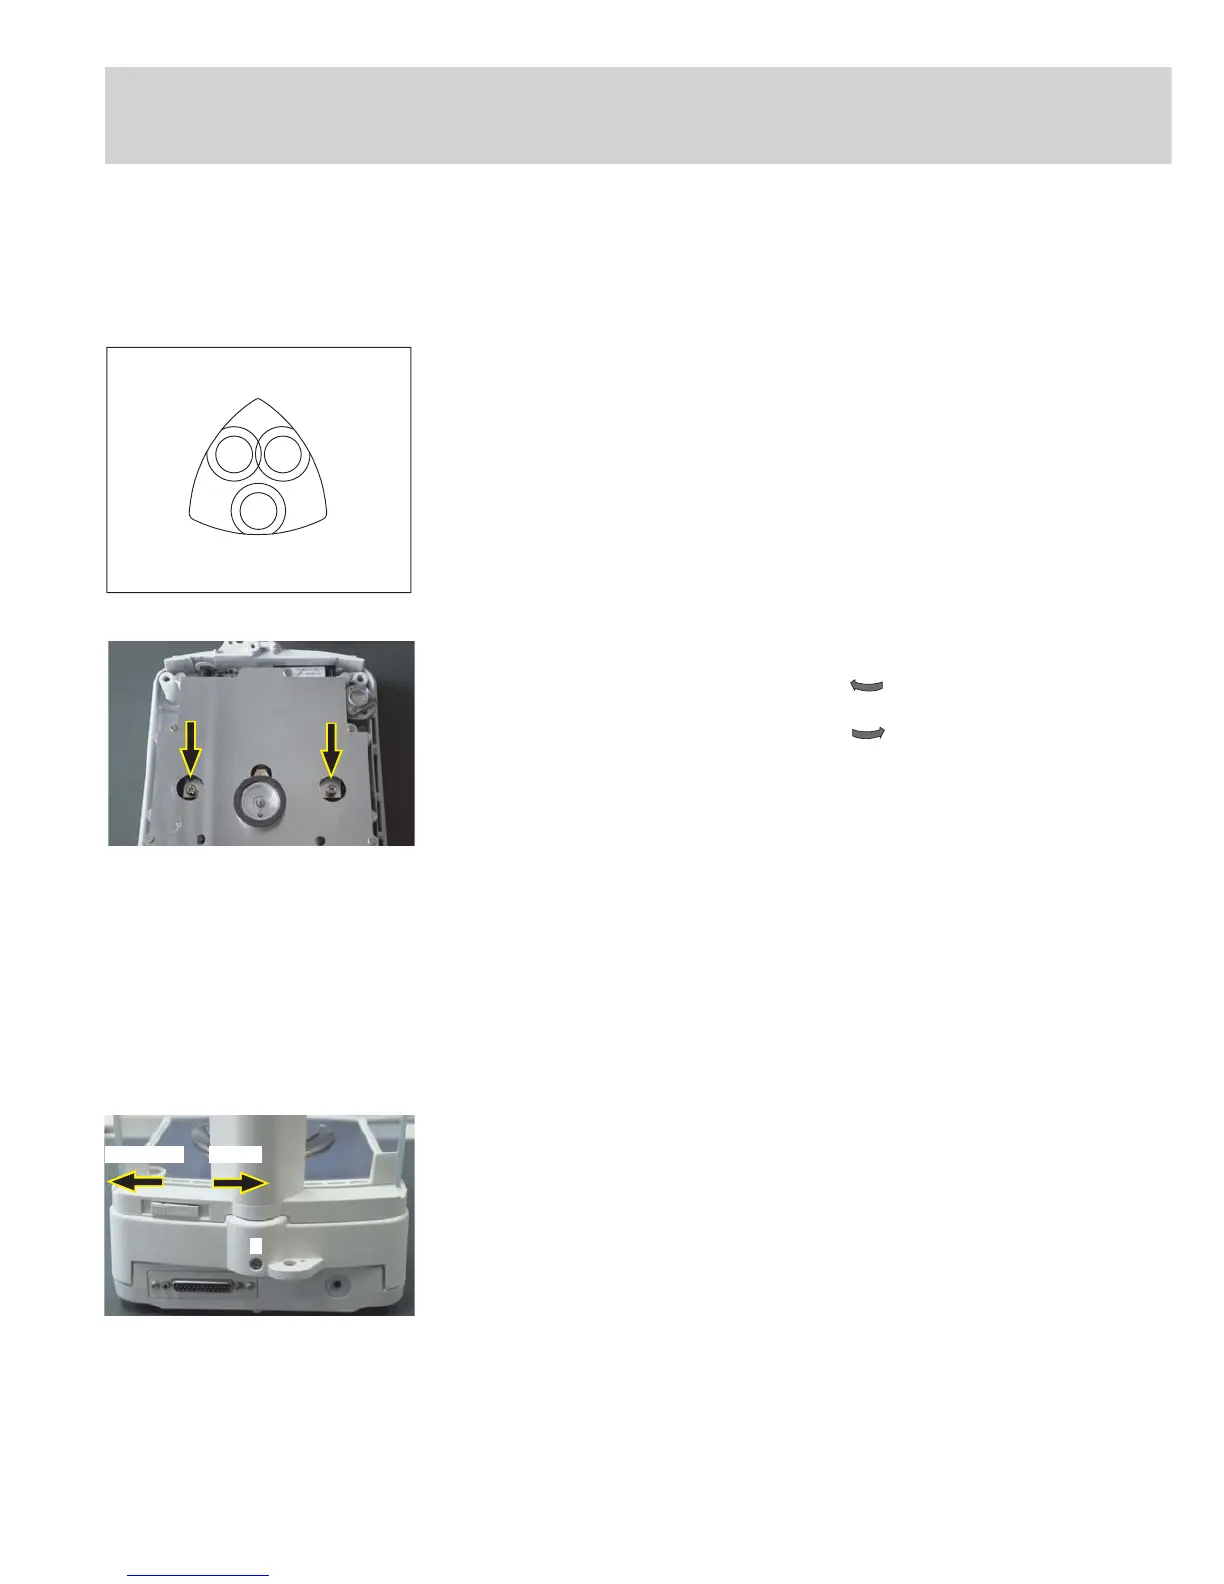
Caution! During assembly, be careful not to damage the internal data cable!
- Insert the upper part of the balance/scale (tilting it slightly) so that the two
retainers (under the keypad) lock into the two screws (in the front part of the
bottom of balance/scale)
- Slide the upper part of the balance/scale carefully to the front and then push
down gently
- Fasten the housing by tightening screw (K) and affix the Seal of Warranty
- Open the draft shield cover
- Place the draft shield on the balance/scale, align by eye, press down on the draft
shield gently from above and close the cover
- Replace the draft shield ring and weighing pan
open
closes
K
winds.jpg
A
B
C
Eck_dr_mo2.eps
AUT_5201.jpg
 Loading...