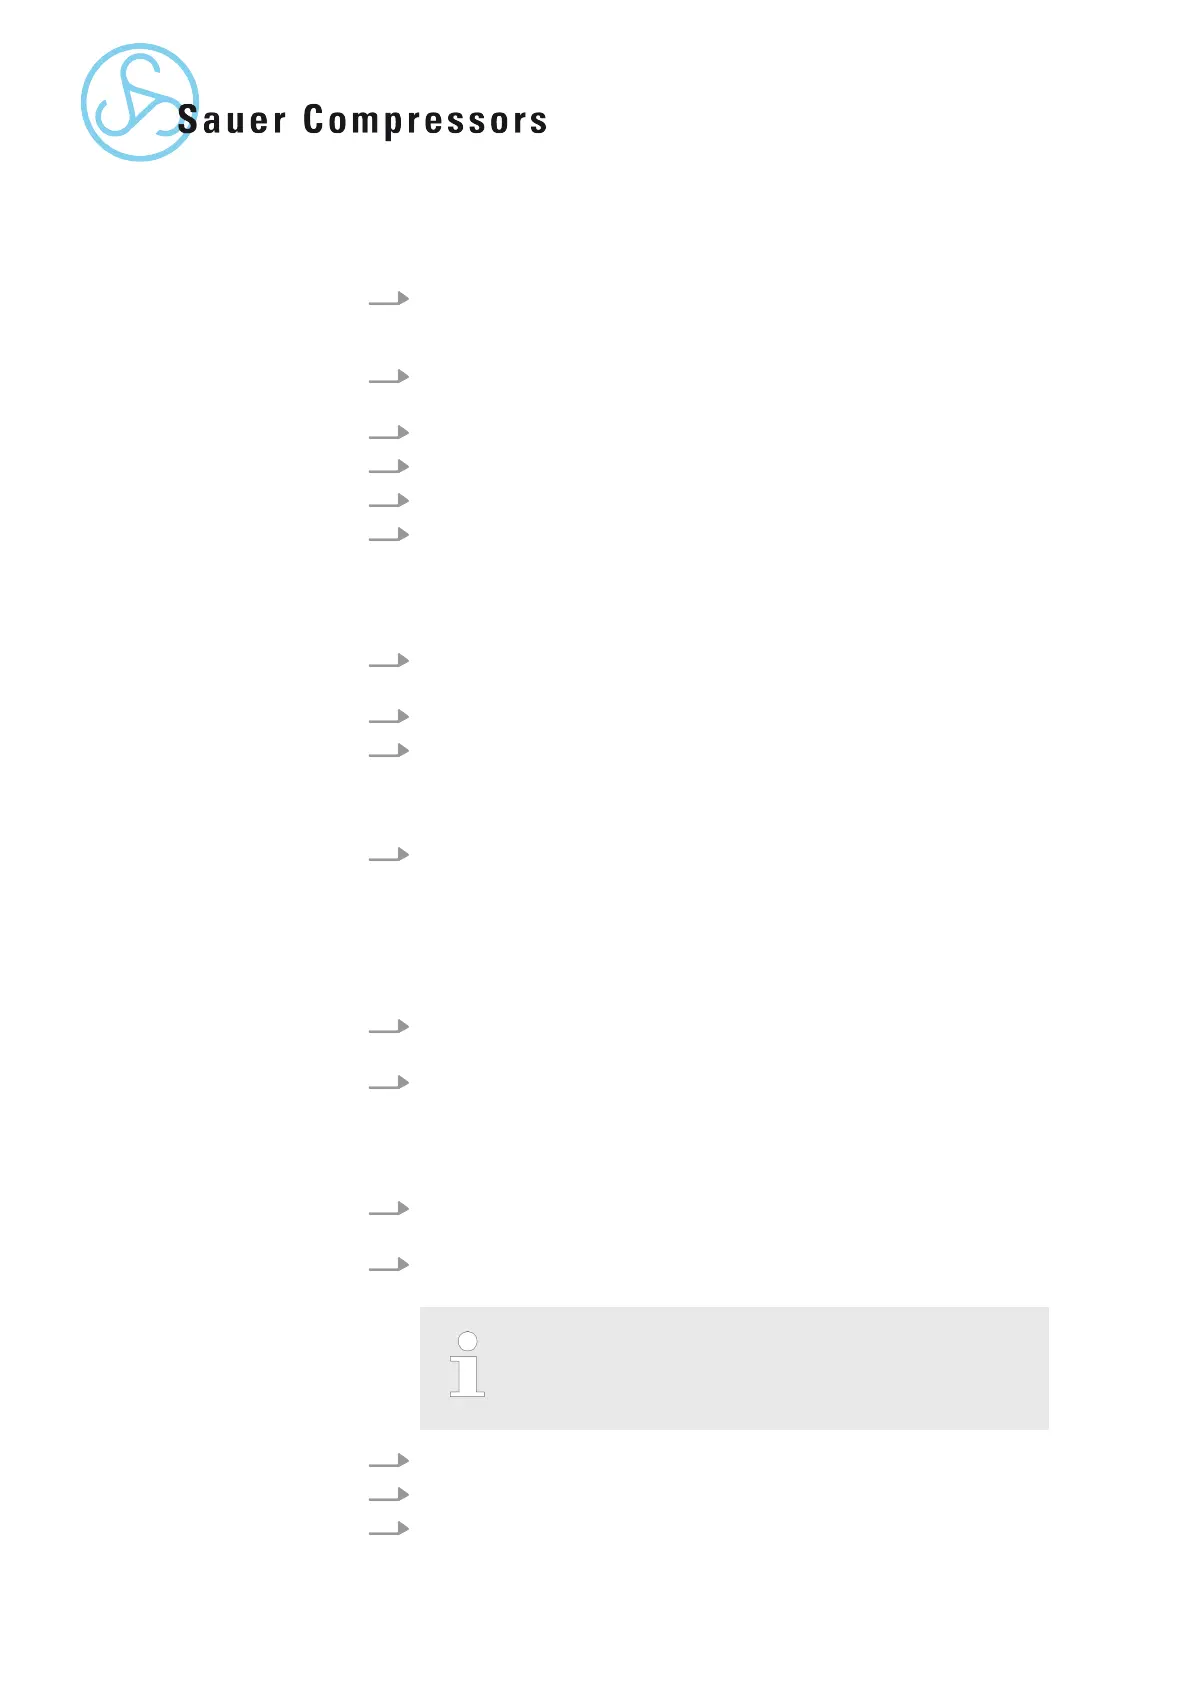
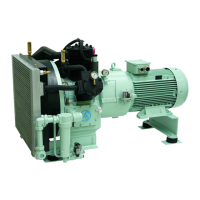
1. Unscrew the socket head cap screws and disassemble the inlet pres-
sure manifold. Dispose of the ring gasket in an environmentally sound
manner
.
2. Unscrew the hexagon head screws and remove the valve cover with
the valve. Dispose of the o-rings in an environmentally sound manner
.
3. Unscrew the thread fitting.
4. Remove the spring washer and holder
.
5. Remove the valve from the valve cover
.
6. Clean all sealing surfaces.
1. Unscrew the hexagon head screws and remove the valve cover with
the valve. Dispose of the o-rings in an environmentally sound manner
.
2. Remove the valve from the valve cover
.
3. Clean all sealing surfaces.
1. Check the exterior of the valves for:
n damage
n coking
n oiling
n corrosion
n moisture
2. V
alves that are damaged, heavily coked or corroded must be replaced
with new valves.
3. If necessary
, establish the cause of the fault.
1. Assemble the new valve with stand, thread fitting and spring washer on
the valve cover
.
2. Assemble the valve cover with new o-rings. Observe the tightening
torque:
Ä
Chapter 3.2 ‘Requirements for maintenance work’ on page 9
When fitting the valve cover for compression stage 1,
ensure it is positioned correctly
. The recess in the
valve cover for the air filter suction connector must be
at the top.
3. Screw in the hexagon head screws.
4. Assemble the inlet pressure manifold.
5. Screw in the socket head cap screws.
Removing the compres-
sion stage 1 valve
Removing the compres-
sion stage 2 valve
Checking the valves
Installing the compres-
sion stage 1 valve
28 | WP5000 Basic WA 41013675 en GB 20190916