34
RT-TGP/RT-BT OWNER’S MANUAL
1
If your rails are not installed on your
saw, install them now according to
the instructions in your table saw
fence manual, but do not fully tighten
the hardware. If your rails are already
installed on your saw, use a 13mm
wrench to remove the main tube (set it
aside) and use a 13mm wrench and a
5mm hex wrench to loosen the hardware
securing the rear rail to the saw. See
your table saw fence manual for further
information. (Copies of your manuals can
be downloaded at www.sawstop.com.)
If you do not wish to install the 36” Extension Table, skip ahead to step 13. You will need a
5mm hex wrench and a 13mm wrench. Otherwise, proceed to the next page.
In-Line Right: Between PCS 52” Rails
Requires:
“Wing Mounting Hardware” Bag for Power Switch for In-Line Router Tables
“Rail Mounting Hardware” Bag from Power Switch for In-Line Router Tables
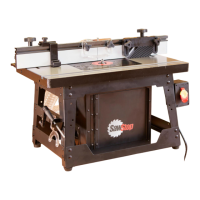
Assembled Router Table with Support Legs
Straight Edge
5mm Hex Wrench
13mm Wrench (x2)
C-Clamp (x2)
Drill
3/8” Drill Bit
Sold Separately: 36” Extension Table
Sold Separately: 52” RT-Ready TGP2 SawStop rails. Refer to the gures
on page 27 for reference:
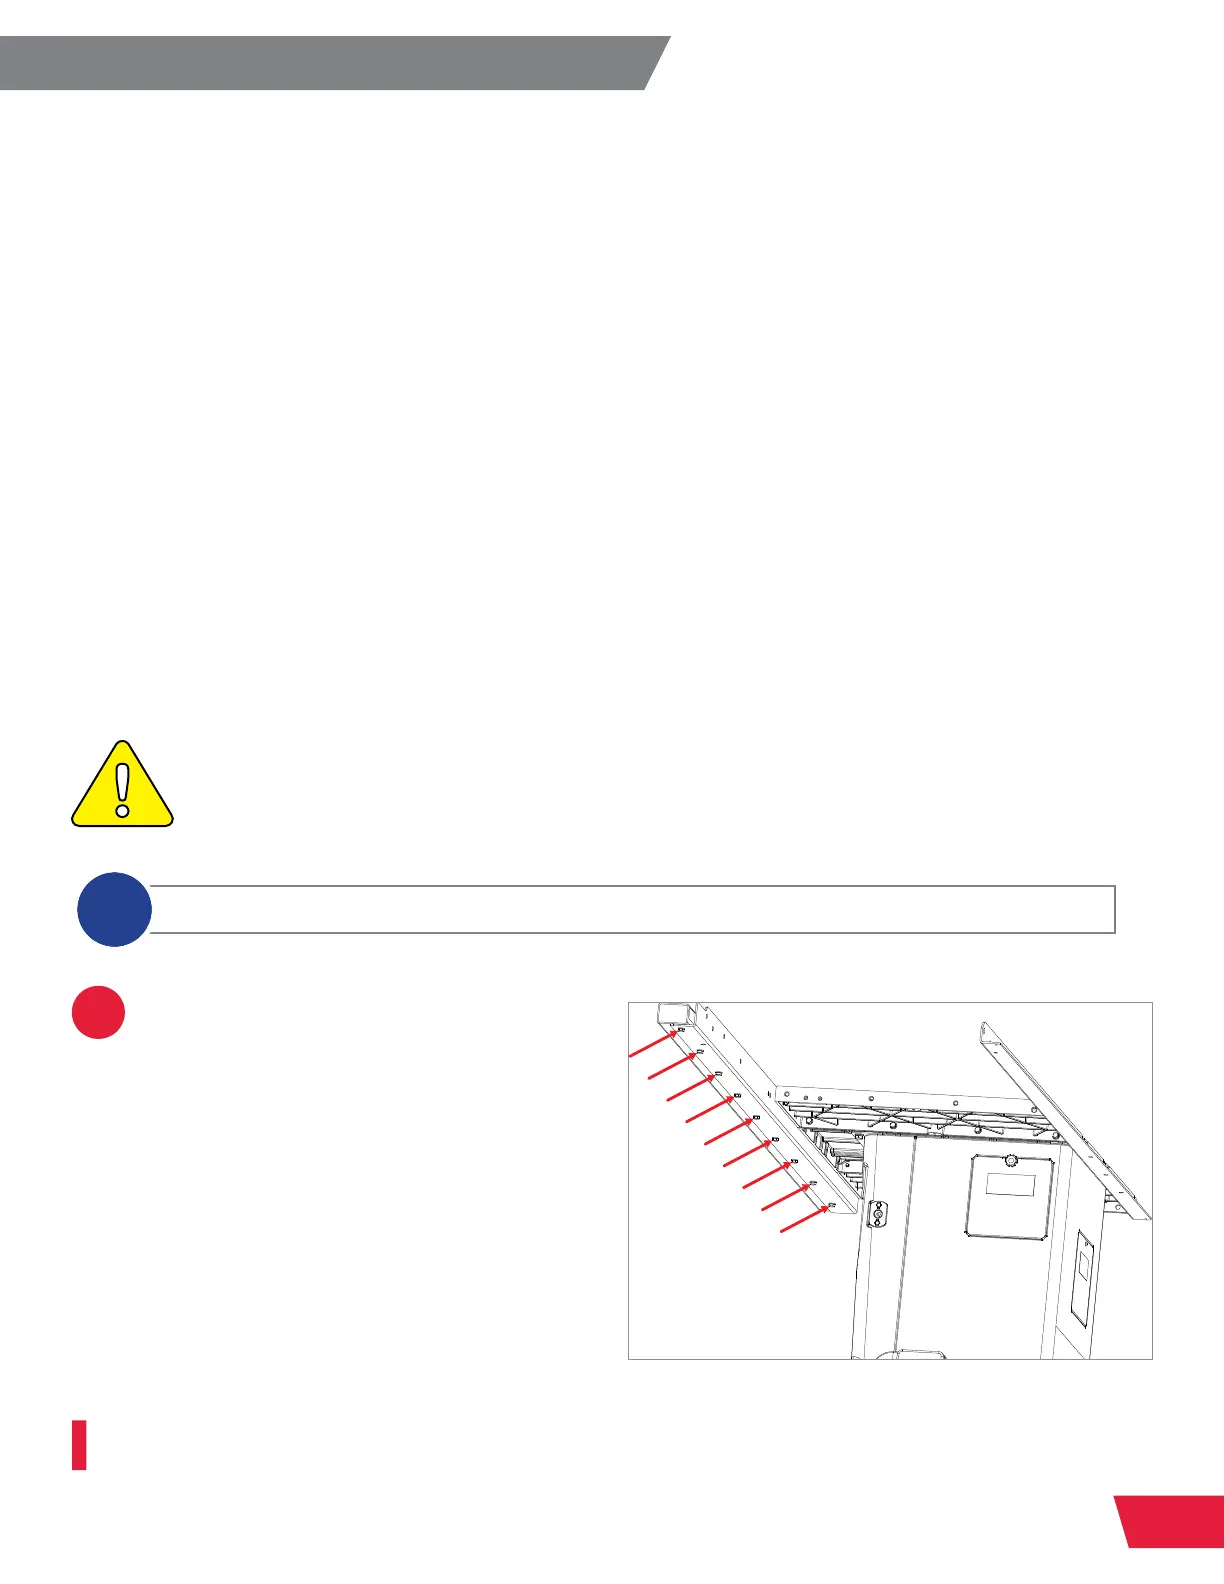
THIS PROCEDURE REQUIRES TWO PEOPLE. THE ROUTER TABLE IS HEAVY
AND CAN CAUSE SERIOUS PERSONAL INJURY OR DAMAGE IF DROPPED.
The hardware for the following steps can be found in the box for your 36” extension table.
i
• SawStop T-Glide Fence System - 52” Replacement Rails for In-Line
Router Table (No Tube), Part Number: RT-TGP2-L-R52A
• SawStop T-Glide Fence System - 52” Rails Assembly for In-Line
Router Table, Part Number: TGP2-R52A2