Seite 11
Press the pushbutton 3 & 4 to set the desired weight. The pushbutton 4 is used to count upwards starting
with 1 and pushbutton 3 is used to count downwards starting with 2000. Pressing and holding the
respective button causes a correspondingly fast change in the numbers. For example with a set number of
200 gram the display shows gr 0200 = 000 30.
If no pre-selection is desired, do not change the setting or set the value to zero. The display then shows
gr 0000 = 0000 30 and the machine cuts after the start until it is switched off by pressing the yellow button
1.
Press the blue pushbutton 2 to start the cutting process. Operating status is indicated by the upper right
LED.
Speed can be decreased or increased by pressing pushbuttons 3 & 4. After the machine has been switched
on at the main switch, it always runs at 30 strokes per minute. This cutting speed is displayed in the display
as the last number. For example, gr 0200 = 000 30 where the 30 indicates the speed. Then the speed set
is maintained until the machine is switched off at the main switch.
During the cutting process, the speed can be changed by pressing the pushbuttons 3 or 4. Pushbutton 3
reduces the speed to a minimum of 15 strokes per minute pushbutton 4 increases the speed up to the
maximum speed indicated by 50.
When there is adjusted a higher speed level (> 30 strokes per minute) the first movement always is effected
with a speed of 30 strokes per minute when the automatic movement is started. After this first stroke the
higher chosen speed will be effected.
The speed of the machine can not be adjusted when the machine is not in operation.
During the cutting process, the display shows beside the preset weight the already sliced weight and the
set speed. For example, a display of gr 0200 = 0115 46 means the following: desired weight 200 gr,
already cut 115 gr, cutting speed 46 stroke / minute.
In order to stop the automatic carriage movement push the yellow pushbutton 1 shortly. The speed of the
carriage is set on slowest speed and the carriage stops in starting position. The display then always shows
the slices already sliced in the second number block during the standstill.
Press the blue button 2 again to restart. Then the second number block is reset to zero and the counting
process starts again. The preset number of slices as well as the set speed are retained until the values are
changed or the machine is switched off at the main switch.
In case the carriage is disengaged during operation and it will not be moved backward and forward, the
blade and the automatic drive will be stopped automatically after 15 seconds.
3.6. Operation
Pull the carriage backwards for loading the carriage when the machine
is adjusted for manual operation.
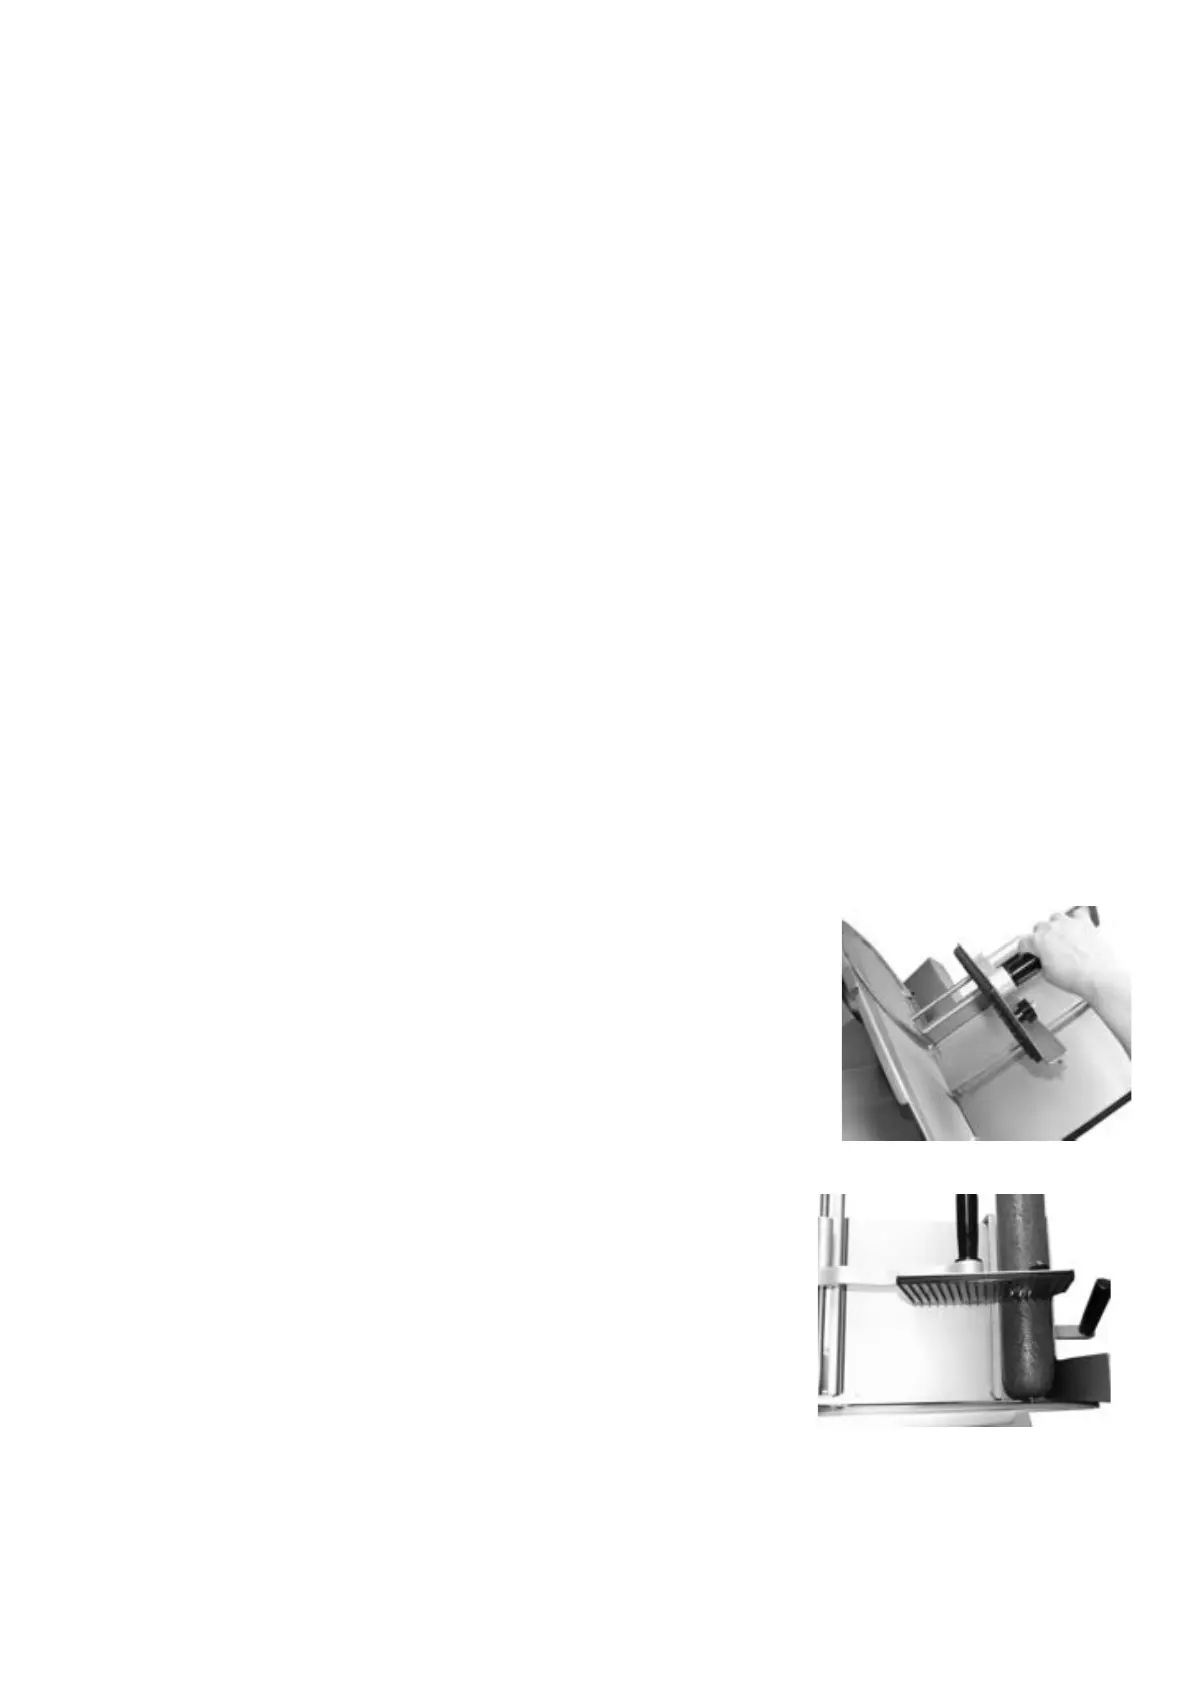
Lift up the end piece holder.
Lay the food product against the back of the carriage.
Adjust the adjusting bar according to the size of the food product.
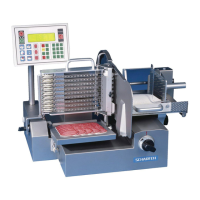
Push the end piece holder with the spikes upon the food product.
Adjust the thickness of the slices with the thickness knob.
Choose automatic or manual operation (see point 3.4.).
Manual operation
Switch on the machine by pushing the green button.
In order to start the blade keep pushing the yellow pushbutton 1 until
the blade starts turning and the upper left LED is illuminated.
The food product is pushed against the blade by its own weight
(gravity).
Move the carriage forward and backward by hand
After having finished the slicing procedure turn thickness knob to zero.
By pushing the yellow pushbutton 1 shortly the blade stops
Switch off the machine at the red main switch.
Automatic operation
Switch on the machine by pushing the green button main switch on.
Choose electronic functions as described in chapter 3.5