⁷⁄₈”
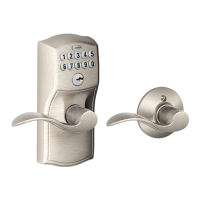
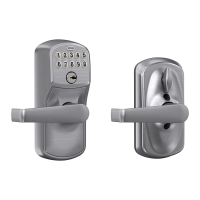
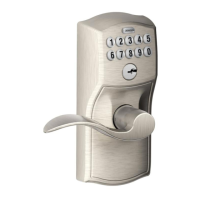
FE575/FE595 Door Preparation Instructions
For Door With Existing Holes
Measure Door Width
If the door is thinner than 1³⁄₈” or thicker than 1³⁄₄”, then the lock will not
fit properly on the door.
1
1³⁄₈” to 1³⁄₄”
Measure for Backset
If existing backset is not 2³⁄₈” or 2³⁄₄”, then the lock will not fit properly
on the door.
2
2³⁄₈” or 2³⁄₄”
Measure Hole Sizes
If hole sizes are larger than those shown, then the lock will not fit
properly on the door.
If hole sizes are smaller than those shown, see steps 4 and 5.
3
2¹⁄₈”
⁷⁄₈”
2¹⁄₈”
1”
OR
Tools Needed
If Needed, Enlarge Hole in Door
If hole in door is smaller than 2¹⁄₈”, then use 2¹⁄₈” hole saw to enlarge
hole.
4
2¹⁄₈”
If Needed, Enlarge Hole in Door Edge
If hole in door edge is smaller than ⁷⁄₈”, then use ⁷⁄₈” or 1” drill bit to
enlarge hole.
5
1”
OR
6
©2005 Ingersoll-Rand Company
Printed in U.S.A
Rev. 11/05
T
ape
M
eas
ure
Ta pe
M
easure
Ta pe
M
easure
Ta pe
M
easure
Drill Bits Needed:
¹⁄₈”, ⁷⁄₈”, 1”
2¹⁄₈” Hole Saw
Pencil Chisel
T
a
p
e
Measure
Check Strike (Door Jamb) Preparation
a. Place new strike against door jamb.
b. If strike does not fit properly, use pencil to trace around strike and
mark hole positions.
c. If needed, use chisel and drill to correct door jamb preparation.
a
c
b
2¹⁄₈” Hole Saw