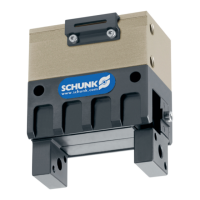
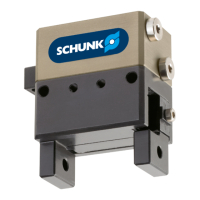
Assembly
08.00 | MPG-plus | Assembly and operating manual | en | 0389216
33
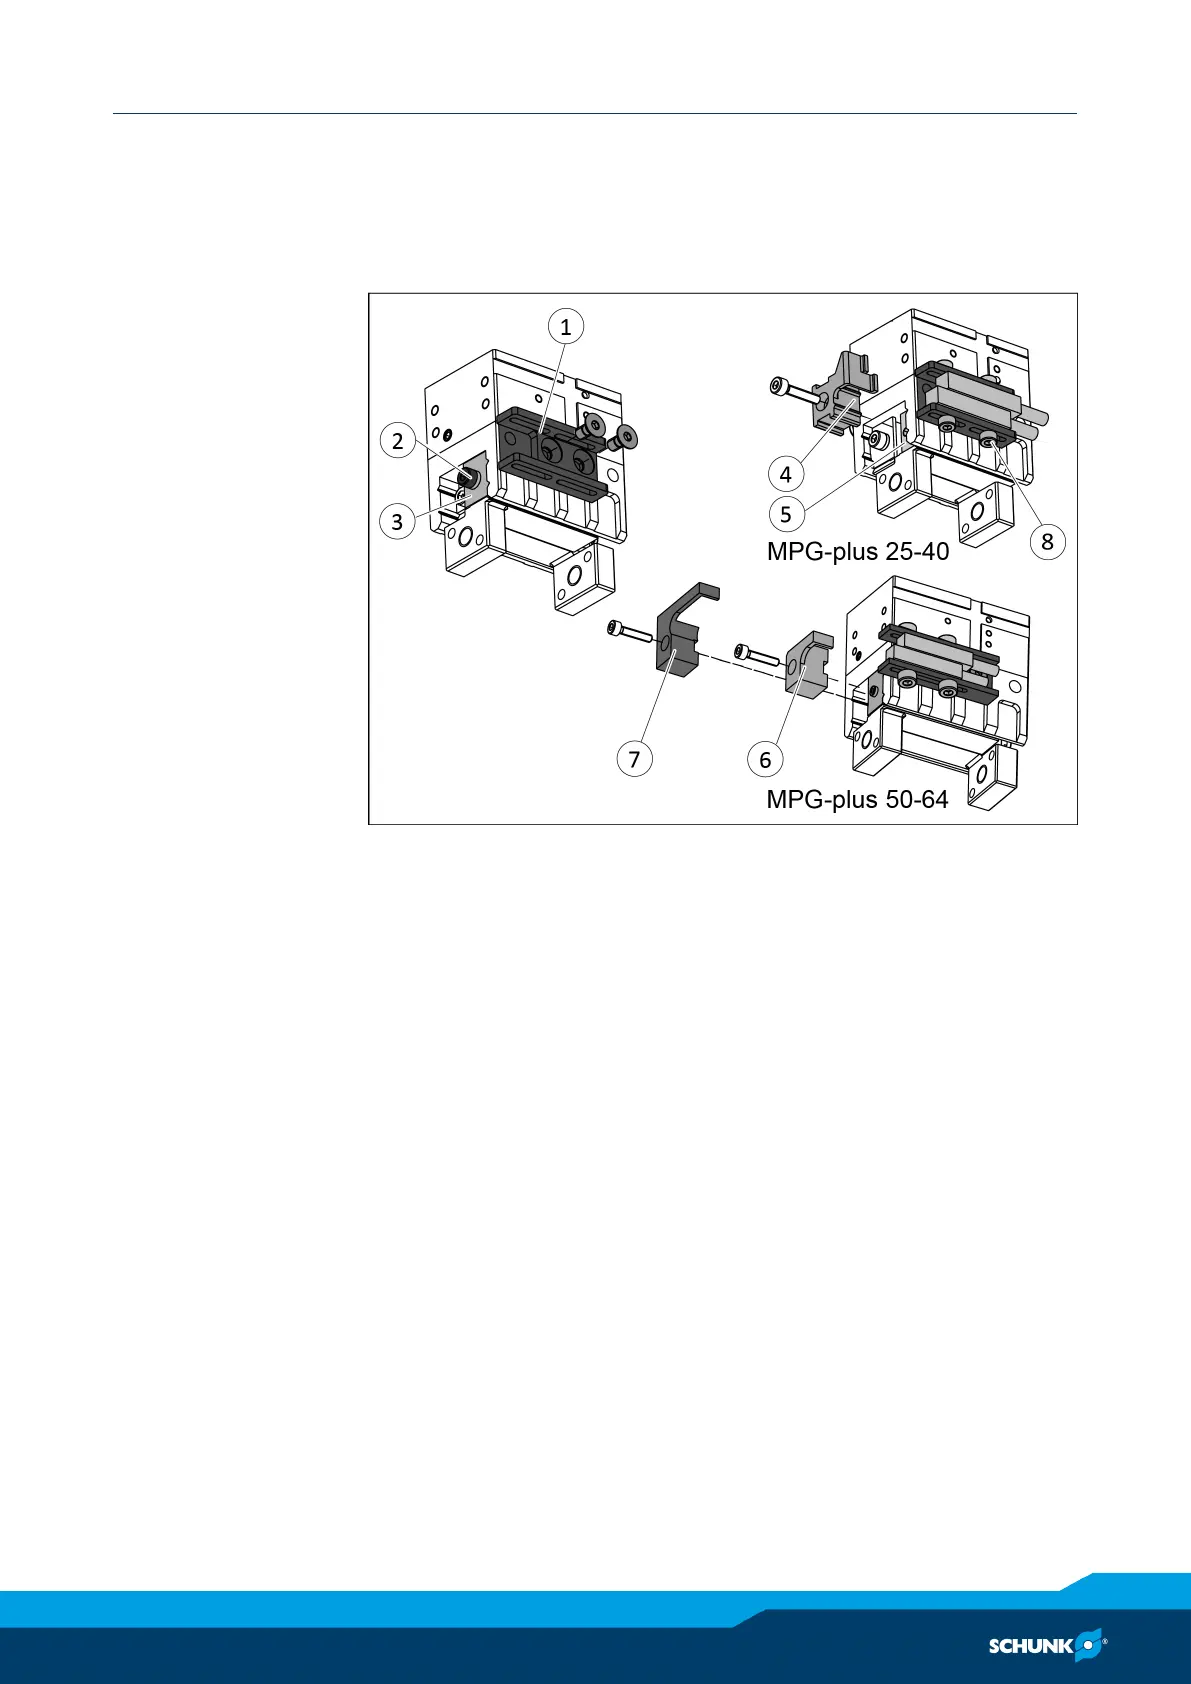
5.3.6 Mounting the inductive proximity switch IN 5
Mounting kit
To use the inductive sensor, the gripper has to be retrofitted with
a special mounting kit. This mounting kit is available from SCHUNK
for the models below.
Ø Remove the name plate.
Ø Fasten the holder (1).
Ø Until 12/2015: Remove screw (2) and cover (3).
From 1/2016 up to now: Remove screw (2), spacer and cover
(3).
Ø MPG-plus 20-40: Fasten switching lug (4) to a base jaw (5).
MPG-plus 50-64 to 12/2015: Fasten switching lugs (6 and 7)
with the cover (3) to the base jaws (5).
MPG-plus 50-64 from 01/2016: Fasten switching lugs (6 and 7)
to the base jaws (5).
Ø Insert both sensors into the bracket (1). Make sure the buttons
point into the direction of the switching lugs.
Ø Fasten the sensor using the screws (8).
The sensors can be set to perfrom the following queries:
Position "opened"
Ø Move the gripper into the required position.
Ø Push the sensor to the switching lug.
Ø Slowly pull the sensor back until it switches. Then retract the
sensor further by 0.2mm.
Ø Tighten the screws (8).
Ø Query the position "opened" and test the function.
 Loading...