32
Montage- und Betriebsanleitung für
2-Finger-Parallelgreifer Type PGN-plus
Assembly and Operating Manual for
2-Finger Parallel Gripper Type PGN-plus
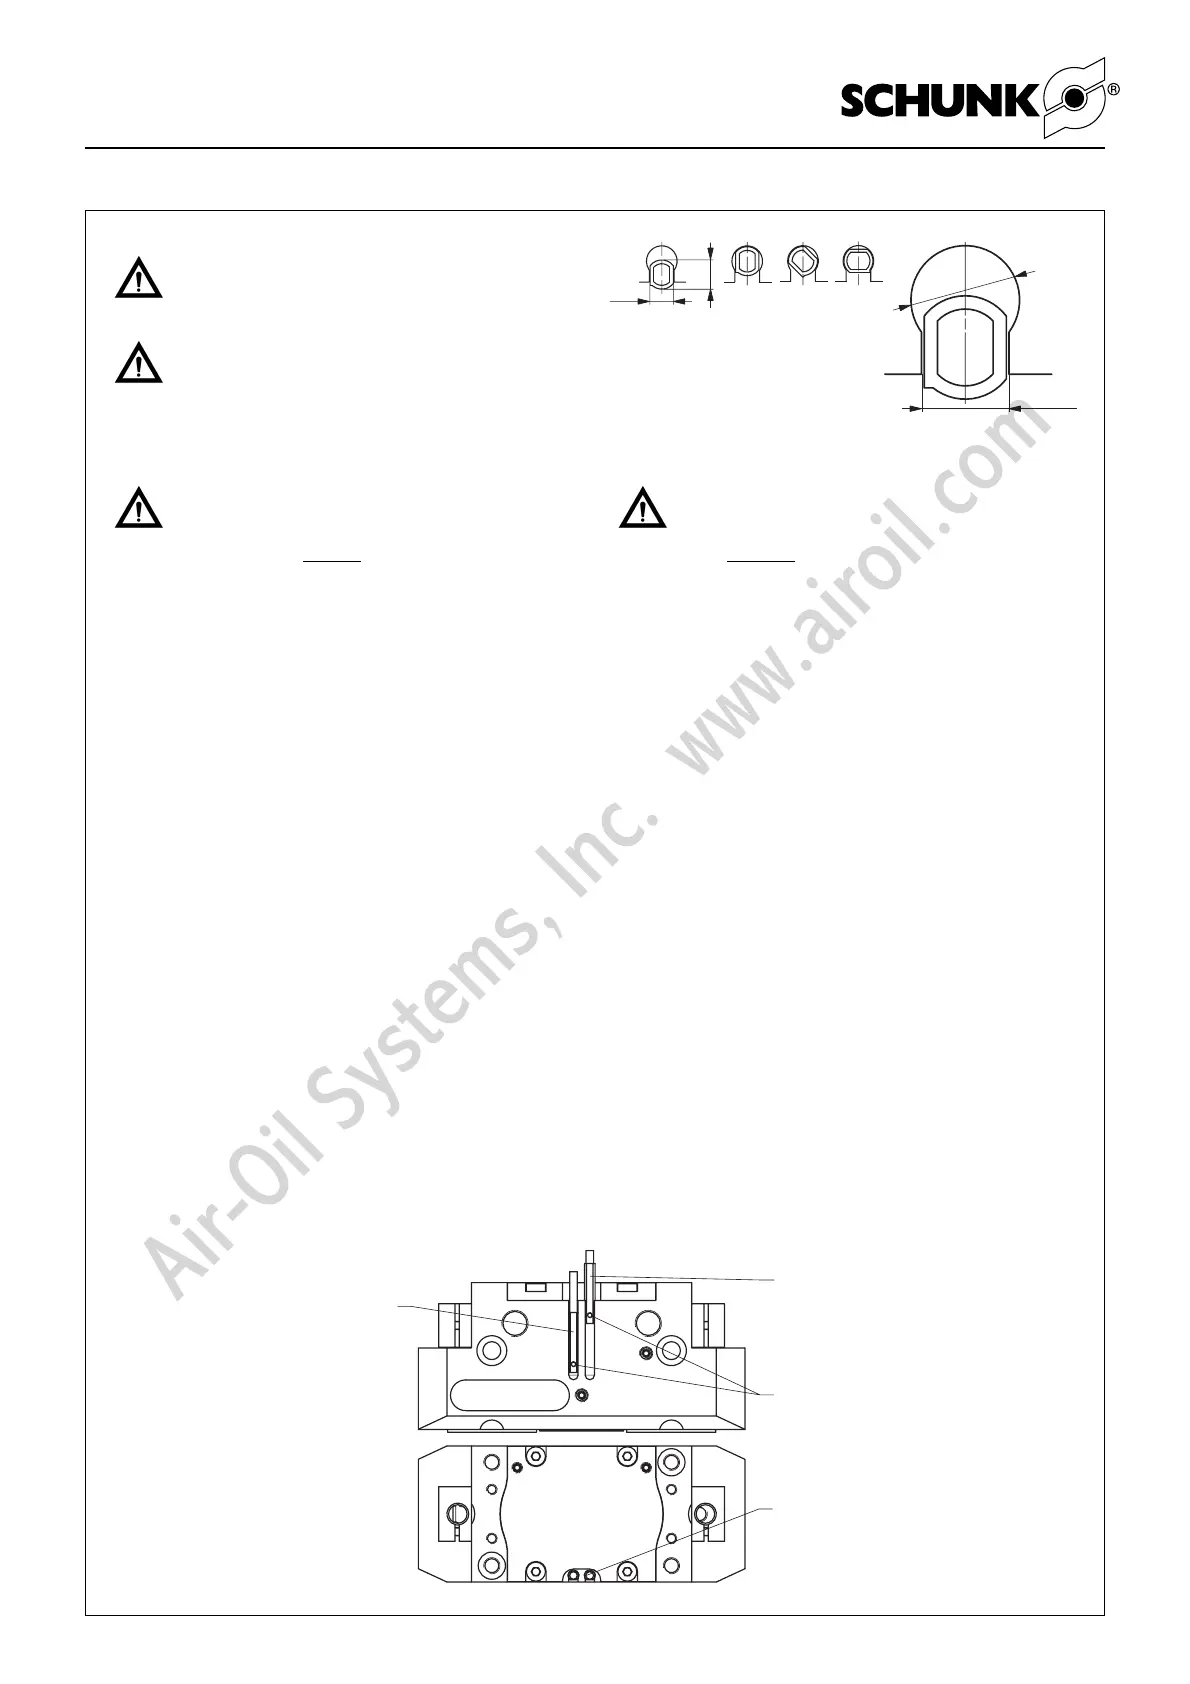
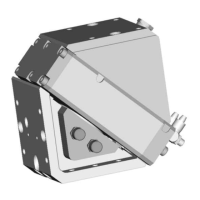
Montageschritte zur Befestigung
des Näherungsschalters
Assembly steps for the attachment
of the proximity switch.
ACHTUNG!
Bei Befestigung des Greifers auf einer Adapterplatte
aus ferromagnetischem Material (z.B. gewöhnlicher
Baustahl) muss der Greifer auf der Adapterplatte
montiert werden, bevor
die Positionen der Magnet-
schalter eingestellt werden. Dies ist notwendig, da
die Verwendung von magnetisierbarem Material die
Schaltpositionen des Sensors verändert.
Greifer geöffnet:
1. Stellen Sie den Greifer in Stellung »Auf«
2. Schieben Sie den Magnetschalter 1 (siehe Darstellung
unten) in die Nut, bis dieser am Gehäuse anschlägt.
3. Schieben Sie den Magnetschalter langsam wieder zurück,
bis dieser Schaltet.
4. Verklemmen Sie, durch Anziehen des Gewindestiftes, den
Magnetschalter in dieser Stellung in der Nut.
5. Testen Sie die Funktion, indem Sie den Greifer schließen und
wieder öffnen.
Greifer geschlossen:
1. Stellen Sie den Greifer in Stellung »Zu«.
2. Schieben Sie den Magnetschalter 2 in die Nut in Richtung
Greifermitte, bis dieser schaltet.
3. Verklemmen Sie, durch Anziehen des Gewindestiftes, den
Magnetschalter in dieser Stellung in der Nut.
4. Testen Sie die Funktion, indem Sie den Greifer öffnen und
wieder schließen.
Teil gegriffen (Außengreifen):
1. Spannen Sie das zu greifende Teil.
Gehen Sie weiter vor, wie unter »Greifer geschlossen« von Punkt
2 – 4 beschrieben.
Teil gegriffen (Innengreifen):
1. Spannen Sie das zu greifende Teil.
Gehen Sie weiter vor, wie unter »Greifer geöffnet« von Punkt
2 – 5 beschrieben.
CAUTION!
If grippers are fastened on adapter plates made of
ferro-magnetic material (i.e. standard constructional
steel), the gripper has to be mounted on the adapter
plate befor
e the positions of the magnetic
switch are adjusted. This is absolutely necessary if
magnetic materials are used, since they are changing
the switching positions of the sensors.
Gripper open:
1. Set the gripper to the position “Open”.
2. Push the magnetic switch 1 (see illustration below) back-
wards through the groove towards the centre of the gripper.
3. Slowly push back the magnetic switch, until it is switching.
4. Secure the magnetic switch in this position in the groove by
tightening the threaded pin.
5. Test the proper function by closing the gripper and then
opening it again.
Gripper closed:
1. Set the gripper to the position “Closed”.
2. Push the magnetic switch 2 backwards through the groove
towards the centre of the gripper, until the latter is activated.
3. Secure the magnetic switch in this position in the groove by
tightening the threaded pin.
4. Test the proper function by opening the gripper and then
closing it again.
Part gripped (O.D. gripping):
1. Clamp the part to be gripped.
Proceed as described under Points 2 – 4 under “Gripper closed”.
Part gripped (I.D. gripping):
1. Clamp the part to be gripped.
Proceed as described under Points 2 – 4 under “Gripper opened”.