Service Manual
Remote Control Cable/Radio
604
Charging the Battery
CHARGE THE BATTERY
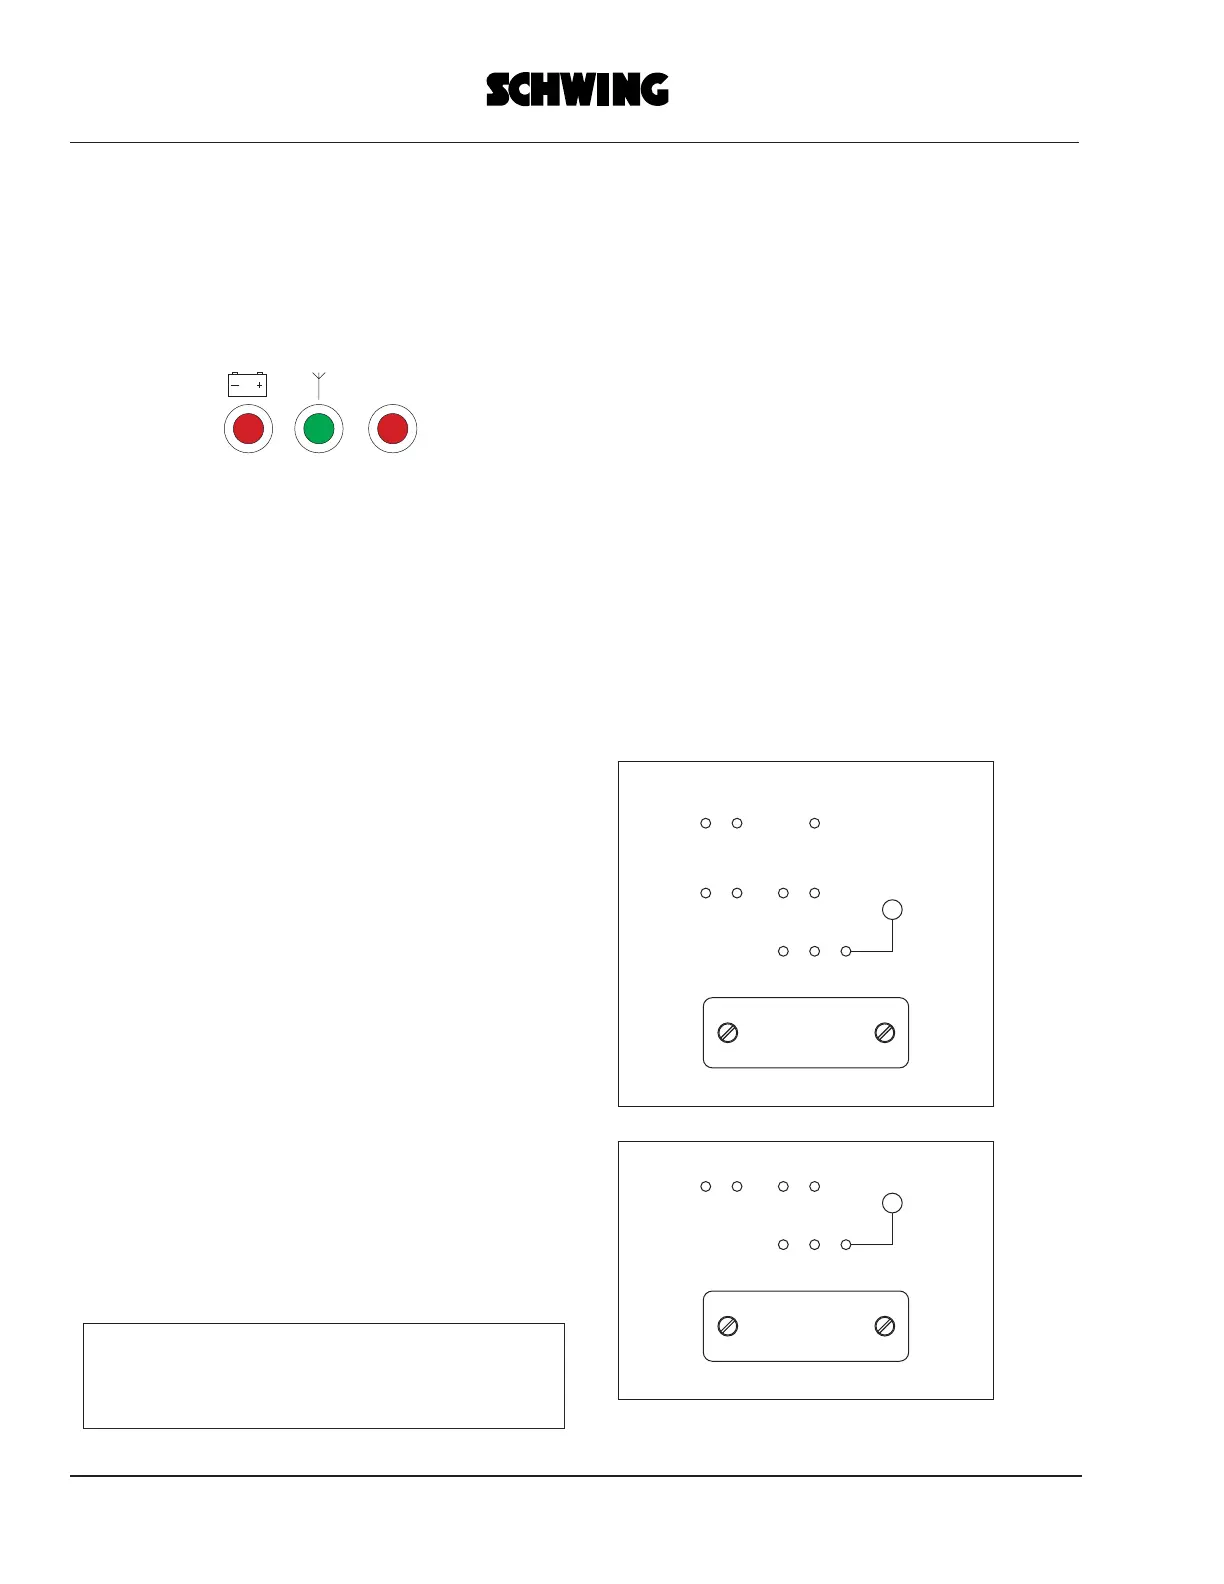
When the red LED 1 (battery) of the
transmitter starts to blink during normal
operation, the battery is almost empty.
Ca. 10 to 20 minutes later the transmitter
will be shut off automatically.
During this time, the empty battery must be
replaced with a new one.
After replacing, restart the transmitter as
described in chapter 3.
Insert the empty battery for recharging into
the charging case of the receiver and lock.
Make sure the battery is inserted into the
case with the correct polarity.
The green LED 9 ("Laden/Charge") on the
receiver panel (fig. 1 or 2) lights up.
When the battery is charged (after 3 hours
maximum), this LED begins to flash.
The battery can now either be removed
from the or left in the charger case.
In both ways, the battery will retain its full
charge.
if you insert the battery by mistake (+ and _
terminals marked on the housing) with
wrong polarity into the charging case (the
battery can be wrongly inserted into the
case only with force), the red LED 8
("Verpolt/Wrong polarity") lights up
In this case, withdraw the battery and re-
insert correctly.
Note: On compact units, LED 8 is not available. In
these units, the green LED 9 ("Laden/Charge") does
not light up when the battery is inserted with wrong
polarity.
To maintain the full charging capacity of the
battery over a long time, it should be
completely discharged once a week before
recharging.
For this purpose, your charger is equipped
with an automatic discharge function:
For discharging keep the yellow button 11
depressed, insert the battery into the
charger and lock.
The yellow LED 10 ("Entladen/Discharge")
will now light up.
When the battery is completely discharged
the charger switches automatically to normal
charge and later on to trickle charge (green
LED 9 flashing).
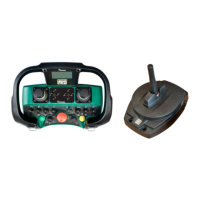
Fig.1
+
8 9 10
11
4 5 6 7
MC 1
MC 2
Verpott
Laden
Entladen
MC 3
Freig.
Prog.
NOT 1
NOT 2
-
Fig.2
+
8 9 10
11
4 5 6 7
MC 1
MC 2
Verpott
Laden
Entladen
NOT 1
NOT 2
-
Stop