13
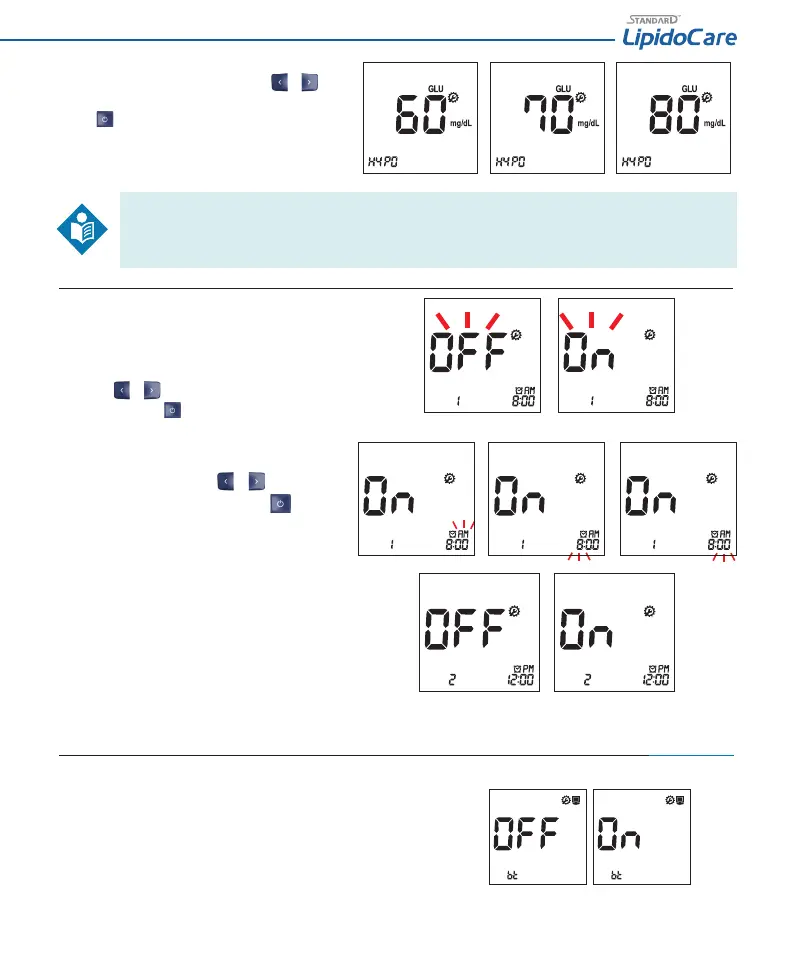
4. Set the Hypo Warning ‘o ’ or the result you want to select
- 60, 70 or 80 mg/dL - by pressing either
‘o ’ or the result you want to select
or
‘o ’ or the result you want to select
button
and then selecting the preferred feature by pressing the
button.
• You can set the Analyzer to let you know when your glucose result indicates possible low blood glucose (hypoglycemia). You
can also select what blood glucose level you want this indicator to have - 60, 70 or 80 mg/dL.
• If your glucose results are lower than the selected hypo result, the hypo symbol will appear on the LCD with a ‘beep’ sound. It
is very important to manage your hypoglycemia.
Stage 12) Setting – Alarm
In stage 12, you set the Alarm function. You can set a maximum
of 4 alarms to remind you to test your glucose.
1. After the Hypo Warning setting, the display for setting the
Alarm will appear.
2. Set the rst Alarm function, ‘On’ or ‘O ’, by pressing either
the
or button and then select the preferred feature
by pressing the
button. If you select the Alarm ‘O ’
feature, the Analyzer automatically powers o .
3. If you select the Alarm ‘on’ feature in rst alarm mode, the
clock will blink. Set the desired hour and minute for the
alarm by pressing either the
or button and then
select the preferred time by pressing the
button.
4. The 2nd Alarm setting mode appears next. Set the Alarm in
the same way as above. [2, 3]
5. You can set the third and fourth Alarm modes in the same way as above. [2, 3]
6. When you nish setting the last alarm, the Analyzer automatically power o .
Stage 13) Setting – Bluetooth with PC *Only for 02LA20G
You can set Bluetooth communication with your PC. If the analyzer is paired with a PC, the test results are transferred automatically via Bluetooth.
1. After the alarm setting, the display for bluetooth with PC function will appear on
the screen.
2. Select ON or OFF by pressing the left or right button and then save it by pressing
the ON/OFF button.