5
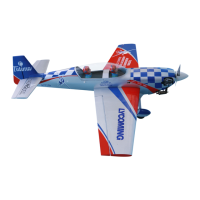
5) Turn the wing panel over and deect the
aileron in the opposite direction from the
opposite side. Apply thin C/A glue to each
hinge, making sure that the C/A penetrates
into both the aileron and wing panel.
6) Using C/A remover/debonder and a paper
towel, remove any excess C/A glue that may
have accumulated on the wing or in the
aileron hinge area.
7) Repeat this process with the other wing
panel, securely hinging the aileron in place.
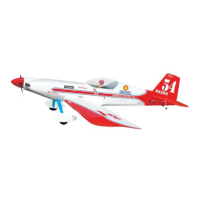
8) Aer both ailerons are securely hinged,
rmly grasp the wing panel and aileron to
make sure the hinges are securely glued and
cannot be pulled out. Do this by carefully ap-
plying medium pressure, trying to separate
the aileron from the wing panel. Use caution
not to crush the wing structure.
Work the aileron up and down sev-
eral times to “work in” the hinges
and check for proper movement.
Note :
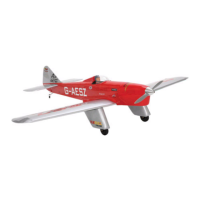
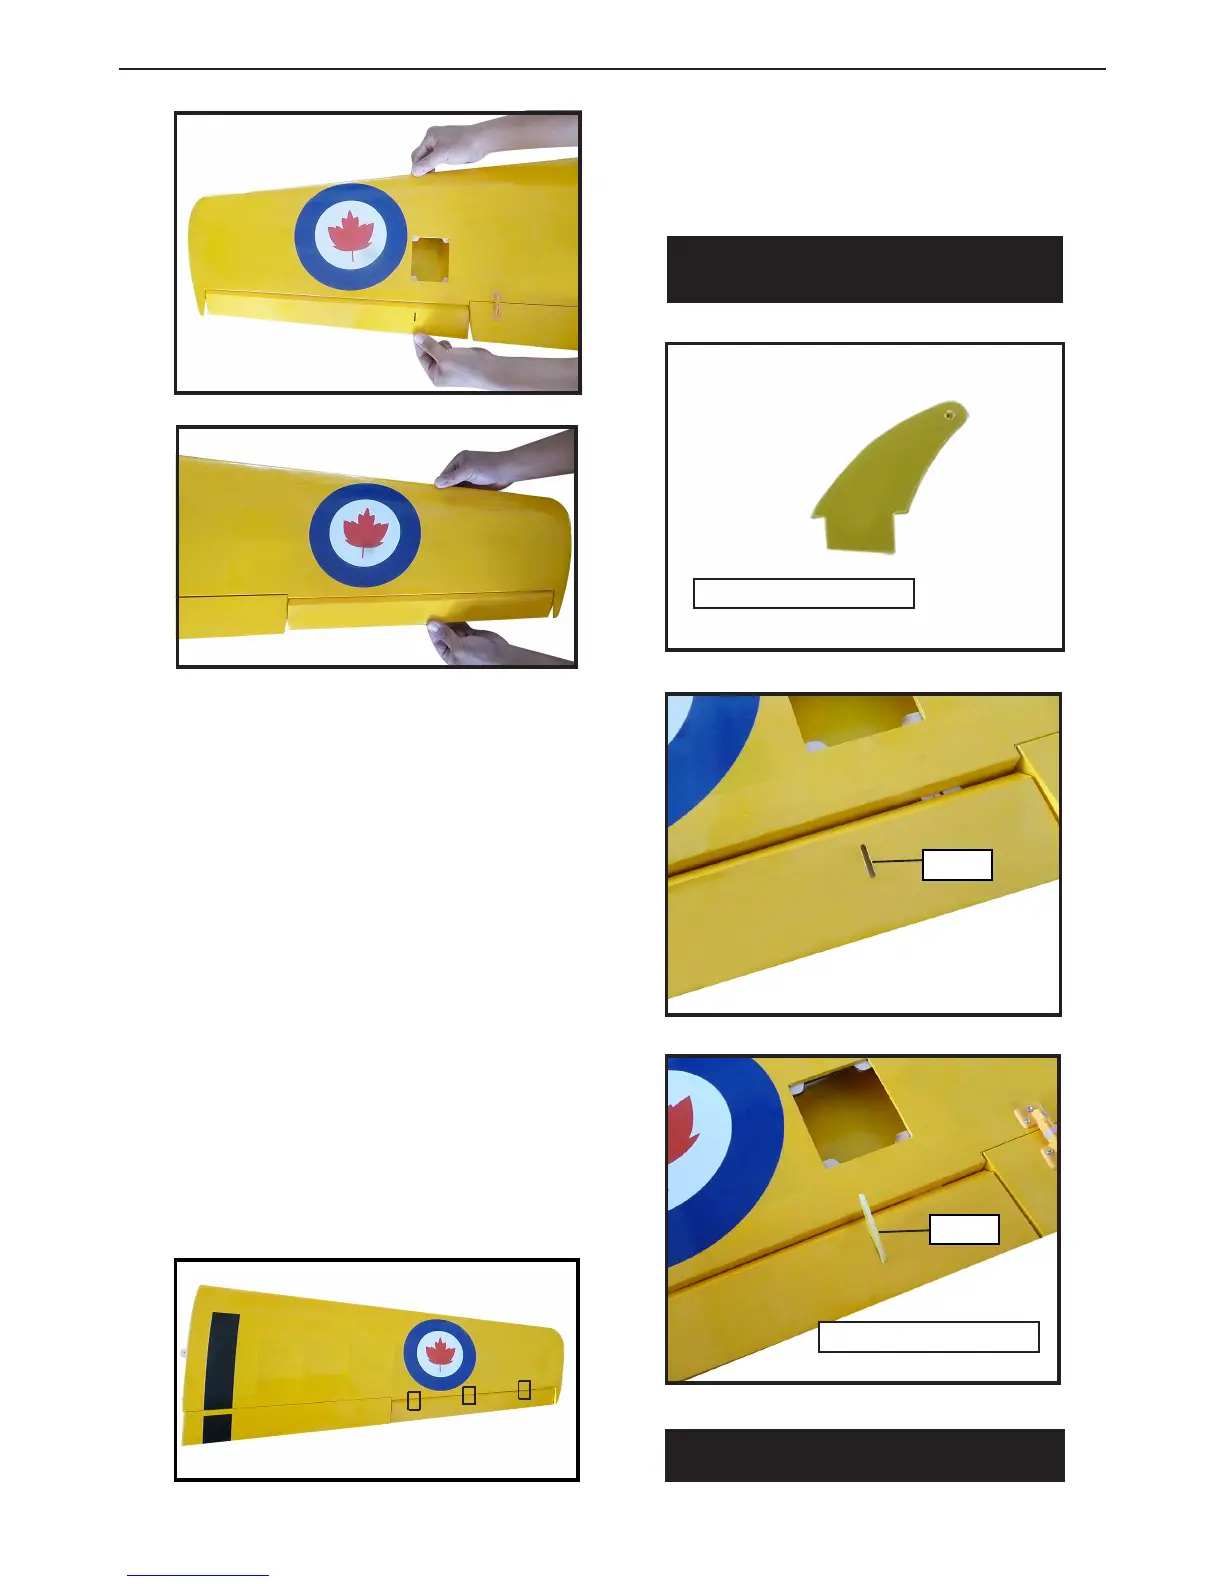
INSTALL THE AILERONS
CONTROL HORN.
Epoxy.
Epoxy.
Fiberglass control horn
Fiberglass control horn
INSTALLING THE ALLERON SERVOS