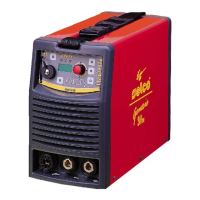
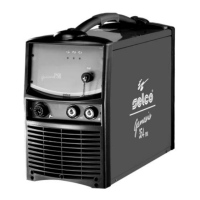
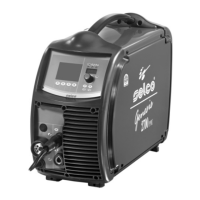
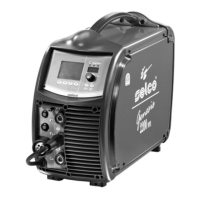
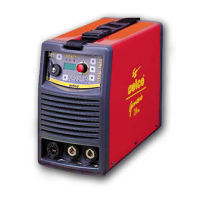
Do you have a question about the Selco Genesis 240 and is the answer not in the manual?
Explains the function of the master switch and input filter for radio noise and over-voltage protection.
Explains the current transducer and its role in power circuits for control and measurement.
Explains control circuits on the front panel enabling setting of welding current, mode, and functions.
Explains the H.F. transformer and H.F. discharge generation for sparking the TIG arc.
Shows the schematic layout of Card 15.14.233, including components and connectors.
Shows the schematic layout of Card 15.14.254, side A, including components and connectors.
Shows the schematic layout of Card 15.14.192, including components and connectors.
Shows the schematic layout of Card 15.14.240, including components and connectors.
Explains the functions of the GREEN and YELLOW LEDs on the G 240 front panel.
Explains the internal diagnostic LEDs (L1-L4) on board 15.14.254 for G 240 and G 240 TLH.
Details spare parts for the G 240 model, including notes on board kits.
Lists required instruments for Level 1 diagnostics, including multimeter scales and shunt.
Lists required instruments for Level 2 diagnostics, including oscilloscope and probes.
Explains the logic of the diagnosis procedure, starting from a known situation.
Defines conventions for measurements and terminal identification used in the diagnosis procedure.
Details the first stage of the G 240 diagnosis procedure involving checks on board 15.14.233.
Details the second stage of the G 240 diagnosis procedure involving voltage checks on board 15.14.233.
Details the third stage of the G 240 diagnosis procedure involving voltage checks on boards 15.14.254 and 15.14.233.
Details the fourth stage of the G 240 diagnosis procedure involving current measurement.
Details Stage 2 of the G 240 TLH diagnosis, including voltage checks on various boards.
Details Stage 3 of the G 240 TLH diagnosis, referencing G 240 procedures.
Details Stage 4 of the G 240 TLH diagnosis involving current measurement and voltage checks.
Details Level 1 checks for the power inverter, including visual checks and resistance measurements.
Details Level 2 checks for the power inverter, involving oscilloscope measurements.
Provides procedures for checking secondary power diodes using a multimeter.
Details G 240 power supply checks, including LED status and voltage measurements.
Details G 240 current control checks, including LED status and voltage measurements.
Details Stage 2 of current control checks, involving LED status and voltage measurements.
Details Stage 3 of current control checks, involving load application and measurements.
Details Stage 4 of current control checks, involving TIG mode and oscilloscope measurements.
Details Stage 5 of current control checks, involving MMA mode and oscilloscope measurements.
Details G 240 TLH current control checks, referencing G 240 procedures.
Details Stage 2 of G 240 TLH current control checks, including LED status and voltage measurements.
Details Stage 3 of G 240 TLH current control checks, referencing G 240 procedures.
Details Stage 4 of G 240 TLH current control checks, involving load/weld and voltage measurements.
Details Stage 8 of G 240 TLH checks, involving external reference and front panel display.
Details Level 1 and Level 2 checks for the H.F. generation circuit, including voltage and switch checks.
Details the procedure for removing and refitting the upper cover of the G 240.
Details the procedure for removing and refitting the plastic front panel.
Details the procedure for removing and refitting the front panels FP104 or FP106.
Details the procedure for removing the solenoid valve nipple on the G 240 TLH.
Details the procedure for removing the H.F. generation board 15.14.192 on the G 240 TLH.
Details operating tests and settings for the G 240 model, including minimum and maximum current measurement.
Explains how to measure and set the minimum welding current for the G 240.
Explains how to measure and set the maximum welding current for the G 240.
Explains how to measure minimum current for the G 240 TLH, noting calibration is not possible.
Explains how to measure and calibrate maximum current for the G 240 TLH.
| Output Current | 240A |
|---|---|
| Efficiency | 85% |
| Power Factor | 0.93 |
| Protection Class | IP23 |
| Welding Processes | MMA, TIG |