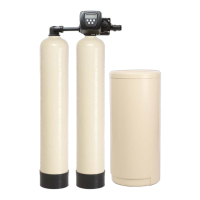
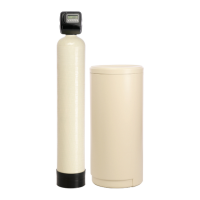
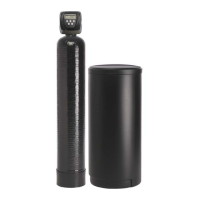
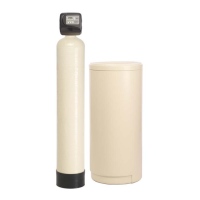
Installation Instructions
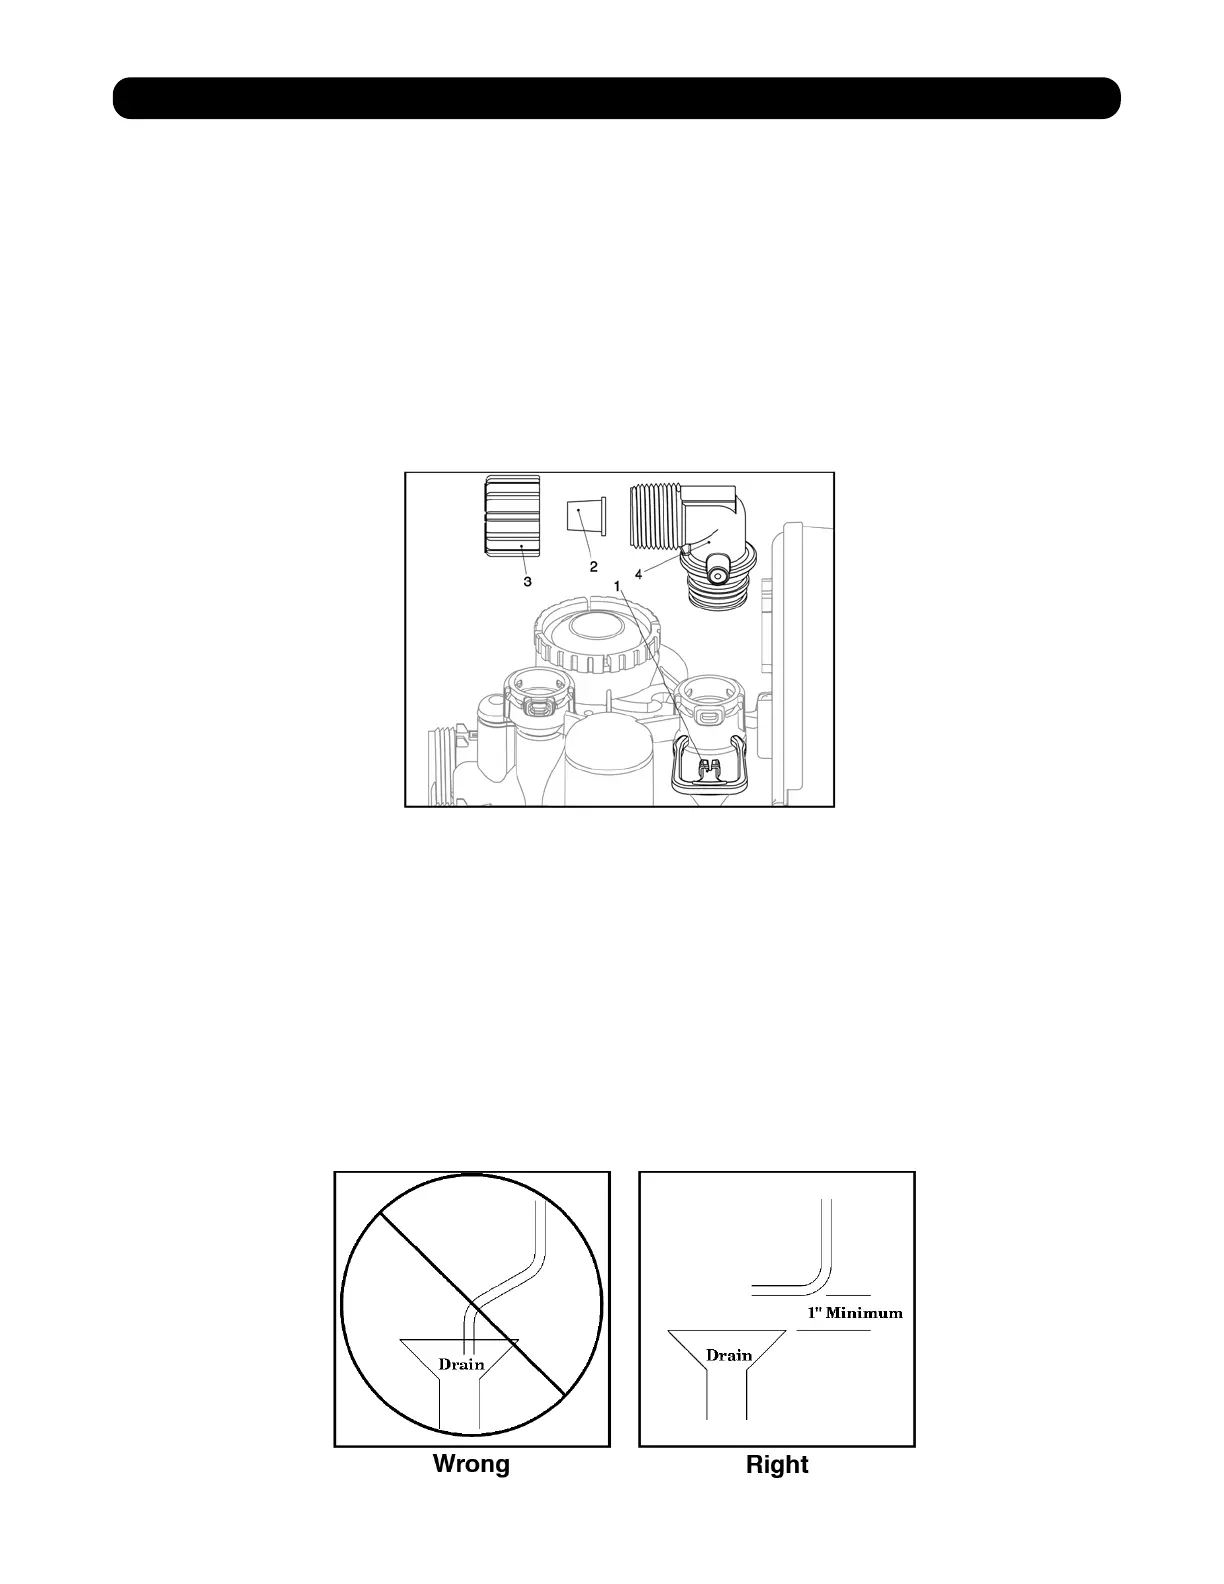
7. Locate Polytube Insert: Now that the water softener is connected to the existing
plumbing, the drain line may be connected. First, locate and remove the polytube
insert (#2) from the gray cable on the left side of the control valve.
8. Connecting the Drain Line: Slide plastic nut (#3) over the permanent drain
tubing and place the polytube insert (#2) into the end of the drain tubing. Insert the
drain tubing into the drain elbow fitting (#4) and tighten plastic nut (#3) hand-tight
plus 1/2 turn with pliers. Caution: Do Not Over-tighten. (See Figure 4)
9. Drain Line Specs: If the distance from the water softener to the drain is greater
than 20’ the drain line size must be increased to 3/4”. The threads on the drain elbow
fitting are 3/4” male NPT and can be used in lieu of the 1/2” plastic nut and insert. If
the drain line must run overhead, the maximum height of the drain line should not
exceed 8’ above the top of the water softener.
10. Air Gap: The drain line must have an approved air gap to prevent the possibility
of a cross connection to the sewer. (See Figure 5)
 Loading...