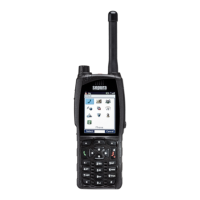
Disassembly/Assembly
Before cleaning or servicing the radio, it is recommended to remove external parts such as any
carrying aids (belt clips) and accessories connected to the radio. If you remove an accessory or
carrying aid, always refit them on completion of cleaning, servicing or repairing the radio.
This section contains the procedures for removing and attaching the following parts:
Antenna
Belt Clip
Shirt/Pocket Clip
Uniform Stud
Battery
SmartCard
Audio accessories
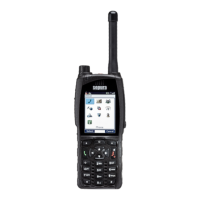
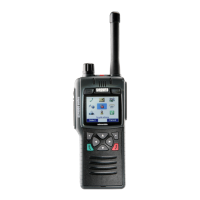
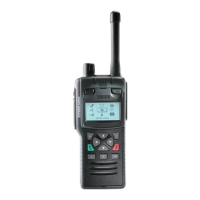
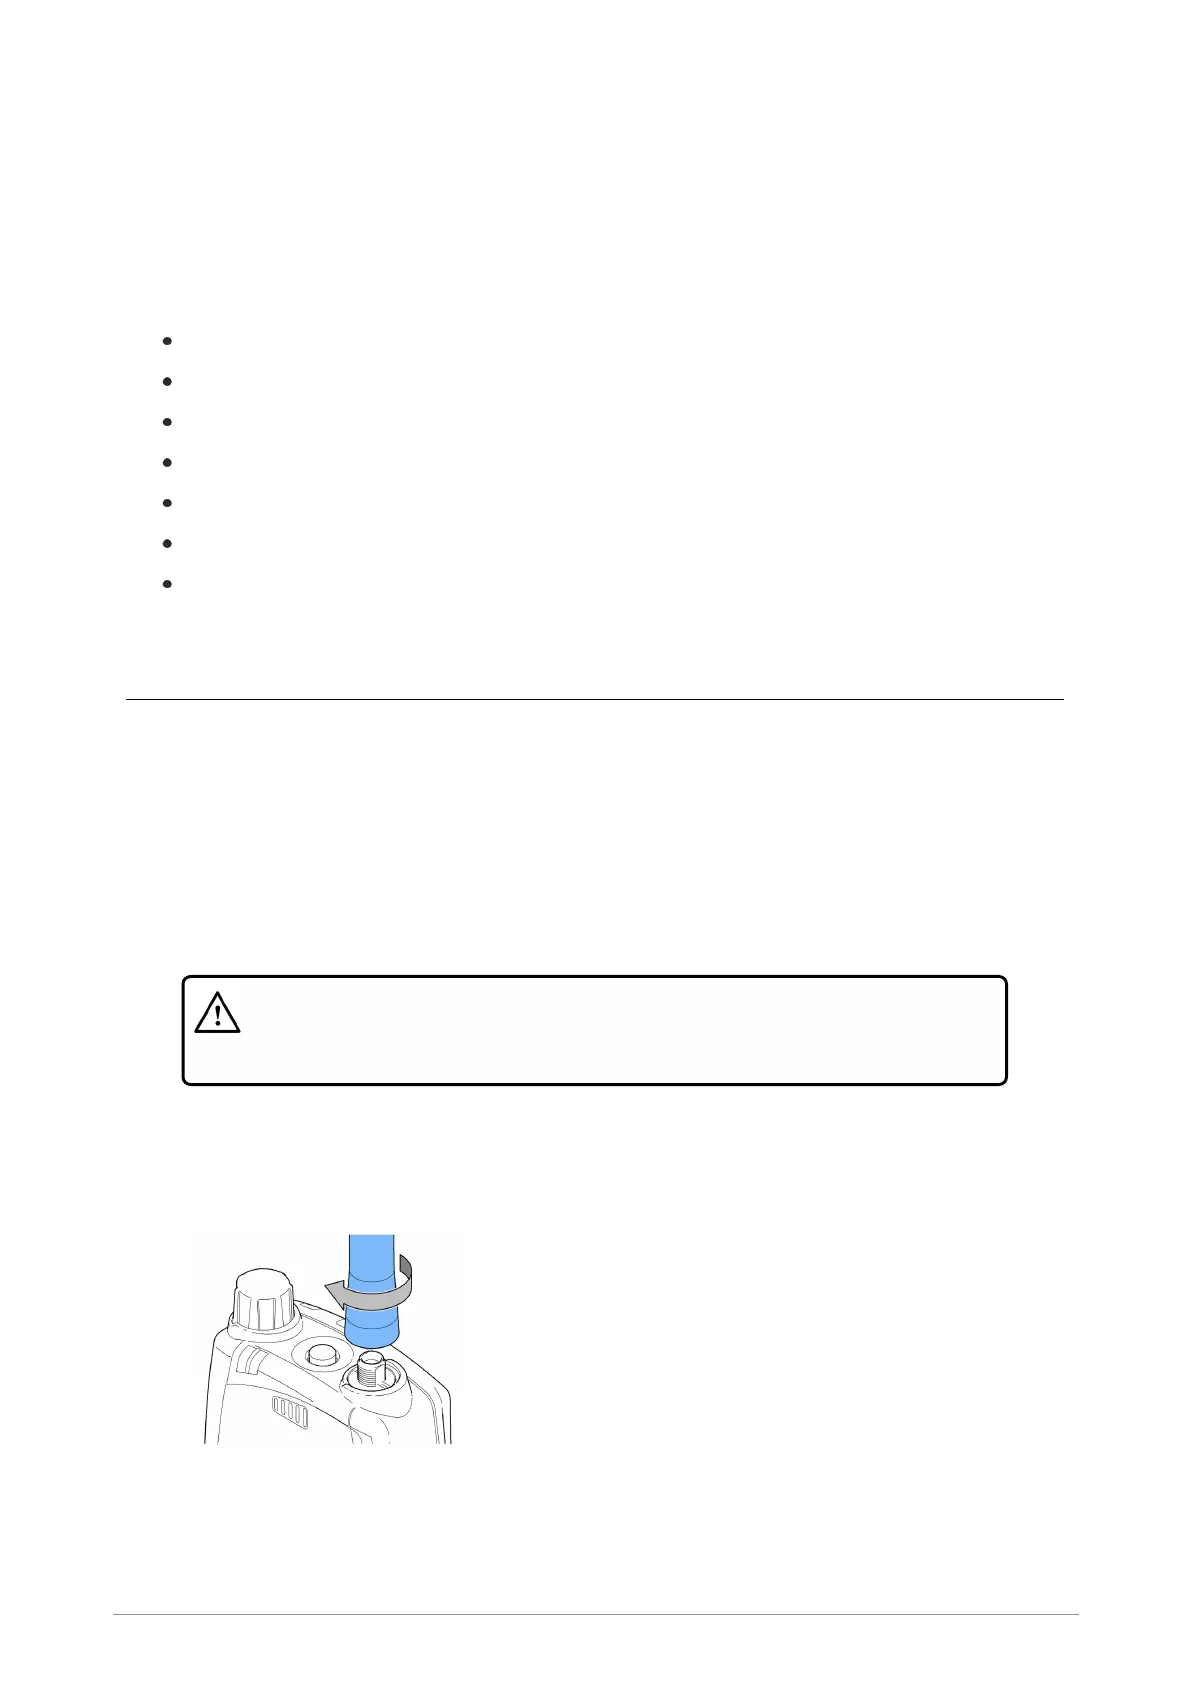
Antenna
Power off the radio before attempting to fit or remove the antenna.
Do not touch the antenna when the radio is powered on.
Remove the antenna
1. Rotate the antenna in a counter-clockwise direction until it can be removed from the radio.
Fit the antenna
Caution! Risk of damage to the radio. Ensure the antenna is fitted
correctly. Cross threading damages the antenna boss which will then require
a rear cover replacement.
1. Insert the base of the antenna into the radio's antenna connector.
2. Rotate the antenna in a clockwise direction until it is finger tight. Then apply another 1/4 turn in
a clockwise direction. Do not over tighten.
6 SC20 Series hand-portable radio
 Loading...