Switched PRO2 – User Guide
Using the Web Interface • 119
To set an LDAP group’s access level:
1. For the LDAP group name displayed in the list, click the Edit link. The LDAP Group Edit page displays.
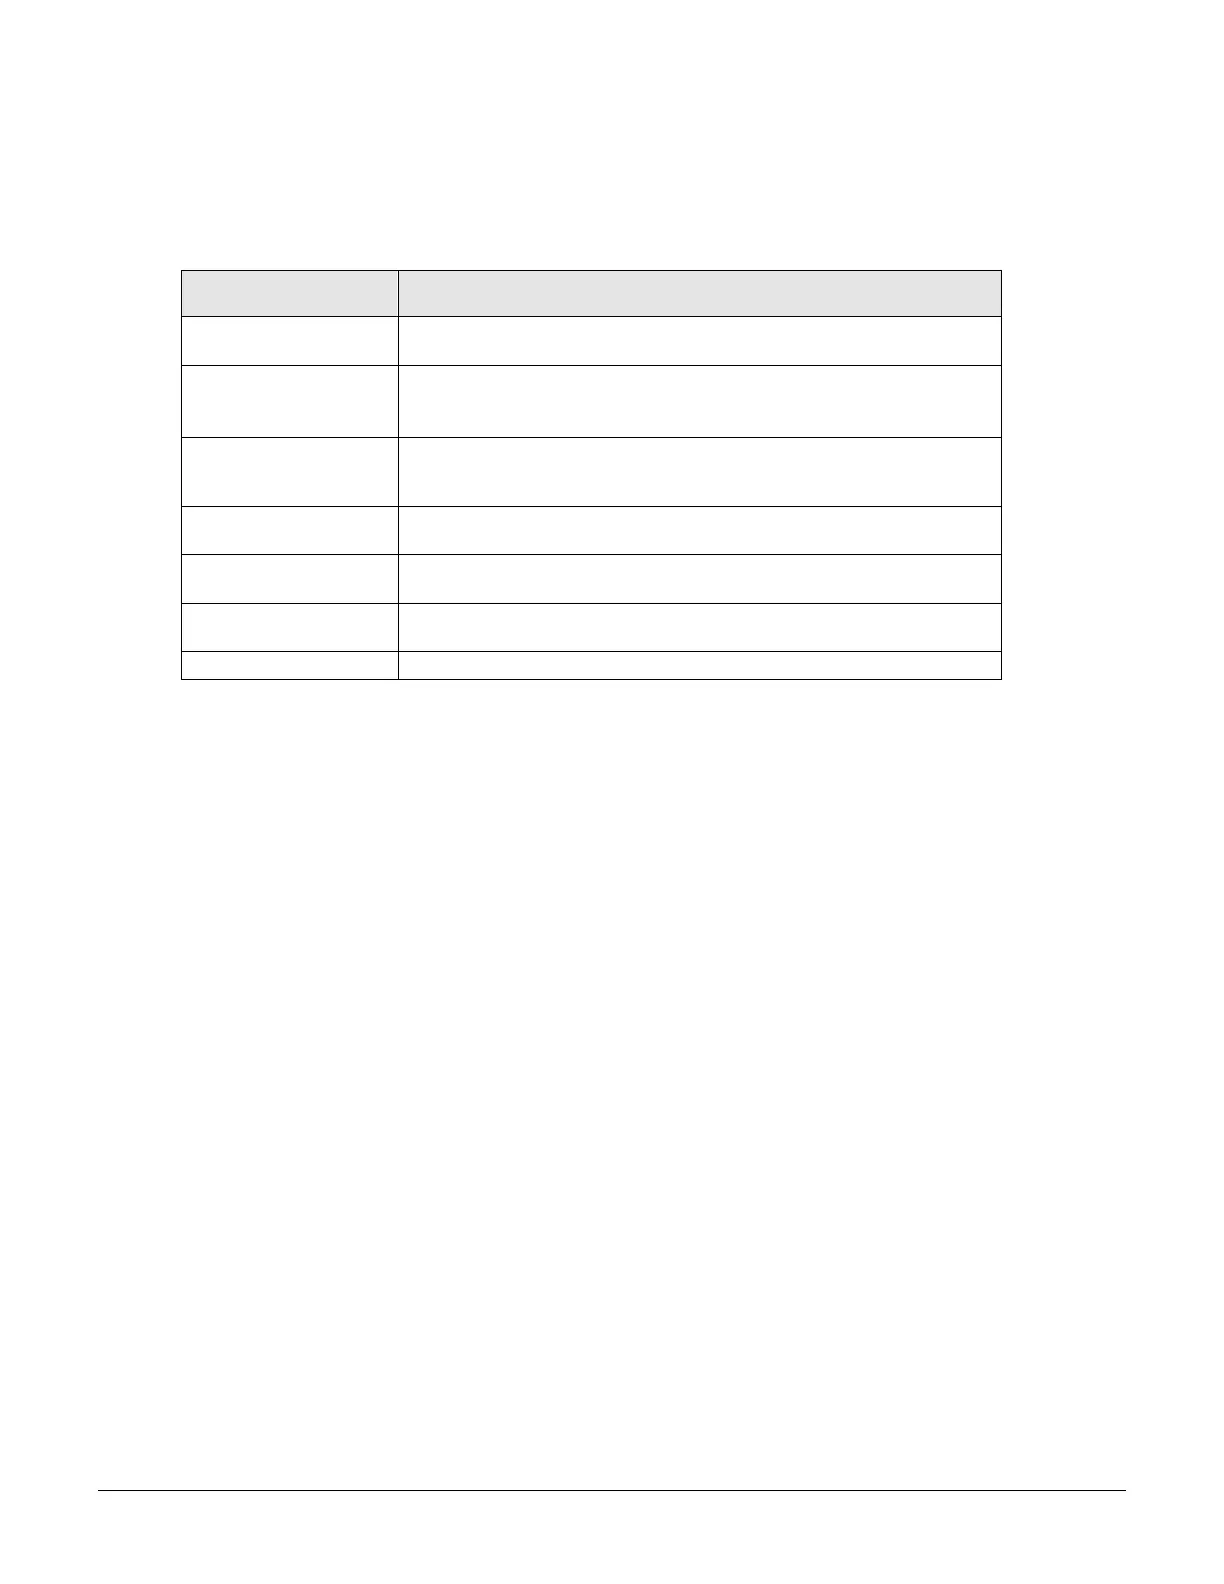
2. From the Access Level drop-down menu, select the desired user access level as described in the table
below.
3. Click Apply.
User Access Level
(highest to lowest)
Administrative user; Full access for all configuration, all outlet power
control actions (On, Off, Reboot), status, and serial/pass-thru ports.
Full access for all outlet power control actions (On, Off, Reboot), status,
and serial/pass-thru ports.
Note: The Power User does not have access to user management.
Partial access for outlet power control actions (On, Off, Reboot), status,
and pass-thru of assigned outlets, outlet groups, and serial/pass-thru
ports.
Partial access for outlet power control actions (Reboot), status, and
pass-thru of assigned outlets, outlet groups, and serial/pass-thru ports.
Partial access for outlet power control actions (On), status, and pass-
thru of assigned outlets, outlet groups, and serial/pass-thru ports.
Partial access for status and pass-thru of assigned outlets, outlet
groups, and serial/pass-thru ports.
Access to all “stat” commands on the Command Line Interface (CLI).
To delete an LDAP group:
1. For the LDAP group name displayed in the list, click the Remove link. You will be prompted with a
confirmation for the delete action.
2. Click OK or Cancel.