How to Use the Shark HD510 CNC Machine for First Time Users (Ready2Control)
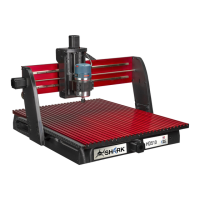
A replaceable spoil board has been placed on the permanent
spoil board sections located on the Shark table bed.
The board has 2” guidelines that are square to the gantry and
provide reference points for positioning your material.
There are a number of methods for securing your project
material to the Shark bed that are illustrated below.
The maximum material size is 25” x 25”.
Note: Ensure your clamping solution will not interfere with the
movement of the gantry, spindle or tool.
Screw into spoil board
You can screw your material directly to the Shark spoil board.
You can use the 2” gridlines to align your material so that is square to the gantry.
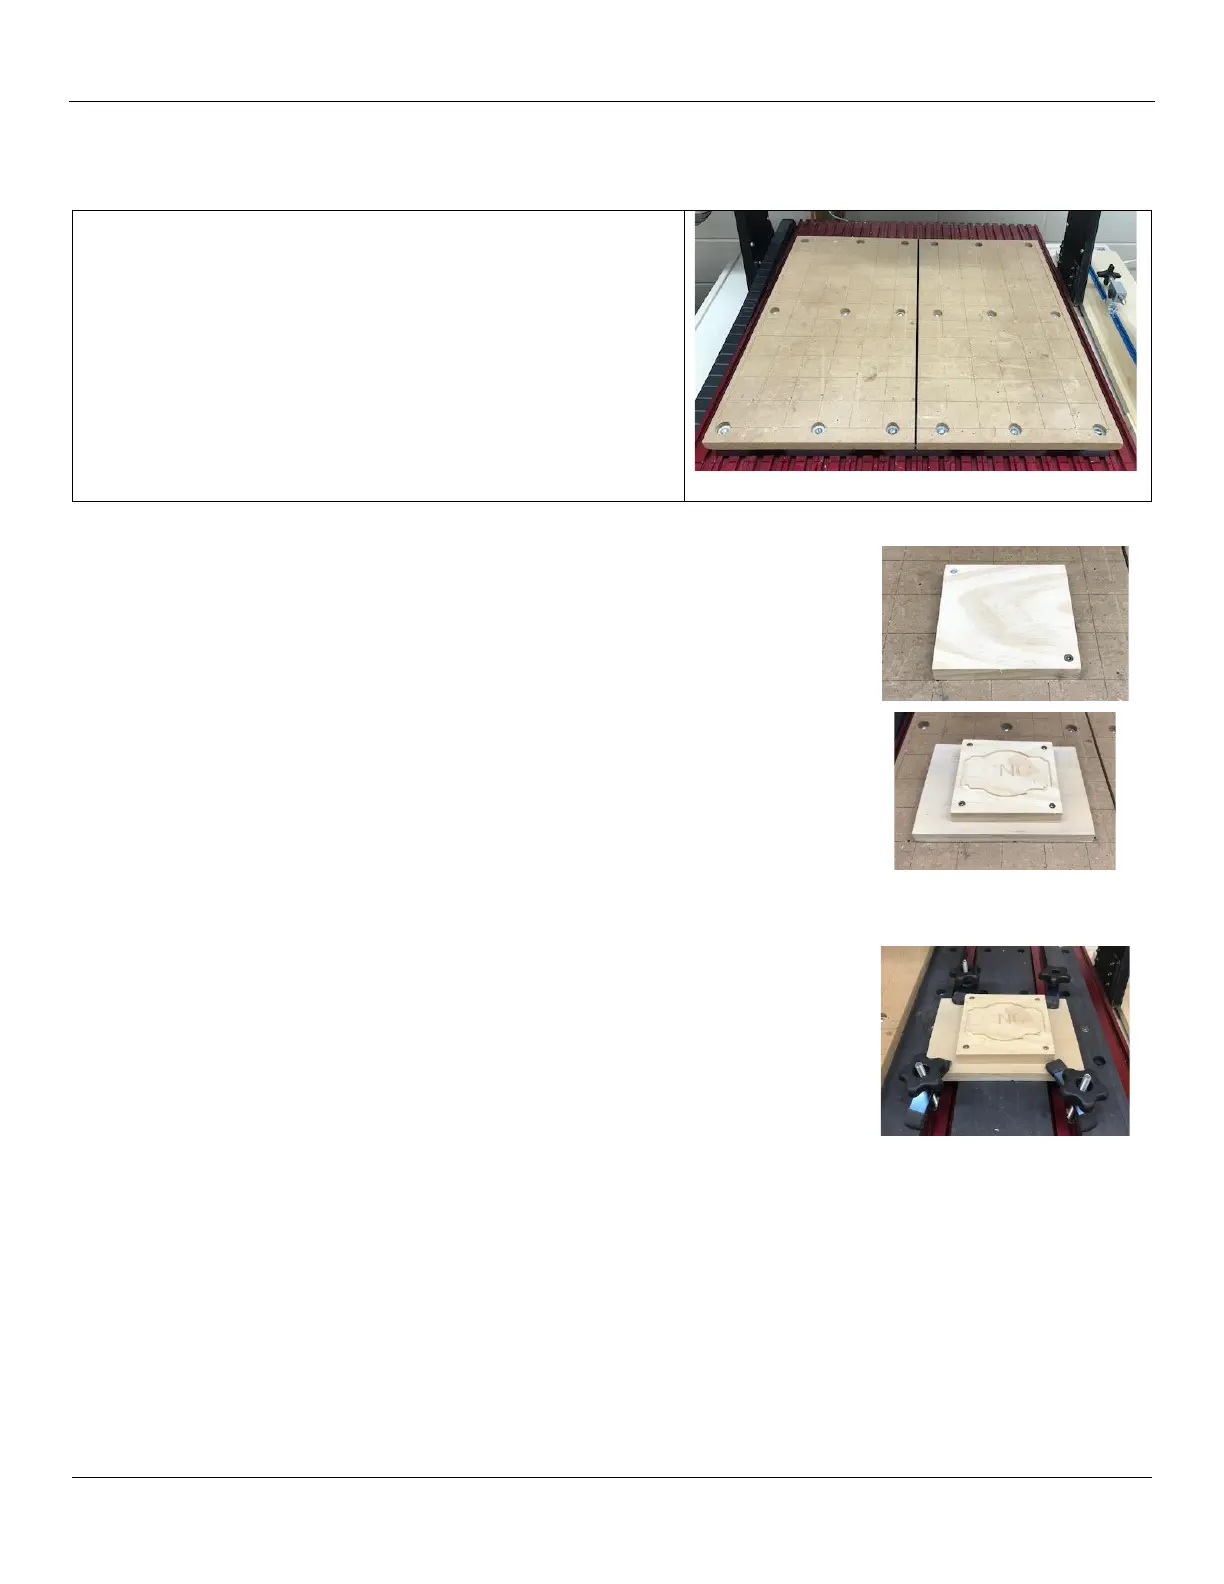
Screw the material onto your own spoil board
To help preserve the Shark spil board, you can screw your project material onto
your own spoil board, the screw your assembly to the Shark spoil board.
T-Track Clamps
If you wish to use the T-Tracks on the Shark bed, you can remove the right section
of the Shark spoil board to expose the T-Track bed.
Note: Only remove the right side – we need to keep the left side secure to ensure
that the gridlines on the Shark spoil board stay square to the gantry!
A number of T-Track clamps have been provided for you to use to secure your
material to the Shark CNC bed. Make sure the T-Track clamps do not interfere with
the movement of the gantry, spindle or tool.
After completing your job, replace the right section of the spoil board and make
sure it is aligned with the left side.