How to Use the Shark HD510 CNC Machine for First Time Users (Ready2Control)
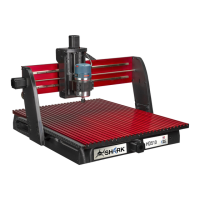
The Shark is equipped with a number of collets and
tool/bits. Commonly used bits are present in the pullout
tray located in the center of the cabinet.
Additional tools/bits are located in the drawers on the
bottom left side of the Shark cabinet.
1) Select the appropriate bit and collet for your first
toolpath.
2) Move the spindle over your material or place a piece
of wood under the spindle to protect the tool from
hitting the metal surface if it should fall out while
doing this procedure.
3) Inspect the nut, collet and the inside of the spindle
for any debris before assembly – clean if necessary.
4) Insert the collet into the nut until it snaps.
5) Screw the nut/collet onto the spindle. The nut should turn freely on the spindle, if you
encounter any resistance while screwing the nut on, STOP IMMEDIATELY and make sure you
are not cross threading the nut!
6) Insert the selected tool into the collet/nut. Make sure the tool is firmly inserted
into the collet. If the tool has flutes, make sure the flutes are clear of the collet.
Note: If your project requires precise placement of the X and Y settings, you
may want to use a V-Grove bit so that you can use the tip of the tool to
precisely move the gantry/spindle to the exact X Y = 0 location.
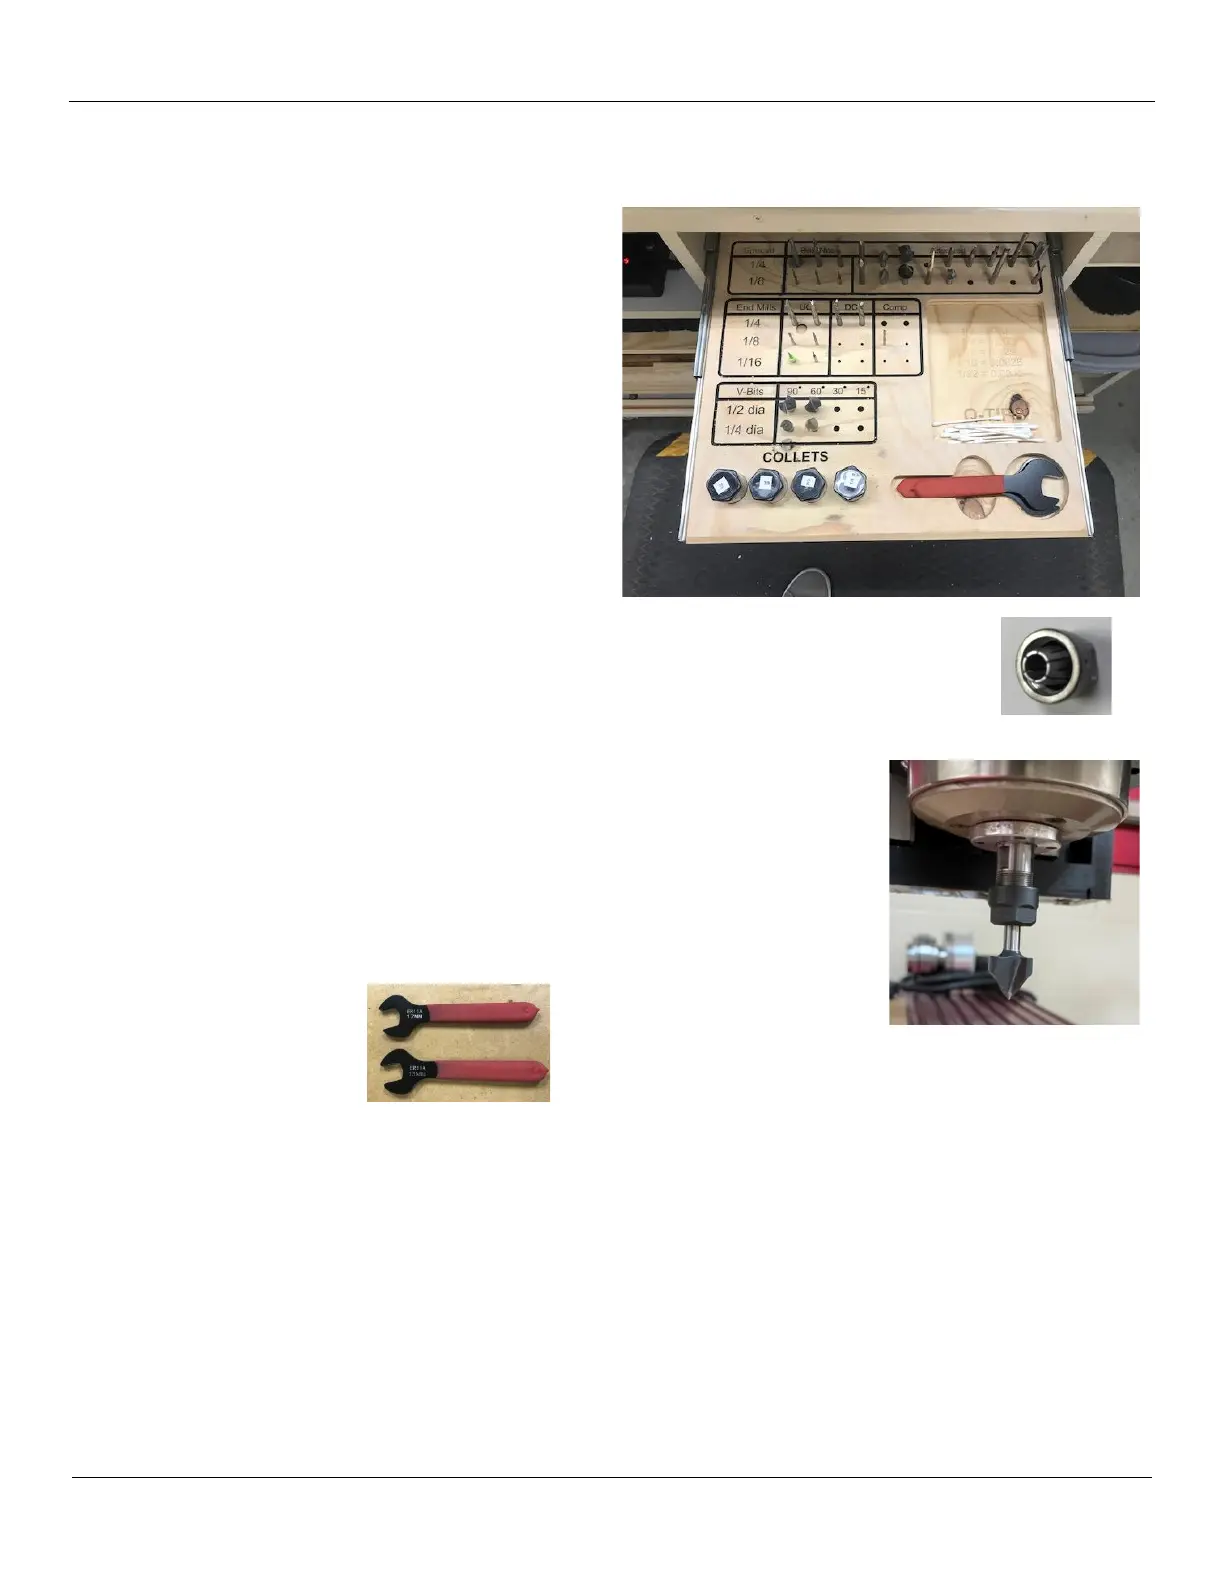
7) Use the 2 red handle wrenches to tighten the tool into the collet. Make sure you
apply the proper amount of torque to hold the tool in place.
8) If used, remove and store the piece of wood that protected the tool from dropping.
9) Continue to the next section to set the X, Y and Z positions.