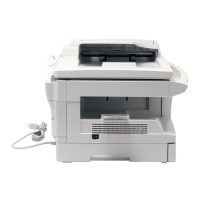
DIGITAL MULTIFUNCTIONAL SYSTEM
START GUIDE
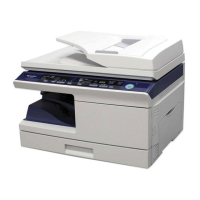
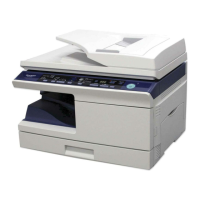
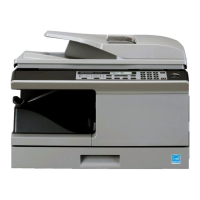
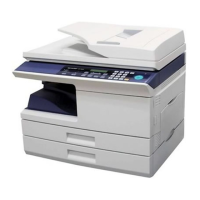
MODEL: AL-2051
12
This guide explains how to install the machine, and indicates important points to note for installation and usage. Read and understand this guide to ensure
that you install the machine correctly. The Operation Guide for the machine is on the accompanying CD-ROM. The procedure for viewing the guide is
explained in "6. HOW TO USE THE OPERATION GUIDE". After installation, read the Operation Guide to make full use of all the machine has to offer.
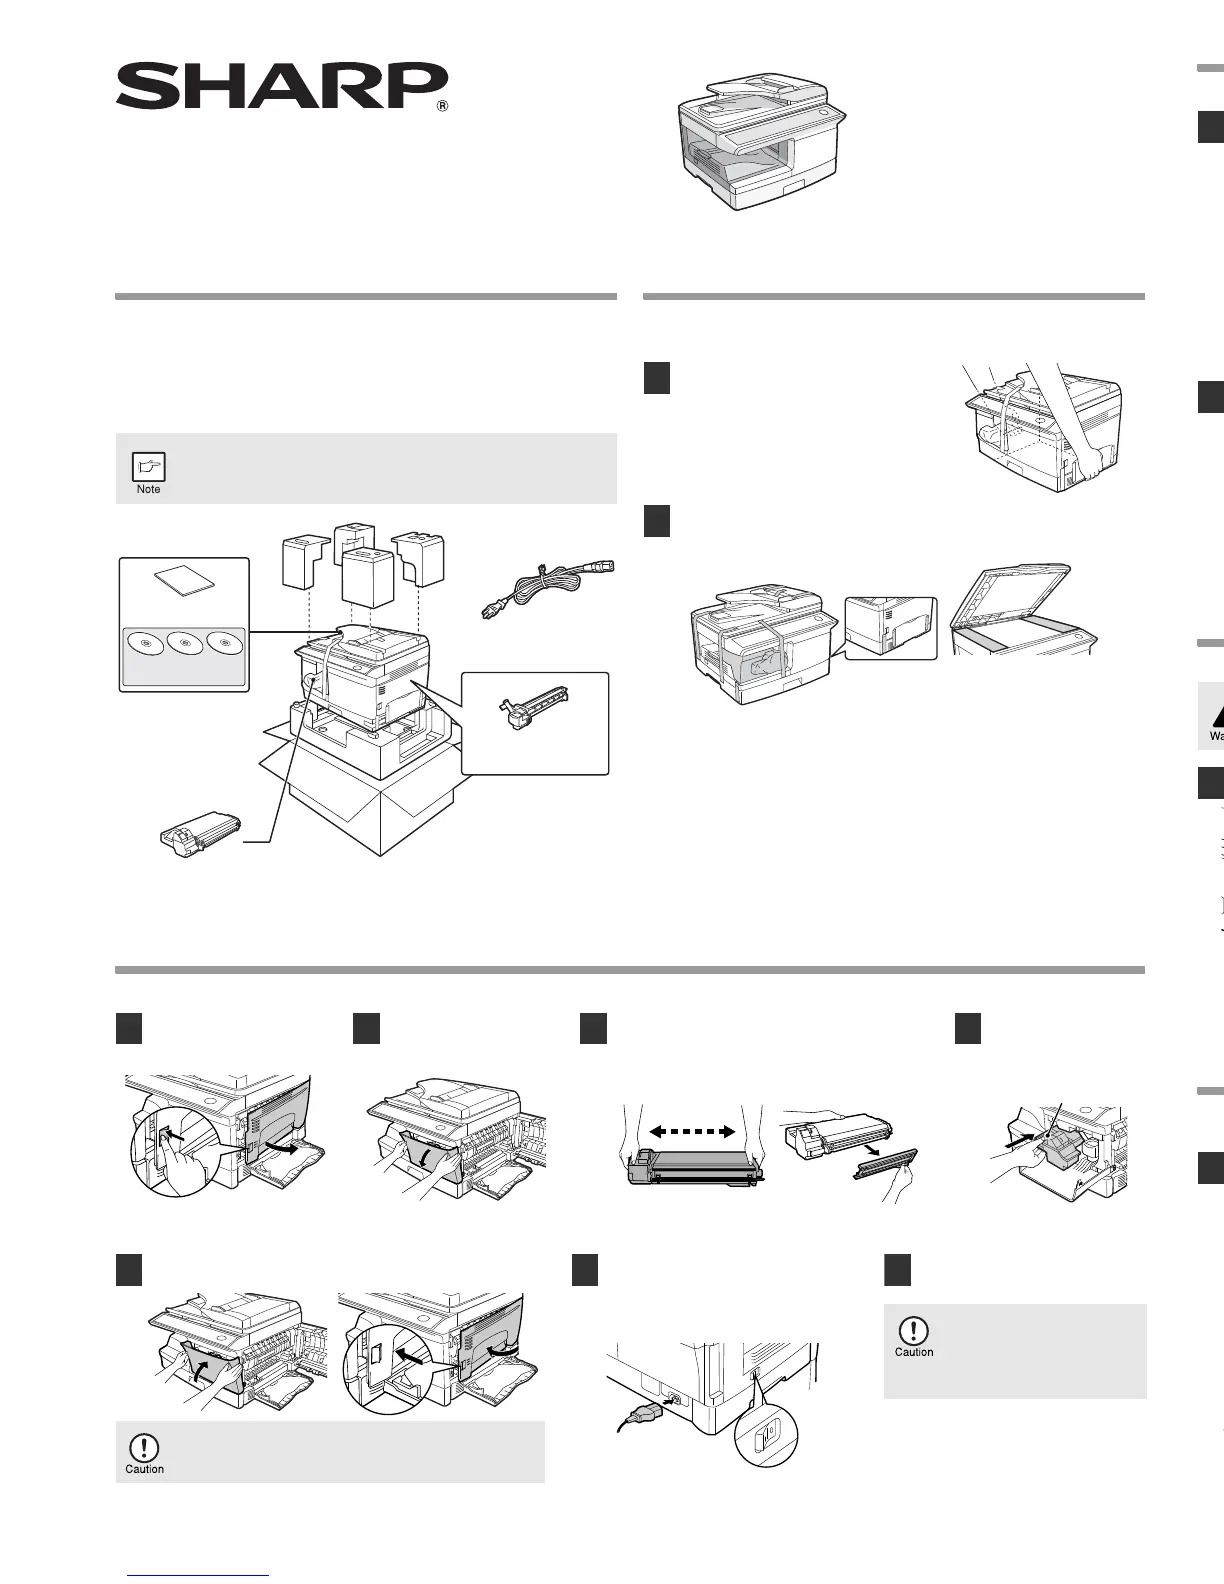
1. CHECKING PACKED COMPONENTS AND
ACCESSORIES
Open the carton and check if the following components and accessories
are included.
If anything is missing or damaged, contact your authorized service
representative.
2.
PREPARING THE MACHINE FOR
INSTALLATION
3. INSTALLING THE TD (TONER DEVELOPER) CARTRIDGE
If the machine does not function properly during setup or use,
or if a function cannot be used, see "TROUBLESHOOTING
AND MAINTENANCE" (p.137).
1
Be sure to hold the handles on both
sides of the machine to unpack the
machine and carry it to the installation
location.
2
Remove all pieces of tape shown in the illustration below and then open
the RSPF and remove the protective materials. Take out the bag
containing the TD cartridge.
1
Open the bypass tray, and
then open the side cover.
2
Press gently on both
sides of the front cover to
open the cover.
3
Remove the TD cartridge from the bag. Hold the
cartridge on both sides and shake it horizontally
four or five times. Hold the tab of the protective
cover and pull the tab to your side to remove the
cover.
4
While pushing the lock
release button, gently
insert the TD cartridge
until it locks into place.
5
Close the front cover and then the side cover by pressing the
round projections near the side cover open button.
6
Ensure that the power switch of the
unit is in the OFF position. Insert the
attached power cord into the power
cord socket at the rear of the unit.
7
Plug the other end of the power cord
into the nearest outlet.
Only insert the power cord
into a properly grounded wall
socket.
Do not use extension cords or
power strips.
When closing the covers, be sure to close the front cover
securely and then close the side cover. If the covers are
closed in the wrong order, the covers may be damaged.
4. LOADING PAPER
5. CONNECTING THE POWER CORD / POWER ON
About the scan head
The scan head lamp remains on constantly when the unit is in the ready condition (when the start ( ) indicator is illuminated).
The unit adjusts the scan head lamp periodically to maintain copying quality. At this time, the scan head moves automatically. This is normal and does not
indicate unit trouble.
6. HOW TO USE THE OPERATION GUIDE
Detailed explanations of the functions that can be used on the machine are provided in the Operation Guide in PDF format.
A paper form operation manul can be obtained from your authorized SHARP dealder or upon request by contacting SHARP.
SHARP Manufacturing France - Customer Documentation Department
Route de Bollwiller
68 360 SOULTZ - FRANCE
or by fax (+33) 3.89.74.87.78
Please inform the model name, the serial number of the machine and the language needed. Do not forget to add your name and your address.
1
Raise the handle of the paper tray and
pull the paper tray out until it stops.
2
Rotate the pressure plate lock in the direction
of the arrow to remove it while pressing down
the pressure plate of the paper tray.
3
Store the pressure plate lock which has been
removed in step 2. To store the pressure plate
lock, rotate the lock to fix it on the relevant
location.
4
Squeeze the lever of paper guide (A) and slide
the guide to match with the width of the paper.
Move paper guide (B) to the appropriate slot
as marked on the tray.
5
Fan the paper and insert it into the tray.
Make sure the edges go under the
corner hooks.
6
Gently push the paper tray back into the unit.
• Be sure that paper is free of rips, dust,
wrinkles, and curled or bent edges.
• Make sure all the paper in the stack is
the same size and type.
• When loading paper, ensure there is no
space between the paper and the
guide, and check if the guide is not set
too narrow causing the paper to bend.
Loading paper in these ways will result
in document skew or a paper jam.
If you use the unit in a country other than the country where the unit was purchased, you will need to make sure that your local power supply is
compatible with your model. If you plug the unit into an incompatible power supply, irreparable damage to the unit will result.
1
Ensure that the power switch of the
unit is in the OFF position.
2
Insert the attached power cord into the power cord
socket at the rear of the unit.
Plug the other end of the power cord into the
nearest outlet.
3
Turn the power switch on the left side of the
unit to the "ON" position.
• Only insert the power cord into a properly
grounded wall socket.
• Do not use extension cords or power strips.
1
Insert the supplied CD-ROM into your
computer's CD-ROM drive.
2
Display the contents of the CD-ROM, and open
the Operation Guide file.
 Loading...