Supplied accessories
Make sure the following accessories are provided with the product.
Page 8 Page 8
Page 7
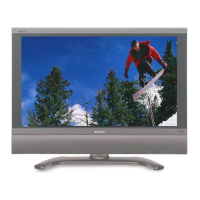
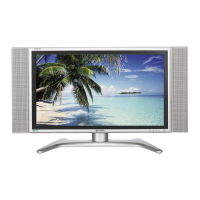
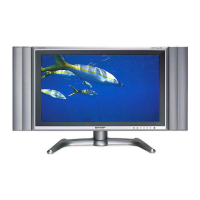
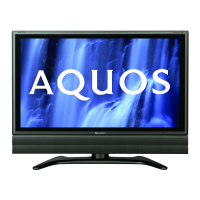
LC-26D40U
LC-32D40U
AQuas
Page 7
Page 6
8QM124S$
• Always use the AC cord supplied with the TV.
QUICK REFERENCE
• Before attaching (or detaching) stand, unplug the
AC
cord from the
AC
input terminal.
• Before performing work spread cushioning over the base area to lay the
TV
on. This will prevent it from being damaged.
•
Attach
the
stand
in
the
correct
direction.
• The
"REAR"
label
should
be
visible
from
the
back
of
the
TV.
•
Incorrect
installation
of
the
stand
may
result
in
the
TV
falling
over.
• Be
sure
to
follow
the
instructions.
1. Confirm the 8 screws supplied with the TV.
Short
screws
(X4)
(used in step 2)
""
Long
screws
(X4)
(used in step 3)
I
~",.;",
...
,.,.·,.;.:;,,;::::)
I:~"i,:
..
",i"."",;"i,.:}
I~";".,l"i":,,;,,i,,.,.:i
1
7
,
..•
:,
.•
",.",
.•
",
..
",:.)
,
~
m !
3.
CD
Insert the stand into the opening on the bottom
of
the
TV.
@ Insert and tighten the 4 long screws into the 4 holes on
the rear
of
the TV.
2. Attach the two parts
of
the stand unit to each other
using the 4 short screws and the hex key (supplied with
the product) as shown.
Short
screw~
,
~d
'
~
~---
hex key
® _6 •
To
detach the stand, perform the steps
in
reverse order.
1-
hex key
G~~q
@
ii'
i-
Long screw
Soft
cushion-~£\'-~~I
 Loading...

