176
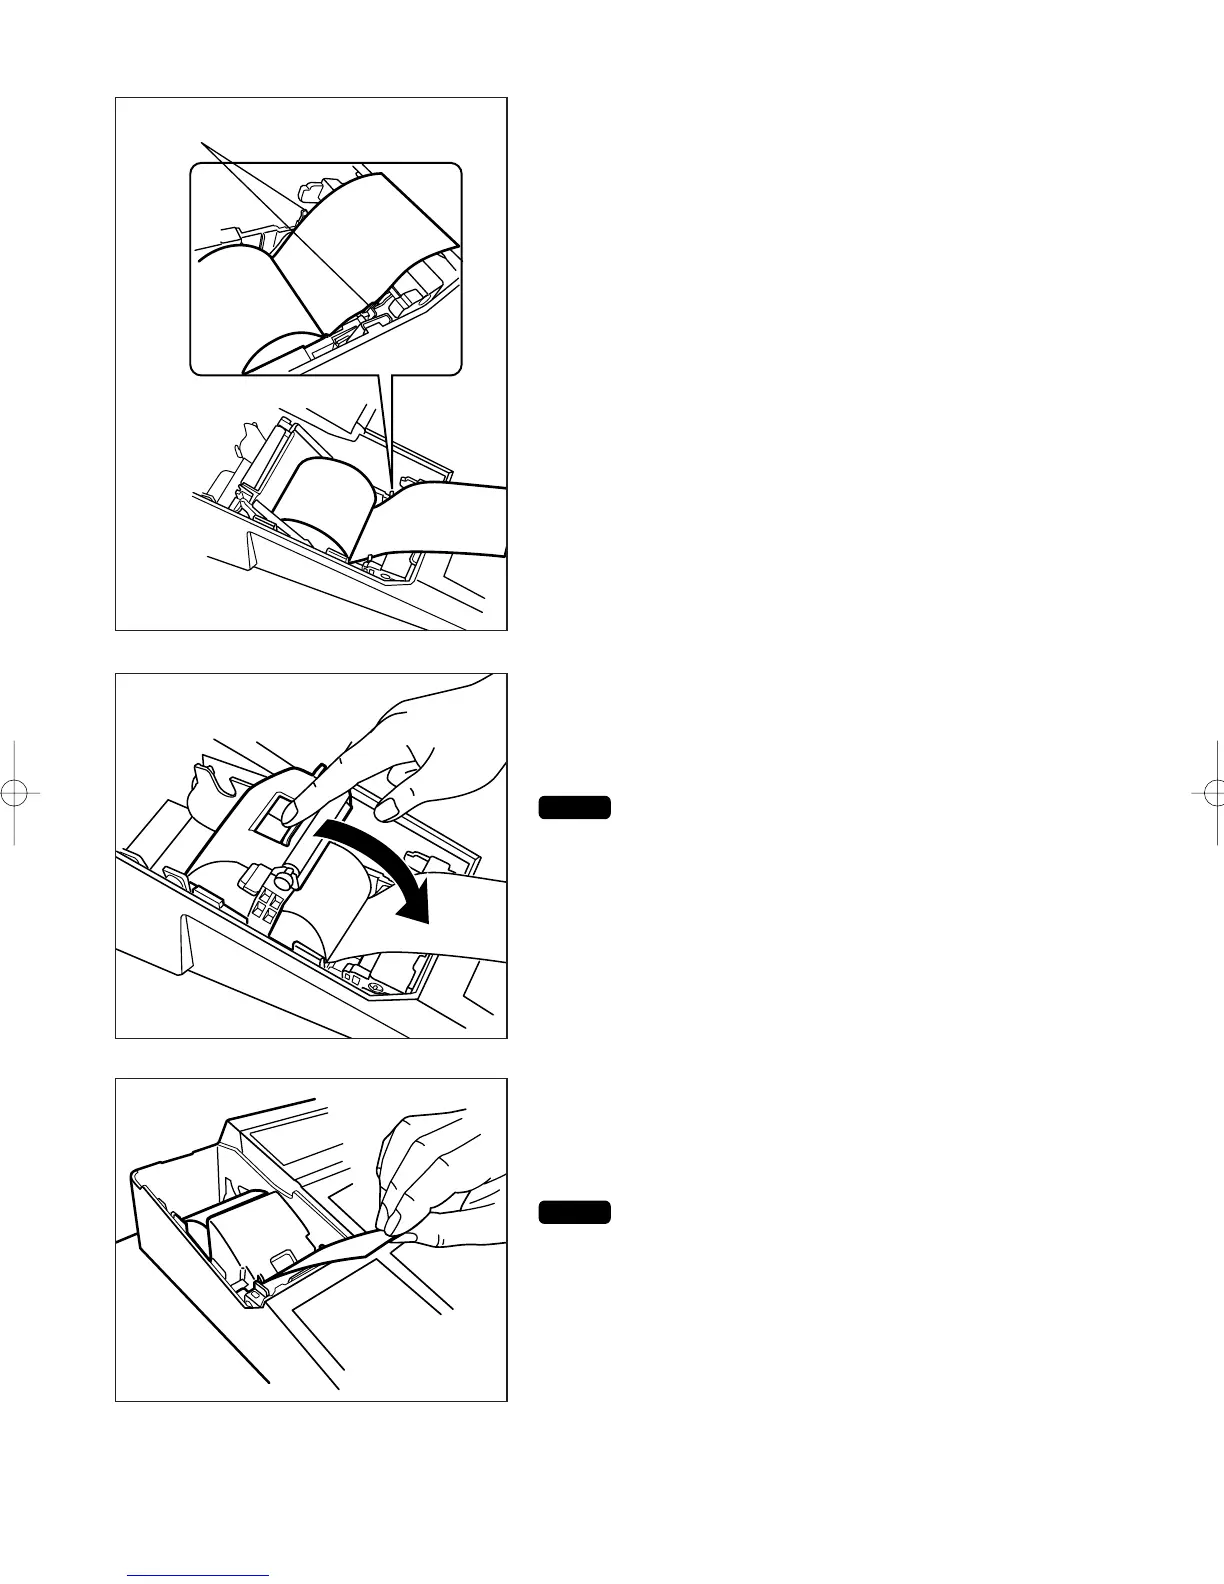
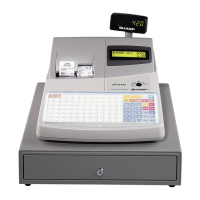
3. Set the paper correctly in the paper roll location.
4. Feed the paper end along with the paper positioning
guides.
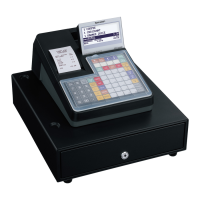
5. While holding down the paper, slowly close the print
roller arm, and push down the arm until you hear a click
locking the arm. Make sure securely you push down the
center of the arm as per the diagram.
If the print roller arm is not securely locked,
printing is not done right. If this problem occurs,
open the arm, and close the arm as instructed
above.
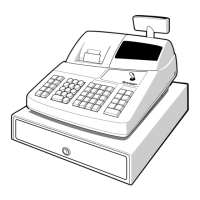
6. Cut off the excess paper using the edge of the inner
cover, and replace the printer cover. Press the
{
key
to make sure the paper end comes out of the printer
cover and clean paper appears.
If the paper end does not come out, open the
printer cover, and pass the paper end between
the paper cutter and the paper guide of the
printer cover, and replace the cover.
NOTE
Paper positioning guide
ER-A280F_N(SEEG)(E)-9 09.6.18 6:56 AM Page 176