ENGLISH
E-11
outlet.
1
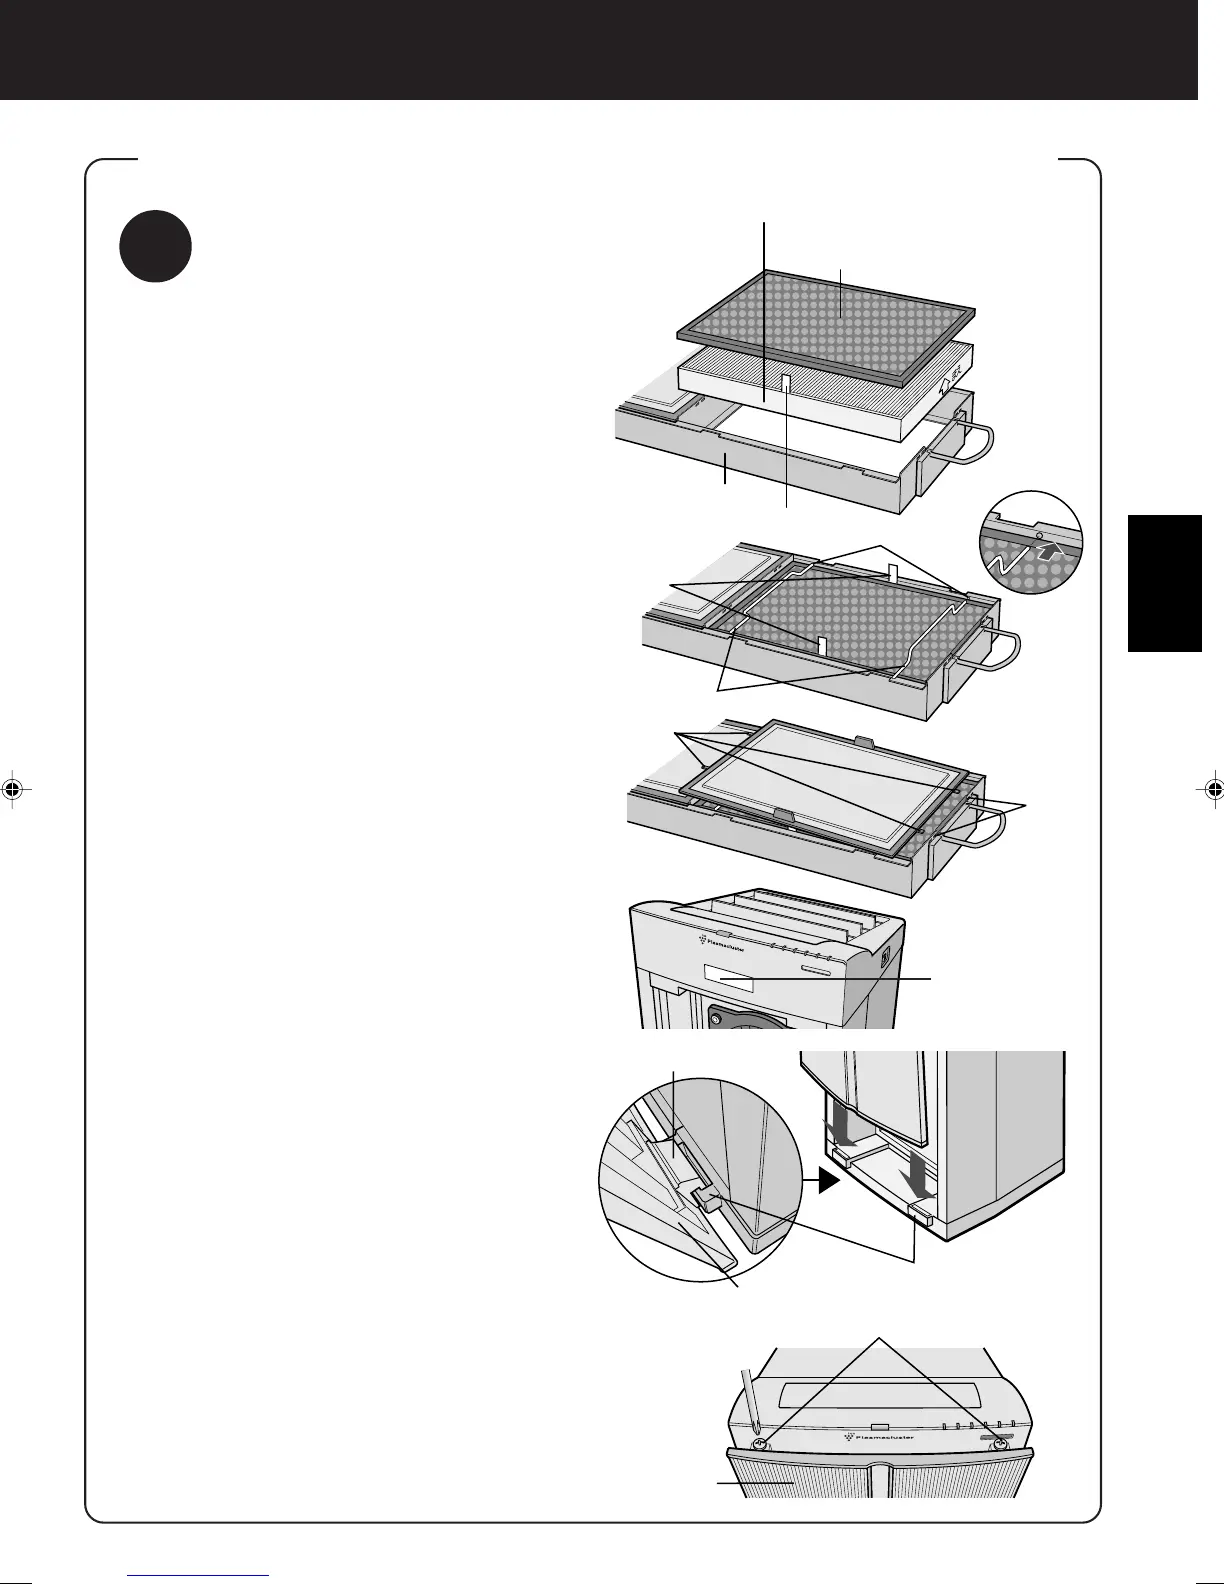
Filter Installation
1
After the HEPA Filters are re-
moved from the plastic bag, place
it within the Filter Frame with the
“FRONT” sign facing up.
(See the diagram to the right.)
Ensure that the filters are installed correctly.
Do not install the filters backwards or the
unit will not operate properly.
2
After removing the Active Carbon
Filters from the plastic bag, and
place it over the HEPA Filter with
the black side facing up. (One
each top and bottom)
Attach it with the ‘removal tags’
protruding from the Filter
Frame.
3
Insert the Filter Fixers into their
sockets. (Two each top and bot-
tom)
4
Insert the four tabs on the Pre-
Filter into the Square Notches in
the Filter Frame. (Two each top
and bottom)
5
Fill in the usage start date on the
Date Label, which can be found
on upper of the Main unit.
Use the date as a guide for your filter re-
placement period.
6
Holding the Filter Frame by its
handle, secure it to the Main unit.
Recess both the top and bottom handles
into the Main unit.
7
Insert the two Protruding Catches
located on the back of the Front
Panel into their housings on the
Main unit, and affix the Front
Panel to the Main unit using the
Top Screws (one each left and
right).
HEPA Filter (white)
Active Carbon Filter (Front: black)
Microbial Control Filter (Back: white)
Filter Frame
Removal tag
Sockets
Removal
tags
Filter Fixers
Tabs (X4)
Back of the front panel
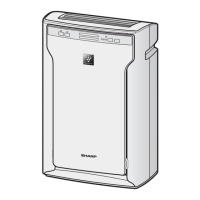
ATTACHING THE FILTER, FILTER FRAME, AND FRONT PANEL
FRONT
Square
Notches
Housings
Protruding Catches
Phillips screws
Front Panel
Date Label