32
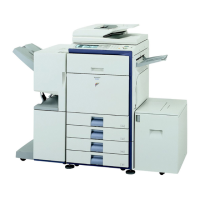
Fusing unit pressure adjusting levers
In some cases damage to the envelopes, colour deviations, or smudging may occur even if envelopes within the
specifications are used. This problem may be alleviated by shifting the fusing unit pressure adjusting levers from their
"normal pressure position" to the "lower pressure position". Follow the procedure on the this page.
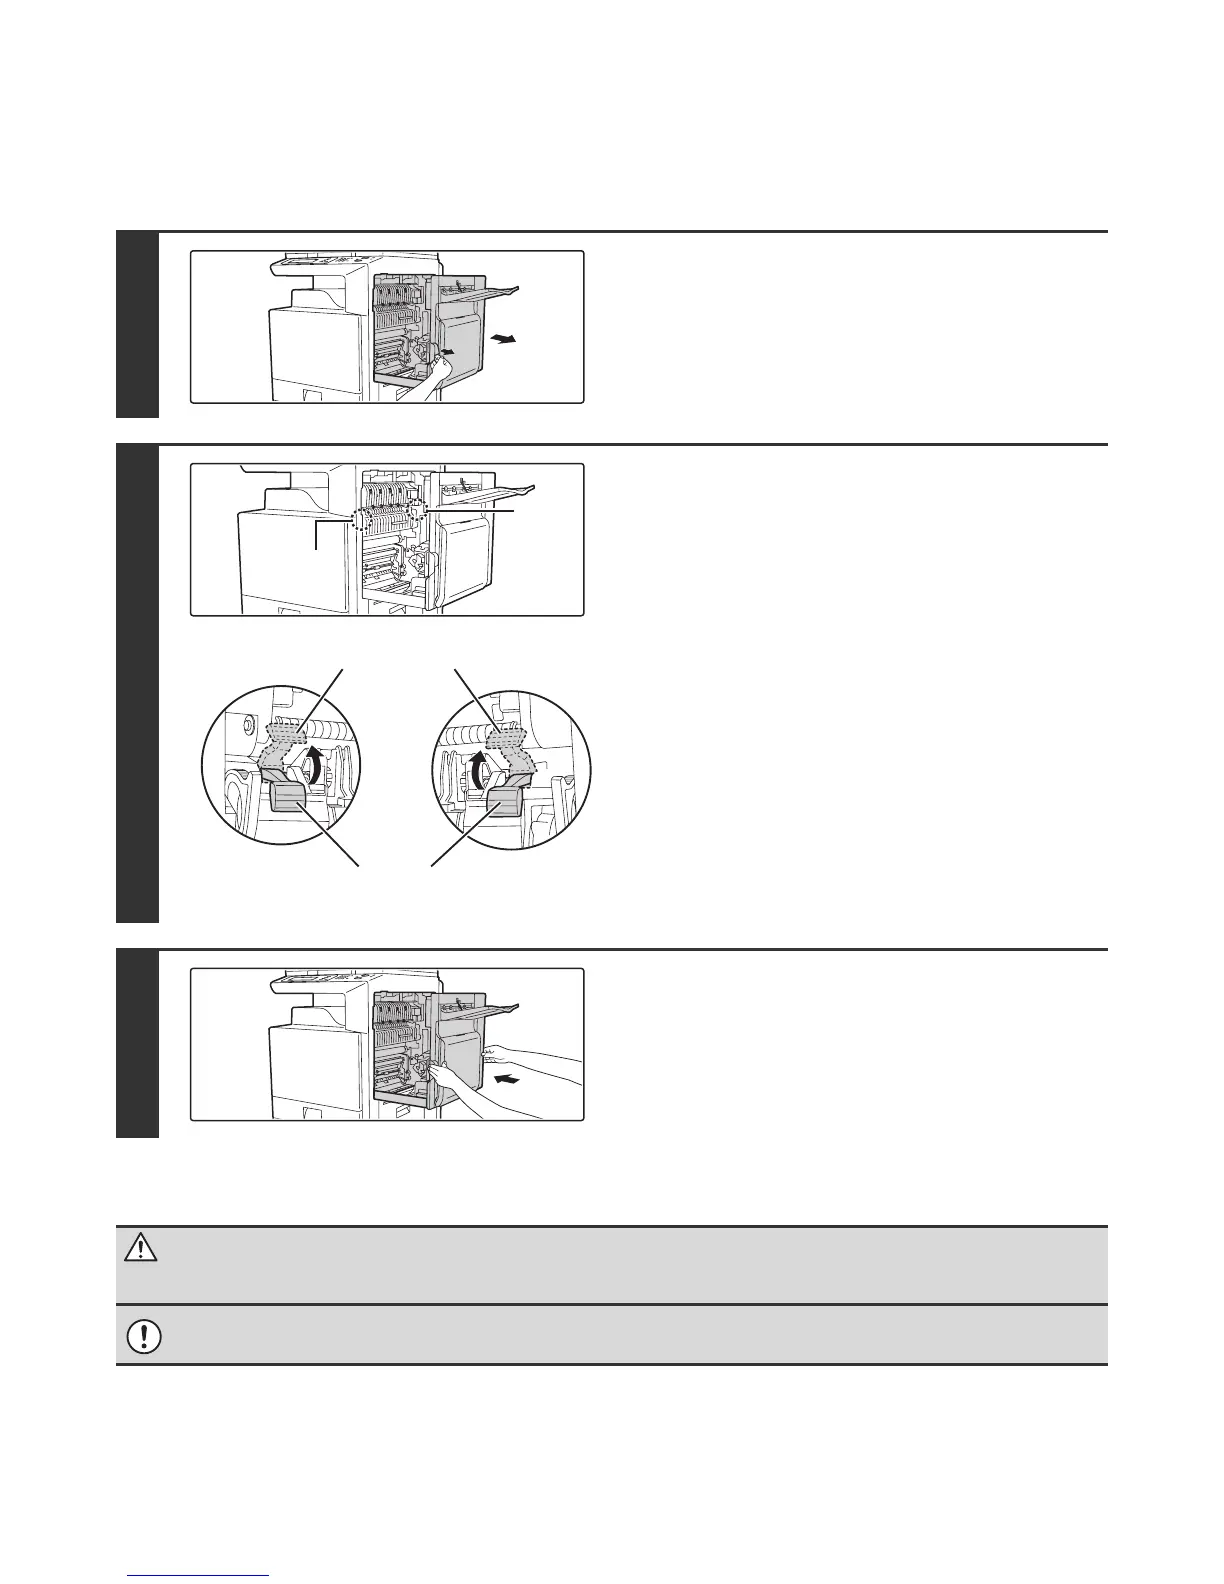
1
Pull out the right side cover.
While pushing up the open/close lever on the right side cover,
gently open the cover.
2
Move the fusing unit pressure adjusting
levers (two) to the lower pressure
position as shown.
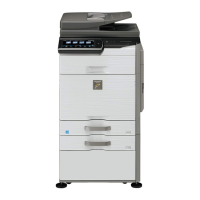
3
Close the right side cover.
Caution
The fusing unit is hot. Take care not to burn yourself when operating the fusing unit pressure adjusting levers.
Be sure to return the levers to the "normal pressure position" before printing or copying on paper other than envelopes.
Otherwise, fusing problems, paper misfeeds, or equipment failure may occur.
A
B
Normal
position
Lower pressure
position
A: Front side of
fusing unit
B: Rear side of
fusing unit