-10
1. Connecting the Projector
to a Computer
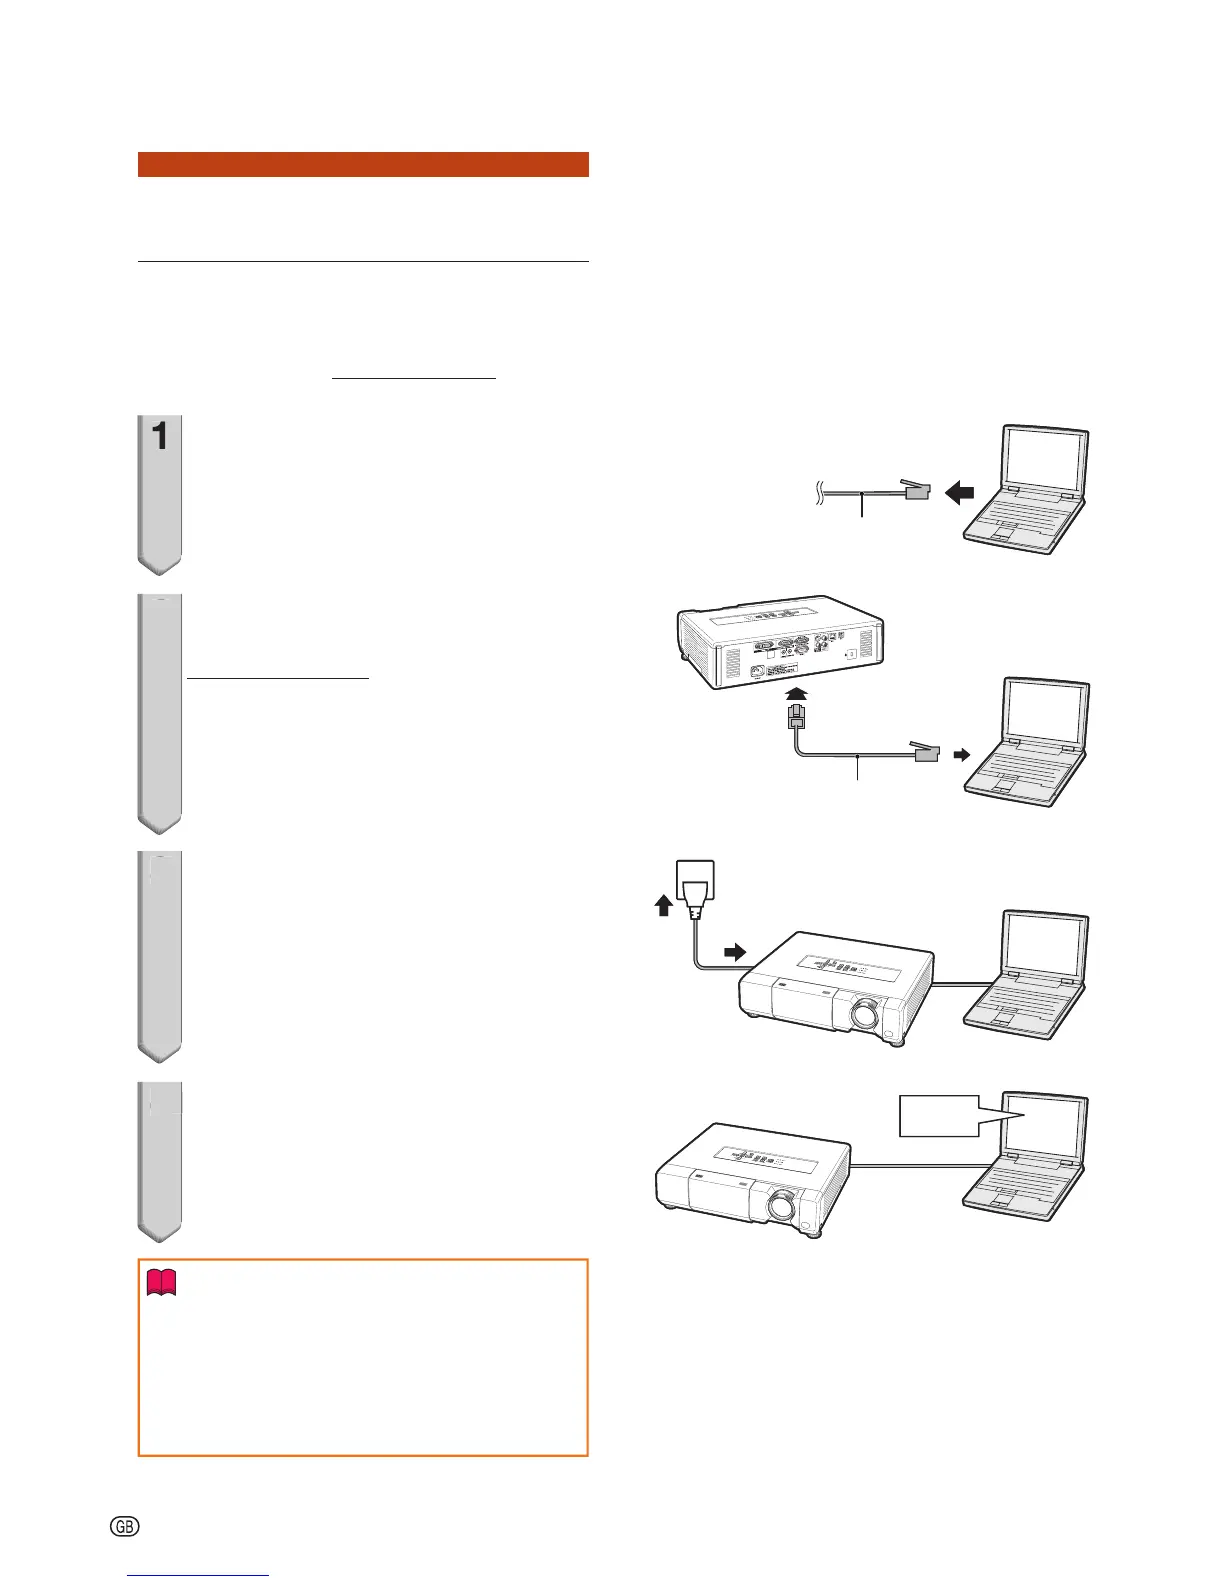
Establishing a one-to-one connection from
the projector to a computer. Using a
commercially available LAN cable (UTP
cable, Category 5, cross-over type) you can
confi gure the projector via the computer.
1
Disconnect the computer's LAN
cable from the existing network.
2
Connect a commercially available
LAN cable (UTP cable, Category 5,
cross-over type) to the projector's
LAN terminal and connect the
other end of the cable to the
computer's LAN terminal.
3
Plug the power cord into the AC
socket of the projector.
4
Turn on the computer.
Info
Confi rm that the LINK LED on the rear of the
projector illuminates. If the LINK LED does not
illuminate, check the following:
The LAN cable is properly connected.
The power switches of both the projector and
the computer are on.
•
•
LAN cable
(cross-over type, commercially available)
LAN cable
(cross-over type, commercially available)